The new year is starting out with a bit less motivation than I was expecting. This isn’t such a bad thing; I did have the last five days off work, and after the busy, frenetic pace of the holidays that was a very welcome change. Maybe the sloth that settled on me was just a reminder to take the time off wisely, to relax, regenerate and just be.
But I wanted to cook and I wanted to stretch. I’ve been lacking in the desire to stretch in the kitchen, to experiment with a few recipes that press against the norm of what I’ve been doing lately, which admittedly, isn’t a whole lot. That work thing sort of stunted my creativity for a while, and before that…. well, I was just coasting. But we’re on a fresh calendar page, with new beginnings for everyone; resolves to take a healthier approach to life, to strive for better in our personal lives; I’ve even seen people who are eager to expand their eating repertoire, promising to try one new food item each week. These are resolves I can get behind. And along with continuing on our meat-free journey, I need to explore more options for our meals. Because while soups, meatless chili and braised greens are all tremendous and satisfying, there is so much more in this vegetable world that can be taken on.
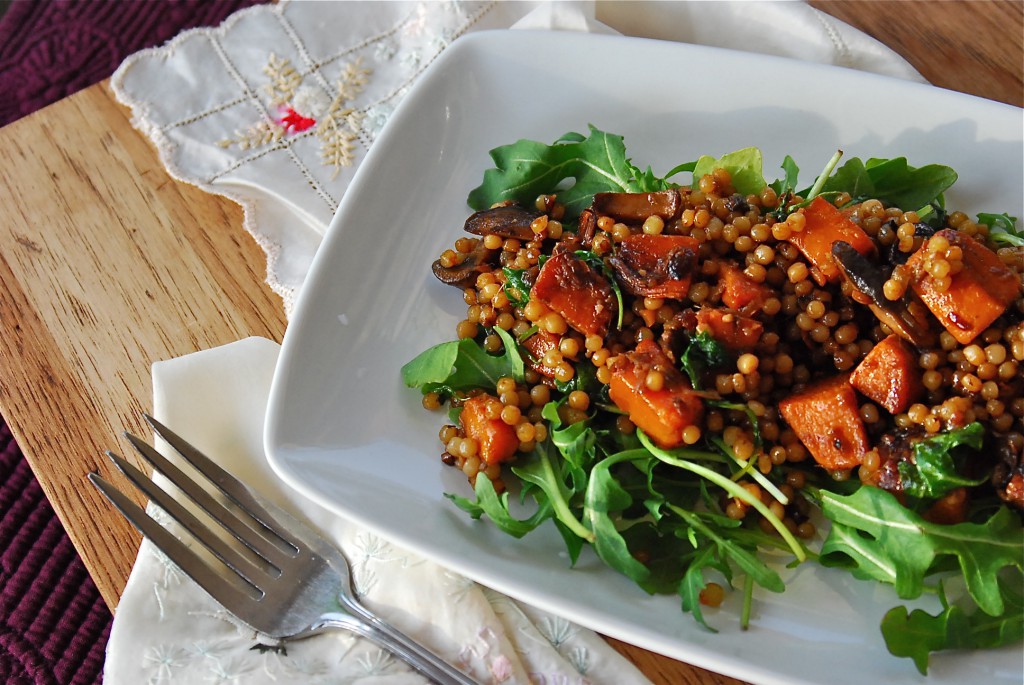
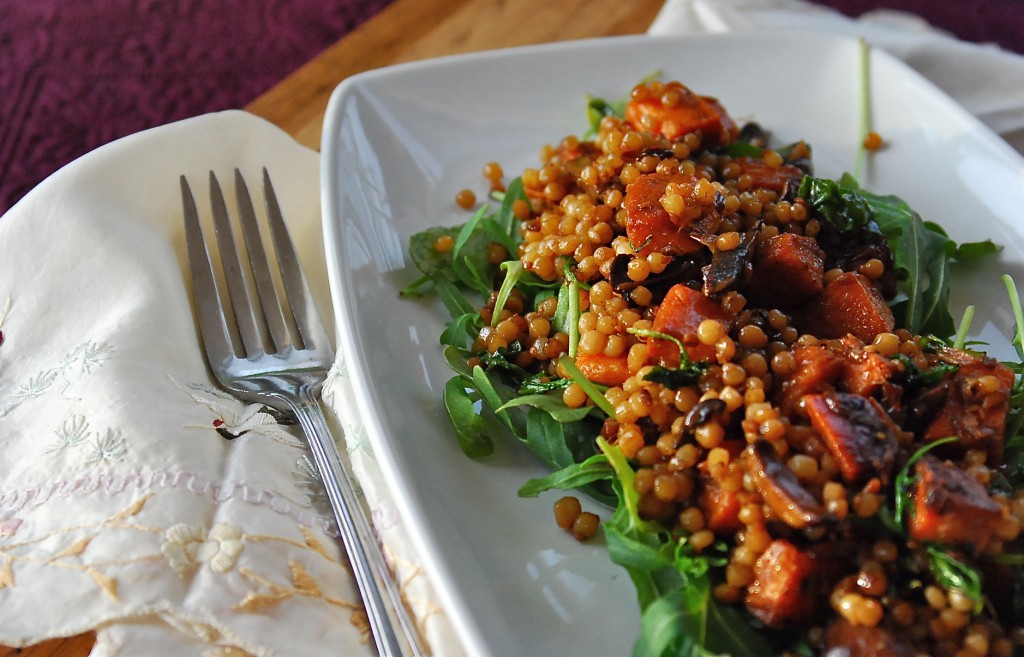
This recipe was bookmarked back in October, most likely. As is the norm, I’m just not sure why I don’t tackle these things as soon as they land in my radar. I could have been enjoying this dish on repeat each week, changing up the vegetables and inhaling it’s deeply dark and sweet flavor through these last few months, but as usual, it languished. And we missed out. That’s too bad. The flavor in this dish was incredible, invading our senses not only as it cooked, but as we gathered over our steaming bowls, forks poised in anticipation. I looked down at my bowl and turned to Mike. “This is a total restaurant dish.” and he nodded as the first bite crossed his lips. His eyes lit up and he smiled.
And there’s another reason why I kick myself for waiting so long to enjoy this. To miss out on seeing that is criminal.
The creation of this dish isn’t difficult; it does require some attention as you methodically caramelize your vegetables in stages on the stovetop. I evolved the process from the original instructions to make it even easier for your average cook. You need a big pan with lots of surface area- I used a 12″ skillet with straight sides- and patience to allow the vegetables to cook, undisturbed, so they achieve that golden flavor and color. The original recipe calls for using orzo, but I’m slightly enamored of pearl couscous these days, so any excuse to throw that in the mix is fine with me. A good hearty brown rice would even work. While there are a lot of steps to this recipe, it flows very well so don’t let the length intimidate you.
Don’t you just love that color? Not only is the dish gorgeous all on it’s own, placing it in the morning sun, as it rose behind a thin band of clouds brought out all it’s burnished caramel-y tones. Even with it being 9:00am when I took these photos, I could have eaten this for breakfast without a second thought. Hmmmm….. don’t mind if I do.
Caramelized Vegetables with Pearl Couscous
Salt
2 c. pearl couscous
Grapeseed, peanut, or vegetable oil
1 large sweet potato (about 3/4 pound), peeled and diced, about 1/4″-1/2″
1 large onion (about 1 pound), finely diced
4 cloves garlic, minced
3-inch piece fresh ginger — peeled and chopped fine, about 1 tablespoon
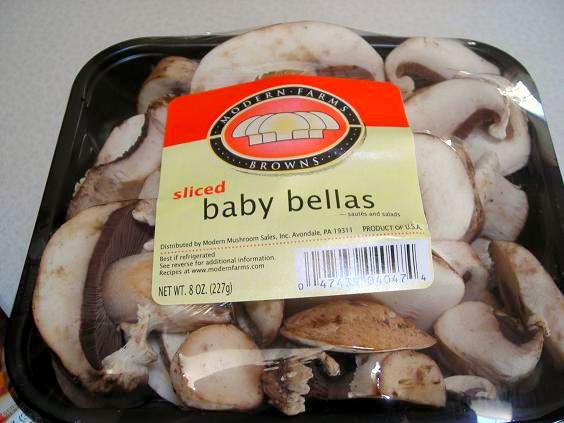
1-8oz pkg portabella mushrooms, sliced, with stems removed
1 T. balsamic vinegar
2 T. soy sauce
3 big leaves chard or kale, stalks removed and leaves finely chopped — about 2 cups (I subbed in the equivalent of arugula)
Freshly ground black pepper
Parmesan, optionalHeat a large pot of water to boiling and salt it generously. Cook the couscous until barely al dente — about 5 minutes. Drain and toss with a generous drizzle of oil so that the grains are lightly coated with oil. Set aside.
Heat a large sauté or frying pan (the largest you have — you want plenty of room and hot surface) over high heat. Drizzle in a little grapeseed or vegetable oil (not olive oil — you want an oil with a high smoke point) and heat until very hot. Add the sweet potatoes and arrange them in one layer. Cook them over high heat until they are beginning to caramelize and turn brown — about 4 minutes. Flip them over and cook for another 3 minutes or so.
Turn the heat down to medium and add the onions, sprinkling them with about a teaspoon of salt. Cook, stirring occasionally, until the onions are beginning to turn brown. Add the minced garlic and chopped ginger and stir them into the onions. Push the sweet potato and onions to the edges of the pan, making room in the center.
Add the sliced portabella mushrooms to the hot center of the pan and cook them for 4 minutes without turning them. Then flip and stir them and cook for another 4 minutes. Once browned, stir them in to the sweet potato and onions. Keep the heat at medium, or slightly higher. Stir the vegetables occasionally. You want them richly browned.
At this point everything should be getting well-cooked; the onions should be quite dark brown and the garlic should be golden and soft. The potatoes should be softening.
Whisk together the vinegar, soy sauce, and 2 tablespoons of oil. Pour this into the pan with the vegetables and mix everything together, scraping the bottom as you go. Cook all the elements together for about 3 minutes on medium heat. Then turn the heat up to high, as high as it will go.
Add the couscous gradually, shaking in about a cup at a time, stirring and scraping constantly. Cook the couscous over high heat with the rest of the vegetables for about 5 minutes, letting the couscous get browned on the bottom of the pan, then scraping it up. You are developing a little more color and flavor on the pasta, and helping all the flavors combine. (I cooked this a bit longer to get more flavor in the couscous. The browning of it smells glorious)
Finally, toss the greens into the mix and cook for 1 more minute or until the greens are barely wilted. Turn off the heat and taste. Add salt and pepper if needed. Serve hot, with shavings of Parmesan if desired. (We didn’t even consider the parmesan. And I don’t think it even needed it.)
Original recipe from The Kitchn, by Faith Durand. Here with my own modifications.
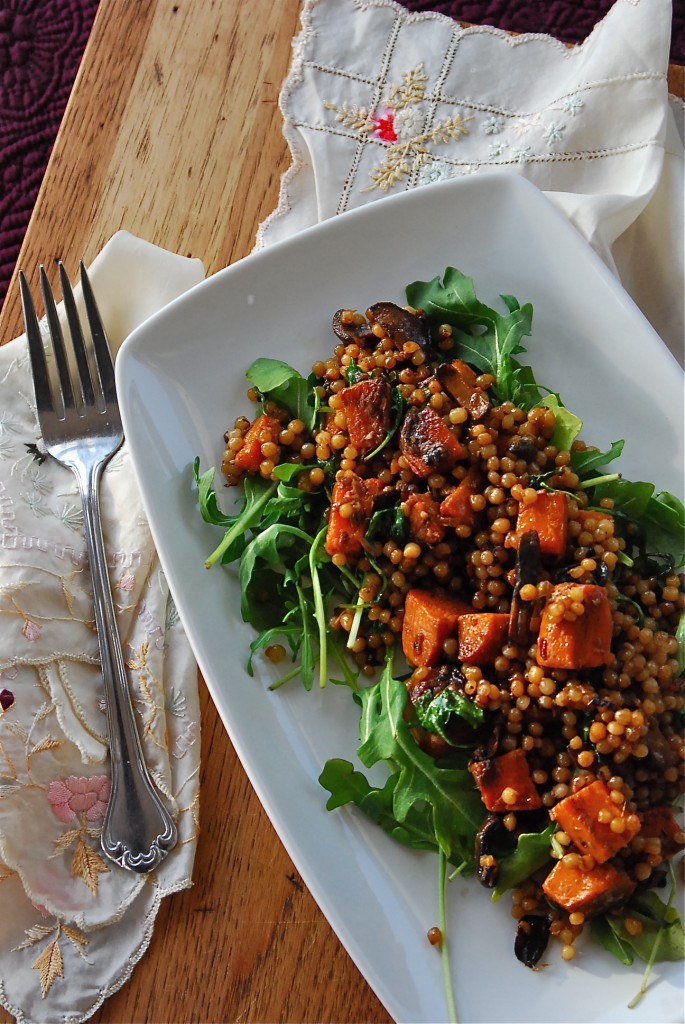


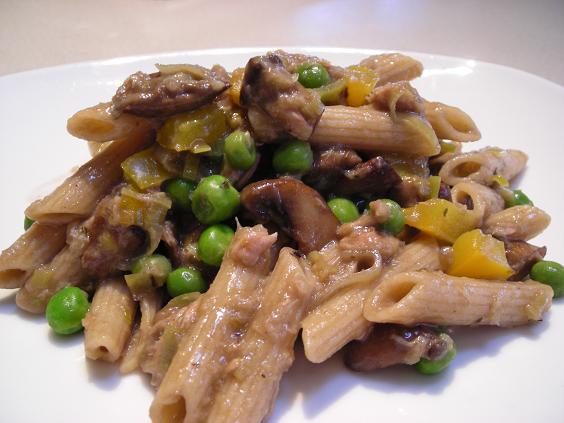 (Not exactly the Beauty Queen of Cuisine…..but oh so delicious!)