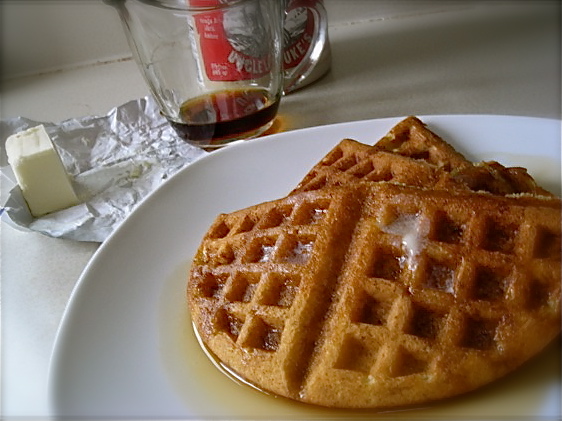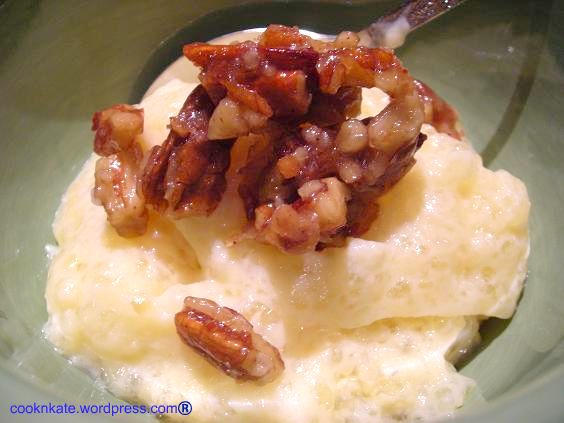
(photo from “That’s Yummy”)
We’re woefully into November’s gray and flat winter light. The cloud cover expanse across the sky is leaden and heavy and daylight begins to fade around 4:00pm, yet even in the best of midday light, the ability to take a good photo often is a crapshoot. I don’t really mind the changes that come around this time of year, this first adventure into winter, the shorter days and descent into wool sweaters, layers, warm socks and extra blankets on the bed. The coziness of it is good, it’s necessary, and there’s a lot of it that can be so soothing- like the leaping blue flame under the daily tea-kettle, the ritual of a warm steaming cup to carry me through the late afternoon; there’s the presence of the strands of tiny twinkling lights we’ve used to adorn certain areas of our home- the stairwell for those dark, dark mornings, the top of the cupboard in the kitchen, and the fancy festooned bakers rack in the corner of our kitchen.

The tiny lights are nice in those early mornings before the dawn when Mike is awake; it provides enough light to get the coffee pot going and the cat dishes filled without having that eye-burning glare that we encounter when first out of bed. The stairwell lights guide him safely down in the darkness. We put these lights up many years ago at Christmas time, and they’ve proven to be so useful that we never removed them. In those gloomy November afternoons they add a warm touch to our home, along with the singing tea kettle, and those steaming cups. Add a candle or two and you can chase those dark hours away a lot easier.
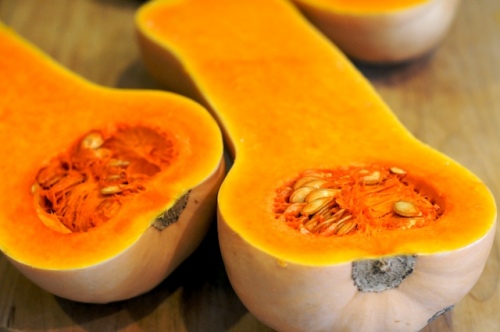
A good warm oven and simmering pot on the stove does that too. I recently came across a recipe for Butternut Squash Pasta, in Gourmet magazine’s Best of 65 Years cookbook. It was a simple process of cooking cubed squash then tossing it with garlic and pasta, but I thought to take it one step further and create an awesome squash puree to mix in with pasta, creating a saucy topping that clung to every single bite.
Problem was, as delicious as it tasted, it looked just ghastly. Imagine, brightly colored orange squash mixed with cooked whole wheat pasta. Oh gads…. it was homely as all get out, but tasted glorious and superbly like comfort in my bowl. I do recommend it, even if I can’t show you the result. Roast your halved butternut squash until it’s good and soft. Scrape the flesh into a bowl, add a little broth or milk to help thin it, then mash it smooth. You can whiz it in the food processor too. The resulting puree should be thick, close to the texture of canned pumpkin, and can be used like canned pumpkin, which, after all, is squash right?
Having the use of pureed squash on hand made it a cinch to whip up a batch of muffins too, and after finding a recipe for Whole Wheat Muffins with Pumpkin and Quinoa on Fork, Knife and Spoon, I knew those had to somehow come out of my oven in the near future. With a little trip towards the healthy side of muffins, these little beauties came out bouncy soft, only the slightest bite of sweet and full of chewy nibs of quinoa blended with the sweet taste of roasted squash.
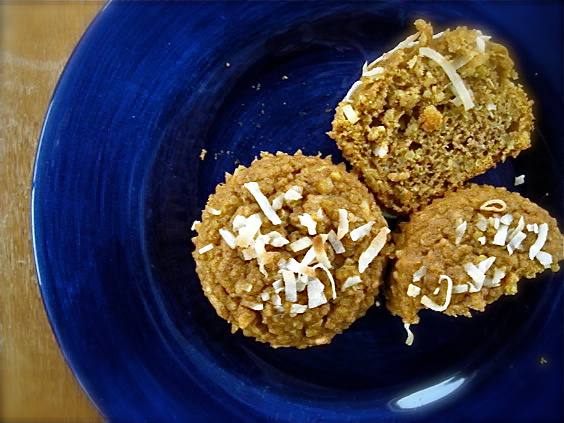
Touched inside and out with toasted coconut, they had a lot going for them. A bite for breakfast, a quick pick me up snack or a nice late night treat before climbing under piles of blankets, they fill in all parts of your day with a compliment for your tummy. Follow the link to Kate’s blog ( I know! Another Kate! ) for the original recipe. I doctored mine up to utilize what I had on hand for my version.
Whole Wheat Muffins with Quinoa and Squash
2 c. whole wheat flour
1-1/2 c. cooked quinoa
1/2 c. pure maple syrup
2 t. baking powder
1 t. baking soda
1 t. ground cinnamon
1/2 t. ground nutmeg
1/4 t. ground allspice
1/2 t. sea salt
1 c. cooked butternut squash
1 egg
3/4 c. buttermilk
3 T. oil
1 t. vanilla extract
1/2 c. shredded coconut, toasted
Preheat oven to 375 and spray muffin pans, or line with paper. You will get approximately 18 muffins.
To cook quinoa- measure one cup of water in a saucepan and place over medium burner. Rinse 1/2 cup of quinoa in a wire strainer under cold running water, shaking to rinse thoroughly. Place quinoa in saucepan and bring to a boil. Reduce heat, cover and simmer about 10-15 minutes until all the water is absorbed. Remove pan from heat and let stand for 10 minutes, then scrape cooked quinoa onto a plate and spread out to cool.
When cooled, measure flour and quinoa into a large bowl. With your hands, gently toss together until blended, and quinoa appears the size of tapioca pearls. Add in baking powder, soda, spices and salt and mix thoroughly.
In another bowl, measure buttermilk, then whisk in syrup, egg, squash, oil and vanilla. Whisk together, then add to dry ingredients with coconut. Using a rubber spatula, gently fold ingredients together until incorporated. Do not overmix. Scoop into muffin tins, about 2/3 full and bake for 15-18 minutes, or until tops are browned and spring back when touched. Allow to cool in muffin pans for 15 minutes or so, then turn out onto wire racks to cool completely.

And without even realizing it, I’m more than halfway through NaBloPoMo, or National Blog Posting Month. It’s proven to be way easier than I anticipated, but with 4-1/2 years of archives to wander through and re-introduce, I’m never at a loss for material.
