October 9th, 2013
| 1 Comment »
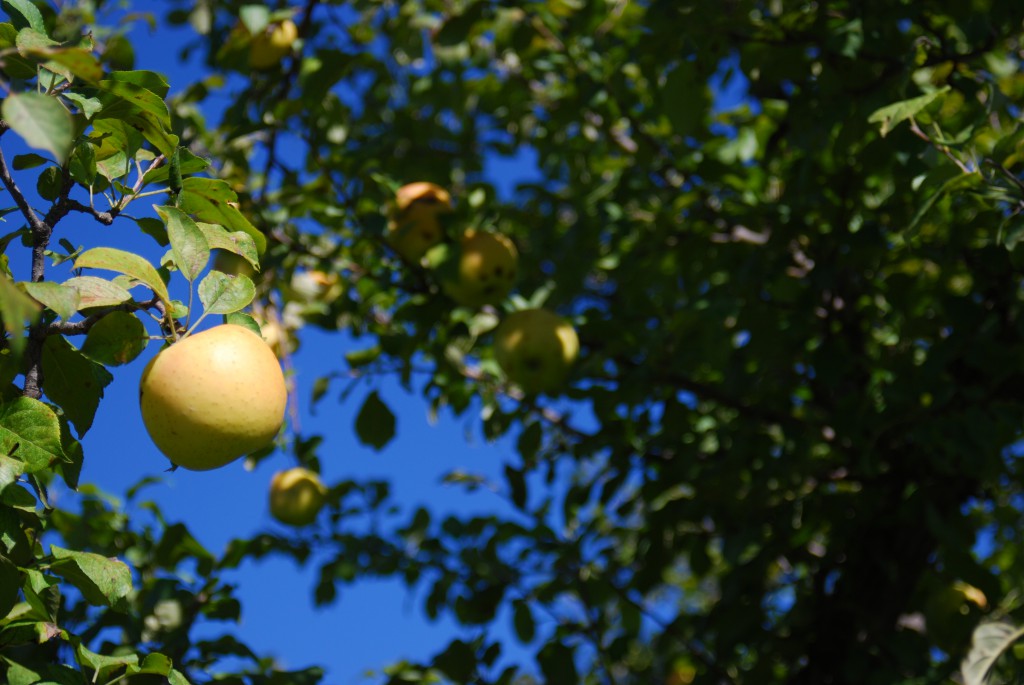
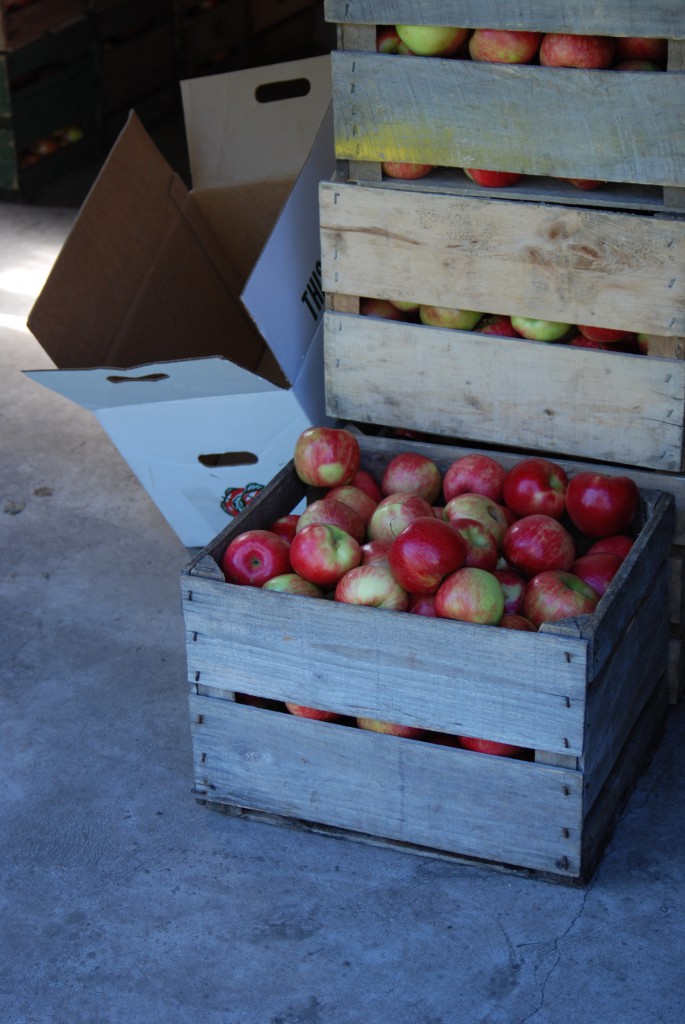
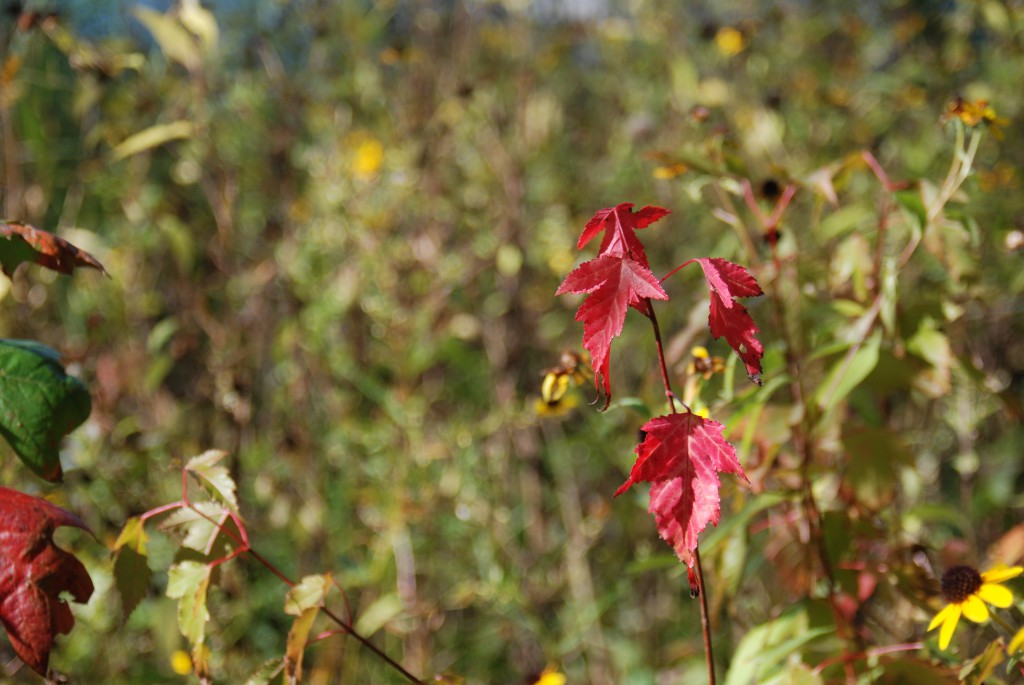
I love October. I love everything about it, from it’s blazing maples and fiery Sumac to the clear, crisp nights of abundant stars, the scent of woodsmoke floating on the chilled air. I love that switch to snugglier clothes and another blanket on the bed. I love a simmering soup pot, a pan of fragrant cornbread, baking with apples and fresh-pressed, rich apple cider
I just LOVE October!




I haven’t always loved Ratatouille, though. And I’ve made it multiple ways that have been OK, to an extent, but haven’t been so wonderful that I jumped at a chance to repeat the recipe. Yet every year, when the abundance of zucchini and eggplant and tomato is all there, ready and waiting to be slowly cooked together in this classic peasant dish, I always want to try something again.
There are so many ways to make a simple dish like this.
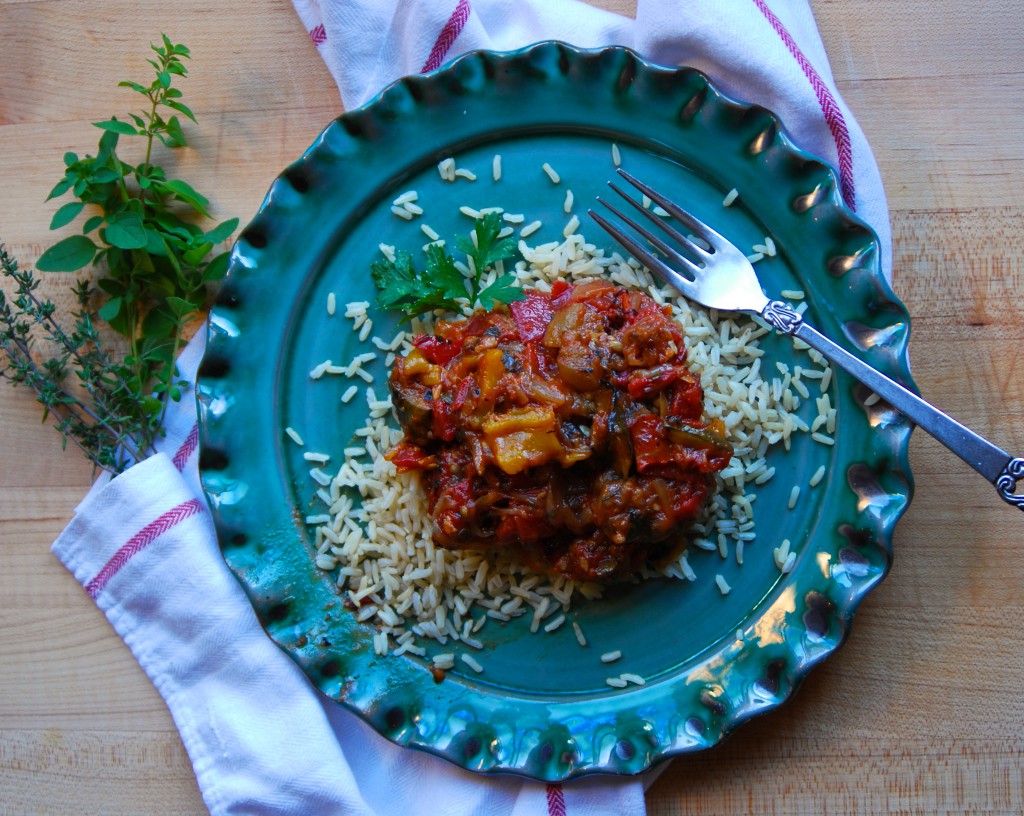
This recipe I would repeat. Over and over again. While it is a bit extensive, with the grilling and the simmering, the end result is well worth the extra effort. This Ratatouille was silky smooth and simply melted in my mouth, with hints of smokiness from the grill. And as all good dishes go, it was even better the next day.
This recipe does not use fresh tomatoes, and I love the rich flavor that fire-roasted canned tomatoes gives it. Feel free to use fresh if you wish, knowing you will lose some of that smoky taste if you do.
Ratatouille, Grilled and Simmered
3 small zucchini, sliced horizontally
1 medium eggplant, peeled and sliced into 1/2″ slices
2 medium onions, sliced thin
3 cloves garlic, finely minced
1 each red, yellow and orange bell pepper, gutted and halved
1 28-oz can fire roasted tomatoes (strongly suggested for the amazing flavor they will add- sub in fresh if you wish)
1/2 c. good quality olive oil
1/4 c. balsamic vinegar
1/4 c. mixed fresh herbs, like oregano, thyme, parsley, basil, all finely minced
2 t. smoked paprika (smoked is preferred; use regular if it’s all you have)
Salt and pepper
Whisk the olive oil and balsamic vinegar together in a measuring cup. Brush a small amount on one side of the eggplant slices, being careful not to spread on too much. Brush some on the zucchini and reserve the remaining oil/vinegar mix for later.
In a 6-qt stockpot, heat a small drizzle of olive oil and add the sliced onions. Cook over medium heat, stirring occasionally, until the onions are opaque. Add the garlic, reduce the heat and cook, stirring often, until the onions and garlic are very soft.
While the onions cook, heat your grill, and when hot, place the peppers, skin side down on the hottest part. Add the sliced zucchini and eggplant, and cook until tender and slightly charred for all vegetables. Place peppers in a bowl and cover with plastic wrap to steam so you can remove the skin. Rough chop the zucchini and eggplant and add to the pan with the onions, stirring to combine. Drizzle in a small amount of the oil/vinegar mix to moisten and add the smoked paprika. When cool enough to handle, skin the peppers and rough chop those, adding to the pan, along with the can of tomatoes. Stir everything, get it simmering, then reduce the heat and cover the pan. Allow it to cook, slowly, for 30 minutes. Stir it once or twice to insure it isn’t sticking. Reduce heat if it is, and drizzle a bit more of the oil/vinegar mix in, if needed.
Season to taste with salt and pepper, and add in half the fresh herbs. Allow to simmer about 5 more minutes. Stir, taste and season more, if needed. Serve warm or room temperature, over brown rice or pasta, or with a thick, hearty bread to soak up the juices.
KATE’S NOTES: I am nuts for fire-roasted tomatoes and have tried multiple brands, always coming back to Muir Glen Organic. The taste is bar none for a canned product- it tastes like tomato right off the vine! You can use fresh tomato in this dish if that’s your thing, but the extra fire-roasted taste will lend well to the final result, along with the grilled and charred vegetables.
The smoked paprika also adds a nice deep, smoky flavor, and has been one of my most favorite spices to add to just about everything lately. You will get a much different taste if you use regular paprika.
June 28th, 2012
| 21 Comments »
In moving past the continual consumption of meat with our meals, it brings to light an entirely new way of going out to eat, as I’m left wondering how up to date any restaurant will be with their meatless options. There are those places that soar, offering a wealth of meat-free entrees that dazzle, while others places rely on pasta dishes as their sole vegetarian fare.
Pasta isn’t bad, mind you. I do enjoy it. But these days, having just a pasta dish or two with vegetables as your meatless menu offering is pretty unimaginative for a restaurant.
But that being said, pasta has it’s virtues.
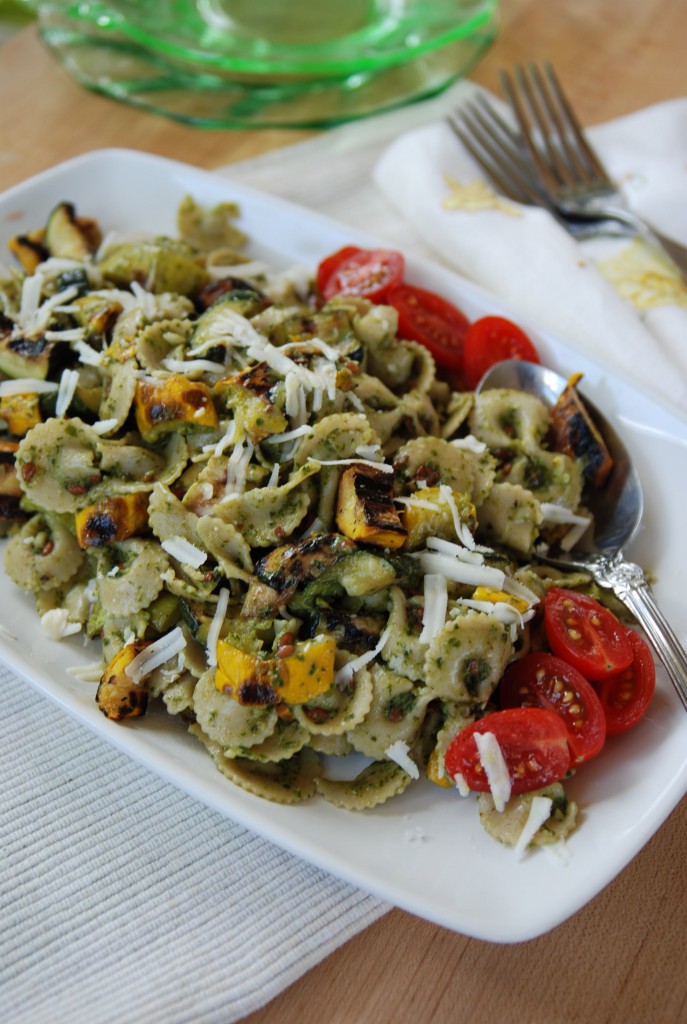
Hodgson Mills Pasta is running a recipe contest on Pinterest and I’m participating with this recipe. Are you on Pinterest? There’s a special page for Hodgson Mills that has all the recipe entries on it.
I’d appreciate a vote if you’re so inclined. There are some pretty nice prizes. You must go to the page linked above to vote. Pinning this recipe from my blog won’t count.
And Hodgson Mills was nice enough to offer $25 dollars of assorted pasta to one lucky winner from my blog. That’s a lot of pasta! All you need to do to enter is leave a comment on my blog stating your favorite way to prepare pasta (US residents only, with a valid mailing address, please) You have until Thursday July 5th to leave a comment and be entered for the giveaway. I will choose one commenter through Random.Org and contact you via email, so be sure to leave that information. Hodgson Mills will ship directly to you.
Do you love your pasta rich and cheesy? How about chock full of rich tomato sauce and italian sausage? Plain with simple garlic and olive oil? I’ve been enjoying Hodgson Mills whole wheat pasta with summer fresh pesto and grilled vegetables, and creating this recipe was a deliciously fun way to use up a huge box of basil that I’d been given. Food gifts are the best, aren’t they?
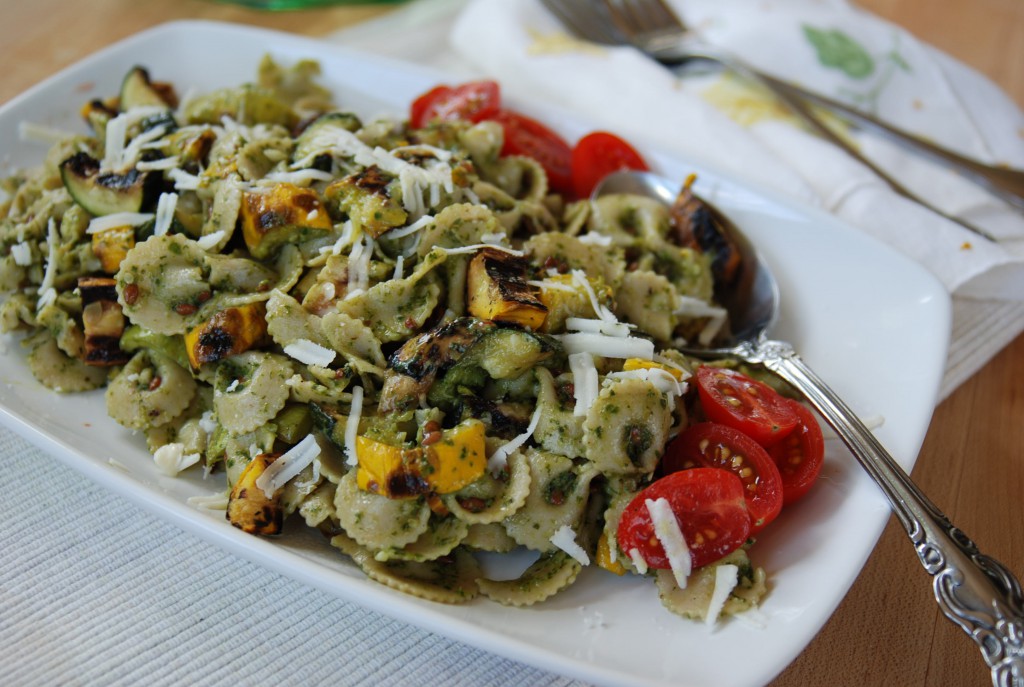
Summer Pesto Pasta with Grilled Zucchini
1-lb Hodgson Mills Bow Tie Pasta
2 medium zucchini
1/4 c. olive oil
2 T. fresh squeezed lemon juice
1 t. prepared spicy mustard
1 c. prepared pesto (or make your own from scratch, method included)
Fresh Cherry tomatoes, optional
Prepare zucchini:
Heat gas grill on high for 10 minutes. Just prior to cooking, reduce heat to medium-low and brush grill grates with canola or other neutral oil. Whisk together the olive oil, lemon juice and prepared mustard; set aside. Wash zucchini thoroughly and trim off root end. Slice zucchini the long way into three strips about 1/4″ thick. Brush with the mustard oil and place, oiled side down on prepared grill grates. Cook without moving for 5 minutes. Using tongs, carefully turn zucchini over and continue to cook until tender, about 7-10 minutes more. Remove from grill and set aside to cool. Cut zucchini in to bite sized pieces.
For the Pesto:
4 cups loosely packed basil leaves
1/3 c. olive oil
2 T. shredded parmesan cheese, plus more for finished pasta.
2 T. pine nuts (optional)
1 T. kosher salt
1 t. fresh cracked black pepper
Place all ingredients in the work bowl of a 2-quart food processor. Process in pulses until thoroughly combined, adding more olive oil if needed and scraping down sides as necessary. Scrape prepared pesto in to a bowl and press plastic wrap over the surface to prevent discoloration.
In a 6-quart stockpot, bring water to a boil. Add pasta and salt, if desired. Cook pasta until just al dente. Reserve one cup of the cooking water, drain pasta and place back in the stock pot. Add half the pesto to the hot pasta. Drizzle in a little of the cooking water and stir to combine, adding in a bit more cooking water if needed. Add more pesto if needed, along with the cooking water until it’s to your preferred consistency. Stir in the grilled and chopped zucchini and more parmesan cheese, if desired. Taste and season with salt and pepper. Chill pasta for up to an hour before serving, or overnight if desired. Taste prior to serving to adjust for seasoning, and add sliced cherry tomatoes for garnish and color.
April 11th, 2012
| 1 Comment »
There’s nothing, really, to making a pan of enchiladas. Tortillas, filling, sauce and cheese, a bit of time in a hot oven and you’ve got a dinner that should please just about anyone. I probably don’t even need to give you a recipe, do I? (but I will…..)
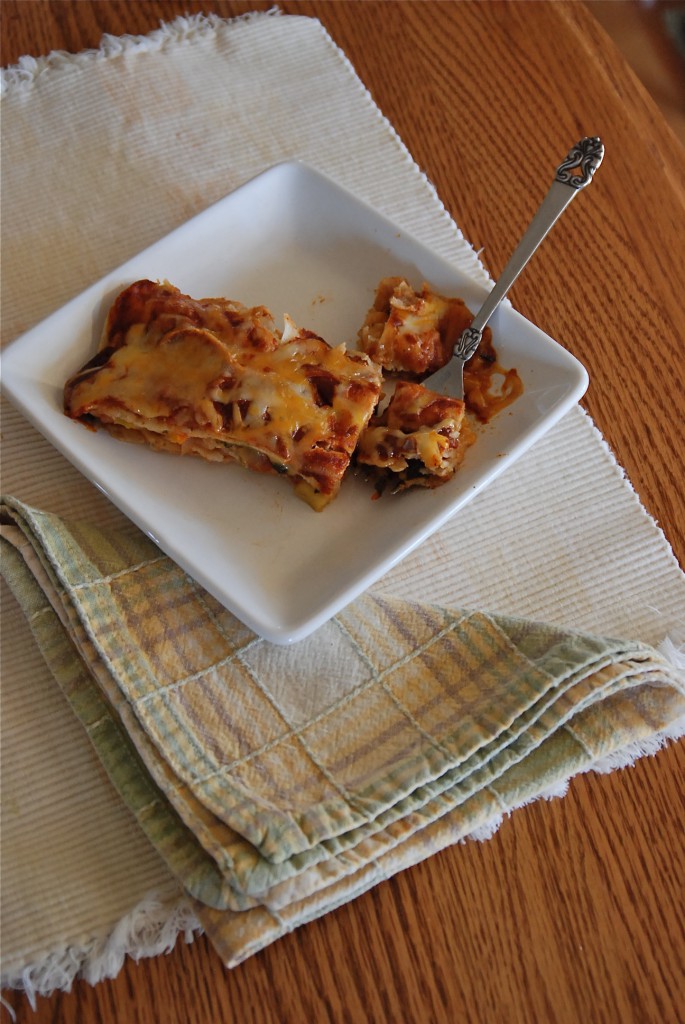
What enchiladas are though, is reliable. At least in my home they are. I know they’re something that all of us will eat without a shred of complaining. And we all need those types of meals in our homes, on our tables and in our back pockets, don’t we? The ones that no one whines over, or rolls their eyes. A meal that everyone will gobble down with reckless abandon. I know with a few peppers, canned beans, frozen corn, a pack of tortillas and a bit of time, that a meal will land in our midst and pull us together, drawing the day to a close. And long before we stopped eating meat, I could make Vegetable Enchiladas and Griffin wouldn’t care one whit about them. Thankfully, that’s still true.
We’ve slipped back to somewhat more normal weather these days, now that April has come and set her softly budding Spring on us. March’s heat wave gave us all a taste of warmth and summer and we all want it back, but these days, the nights come cold and brisk and for me, this past week of frost warnings and cold sunshine was enough to want the oven humming and a warming dish in our bellies. I know soon enough that it won’t feel like these comforting dishes will be necessary, so along with our old reliable Enchiladas, I wanted to have one last send off of a favorite meal before the heat comes and dinner plates are full of fresh and lighter meals.
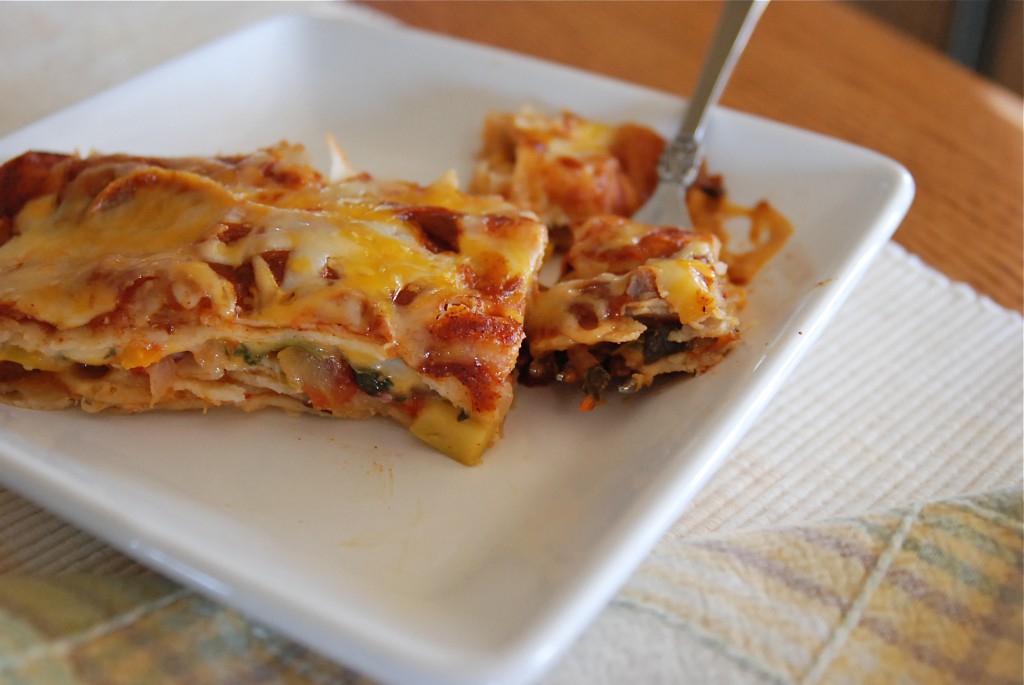
There’s really two ways you can make Enchiladas, outside of choosing between corn and flour tortillas; you can roll up the filling inside the tortillas, or you can layer the filling between the tortillas, creating a more ‘lasagna’ style dish that’s equally as good, and sometimes a bit easier to negotiate out of the pan. I like them both ways, and the ‘lasagna’ method is a bit less work, but if you’ve got willing hands to help, the rolling part happens pretty fast. The best part of this meal is having LOTS of good leftovers, and I think the flavor gets much better overnight.
And as for sauces….. I’ve never made an enchilada sauce from scratch that even came close to tasting like a few canned varieties I’ve found. My go-to brand of enchilada sauce is Carlita; it’s a deep, rich red sauce that’s got just the right amount of seasoning and spice. Las Palmas is another good option; they’ve got both red and green enchilada sauce, and have a Mild, Medium or Hot option. The Medium is plenty for us, and their green enchilada sauce is really amazing.
(disclaimer: nobody paid me to say that, or gave me free products to say that. Just so you know)
Vegetable Enchiladas
2 bell peppers, cored, seeded and diced (any color you choose)
1 large yellow onion, diced
2 cloves garlic, minced
1 jalapeno pepper, cored, seeded and diced (like it spicier? make it a serrano)
2 small zucchini, peeled and diced
1 c. frozen corn kernels
1 15-oz can black beans, drained and rinsed (can sub any kind, really)
1 15-oz can fire roasted tomatoes
1 T. chili powder (can sub in canned chipotle in adobo if you have it on hand- it’s a wonderful flavor)
1 T. ground cumin
2 c. washed and finely chopped spinach, chard or beet greens (optional, but it adds a good amount of flavor and nutrition)
8-oz shred cheese of choice
1 15-oz can enchilada sauce of choice (you can use two if you like a lot of sauce)
Tortillas of choice (use the small 6″ corn, or the 8″ flour; you’ll need 12-15 corn, 10-12 flour)
Oil of choice for cooking
Spray a 9×13 baking pan with cooking spray. You may have enough filling to make more enchiladas, so have a smaller pan at the ready, like an 8×8. Heat the oven to 400°. Have your tortillas on the counter to warm slightly as they’ll roll better, but if you’re using corn tortillas, don’t leave them uncovered or they will dry out.
In a deep skillet with a cover, heat a bit of oil and add the onion. Cook about 10 minutes, or until softened and then add the bell pepper and jalapeno. Cook, stirring occasionally until the peppers begin to soften. Add in the garlic, zucchini, frozen corn and canned beans. Stir it all together and get it simmering. Cover the pan and cook for about 10 minutes. Stir in the greens, cover and turn off the heat. Let stand for about five minutes.
Place a tortilla in the pan and drop a few tablespoons of shred cheese down the middle. Spoon some of the filling in (the amount depends on the size of your tortilla) and spread it to the edge. Gently roll the tortillas up, making sure the seam side is down. Repeat until the pan is full. The tortillas can be moved closer to one another as your roll. You want them pretty snug, but not crammed in the pan or it will be impossible to get them out.
Spoon the sauce down each tortilla, spreading it out as you go. They should be well covered. Sprinkle the top with cheese and cover with foil. Bake for about 20 minutes, then take the foil off and allow the cheese to brown just a bit more. Thirty minutes should be plenty of time. If you allow the Enchiladas to sit for 10-15 minutes, they are A LOT easier to get out of the pan.
These are delicious served with avocado, sour cream, or both.
KATE’S NOTES: To make Enchiladas ‘Lasagna’ style, lay the tortillas on the bottom of the baking pan. Spread some filling over them, then top with a bit of cheese and a drizzle of sauce. Layer more tortillas and repeat. You should be able to get at least three layers, finishing with sauce over the top, and cheese before baking. Allow this to also sit for a spell before cutting in to squares.
If you wish to add meat to the filling, please do so. I used to make these all the time with chicken, and once in a while with pork or beef. One pack of boneless skinless chicken breasts is perfect; dice them, and sear the meat in with the onions, then proceed with the remaining steps.
Any leftover filling is wonderful for breakfast. I had about 1-1/2 cups left from this meal, and for breakfast I heated it in a pan then cracked two eggs in it, covered the pan and cooked it for about five minutes. I scooped it on to a plate that had a handful of tortilla chips on it. It was the finest breakfast I’ve had in a long time.
September 20th, 2011
| 6 Comments »
Summer ends when the season ends, some time in the midst of every September. The 22nd? 21st? The sun crosses a time line and the word ‘summer’ is an afterthought, yet for most people, Labor Day signals the official end of the best season Minnesota has to offer. I’m more optimistic. I like to step outside the box, and while others are saying ‘Fall’ when school buses roll down the streets again, I’m still crowing ‘Summer’. I will gracefully extend my white flag of surrender to that mentality, that a season can be marked by milestones instead of days on a calendar, while I straddle the seasons, try to push summer to extend just a bit farther.
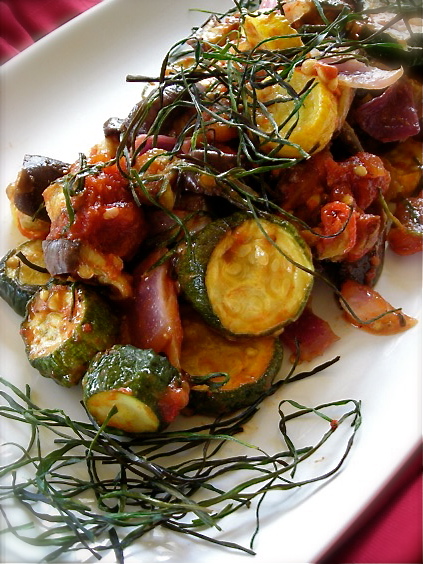 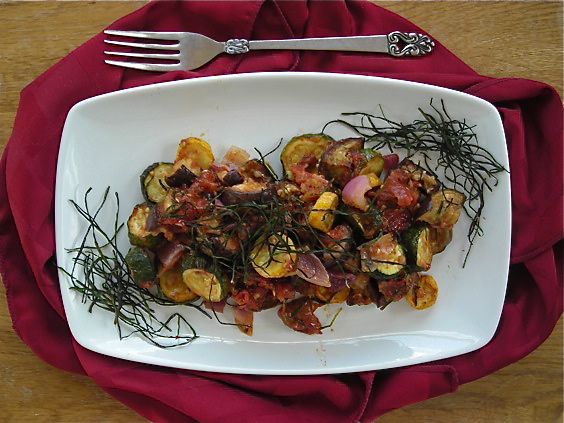
It’s not hard to do when a plate of this Roasted Ratatouille is staring back at you, loaded with late summer tomatoes softened to a deeply flavorful mass, chunks of hearty zucchini and eggplants so perfectly round and unblemished that they look false and plastic, yet yield to a tender flesh so delicious it makes your eyes roll back. I can have my face in Summer, my cheeks enjoying the warmth of the days, while my head and heart charge towards Fall, cool air, a warm humming oven and a comforting meal when the air chills and sweatshirts come out.
This dish, once again as is the case with so many in my adult years, was not something I’ve loved forever, and maybe that’s part of it’s appeal. My Mom used to make Ratatouille when I was young, and my sisters ate it but it always turned me off completely. That which held ruby red tomato and a vegetable with the word ‘egg’ in it just sounded like it would be horrible. I was a picky child mostly due to texture issues, as I have learned; foods like mushrooms, tomato, squashes of all kinds and especially eggplant (an egg? a plant?) are now foods that sweep themselves across my plate on a regular basis, bursting with flavor when once they would make me shudder. I’m so glad to have grown up to learn of their wonder.
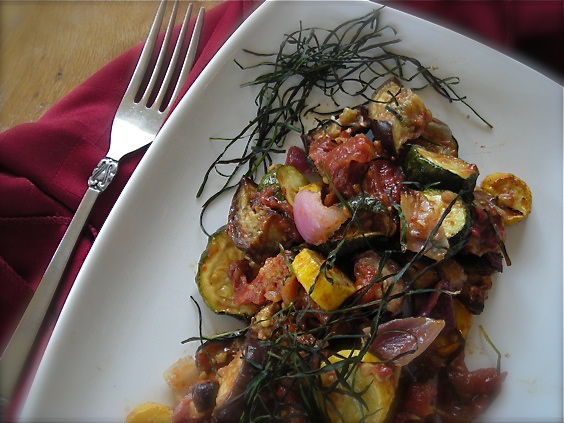
Roasting vegetables is quite possibly my most favorite way to eat them, except for right off the vine. With an enormous bounty of fresh from the Farmers Market zucchini and onions, and the aforementioned eggplants, along with the fattest and juiciest Black Krim heirloom tomatoes to come out of my tiny postage stamp garden, this dish was so loaded with flavor that it made my eyes water in joy. Tomato flavor intensified from the heat of the oven, while the eggplant and zucchini became tender-crisp and then just to make it more interesting, I mix everything together and let it sit overnight in the fridge, just to tease a bit more flavor out, a deeper marriage of September’s taste of the vine. The bowl needed nothing else; no salt or pepper, no added oil or seasoning. Topped with the amazing find of crisp strips of chive thrown on top of the vegetables on a whim, it was a dish that slowly spread a Cheshire grin over my face with each bite.
What a personality too. There’s no stodginess involved here, no set way to consume such a meal; we ate this mixed with pearl couscous (because I am, truly, having a love affair with those tiny grains of pasta) and we ate it atop heady and aromatic polenta studded with corn kernels and flecks of fresh herbs. It would be just at home too, stuffed inside a crisp and warm baguette, layered with provolone cheese for an incredible, messy delicious sandwich. Serve it on rice, or with a simple risotto. Warm it slightly and place it on garlicky crostini for a hearty appetizer or light meal. Or toss it, chilled, with greens and a shower of fresh grated asiago cheese for a salad unlike any other. Mix it with pasta, please; make sure you add a good turn of hard cheese. And if you find yourself late at night, in the kitchen with a fork in hand, a few dips in to the bowl while no one is watching is ok too.
And are you like every other gardener in the state- a pile of chives growing in your garden that you don’t know what to do with? I foolishly planted chives many years ago, which went to seed without me doing anything about it (big, BIG mistake) and now, well now I am fighting off chives with a blowtorch practically, and did you know that if you pluck them they just grow faster? Neither did I, but I’m learning that the hard way. Another thing I learned about chives is that you can blast them to kingdom come with Round-Up, but the little buggers just come back, shiny green and taunting. I’ve learned to hate chives, but a handful of them tossed atop these roasting vegetables made for a crispy and delicious garnish that just might make me a bit softer towards this evil relentless herb. Surprise awaits in the strangest places, doesn’t it?
Roasted Ratatouille with Crispy Chives
2-3 medium tomatoes
1 large eggplant
3-4 small zucchini or yellow squash (2 if they’re larger)
1 large red onion
3 garlic cloves
A generous handful of fresh chives
Olive oil, sea salt and fresh ground pepper
Preheat your oven to 400°. Slice the tomatoes into quarters and place on a baking sheet. Drizzle with about a tablespoon of good olive oil, sprinkle with a bit of salt and a few grinds of fresh pepper. Place pan in hot oven and roast, watching carefully, until the tomatoes begin to soften and the skins wrinkle. You want them to retain much of their shape, but release some of their luscious juices. I don’t roast them for more than 10-15 minutes at that temp. Remove the pan and allow them to cool, then slip the skins off.
Dice the zucchini and eggplant, slice the onion and crush the garlic, placing all of these on two baking sheets. Drizzle with a bit of olive oil, add salt and pepper and roast until the vegetables begin to soften, about 15 minutes. Stir carefully, then return pan to oven for about 10 more minutes. Scatter chives over the top of the vegetables, then roast about 10 minutes more, or until the chives are crisp and toasty, but not black and charred. Remove pans and allow vegetables to cool.
In a large bowl, combine tomato (with any juice from the roasting pan), eggplant, zucchini, onion, garlic and about a third of the crispy chives, reserving the rest for garnish. Gently mix together (I like to use my hands to avoid breaking everything down), taste and season with more salt and pepper if desired. The ratatouille can be eaten as is, warm or at room temp. For deeper flavor, chill the mixture overnight, and allow to warm to room temp the next day before serving.
July 27th, 2011
| 5 Comments »
Eventually, we all know it’s going to happen; the bounty of summer vegetables is going to begin to overwhelm home cooks. This rapid increase of summer heat has brought my tomato plants into full force growth, skyrocketing up in the garden and bursting out buds like crazy. If this keeps up, August is going to be both delicious and ridiculous. And zucchini? We all know that one plant per home garden is enough to keep a happy cook in oblong green delight, but the overly enthusiastic gardeners who tend several plants will one day walk out to their garden and be confronted with tons of zucchini. Mark my words. Then they’ll do whatever they can to pawn the excess off on anyone who’ll look their way. Then there’s eggplant. The purple orbs are everywhere once they’re ripe. My word. It’s craaaaa- zee. But in a good, good way.
Because I found The. Best. summer vegetable option once your countertop is over-flowing with fresh zucchini, tomato and eggplant.
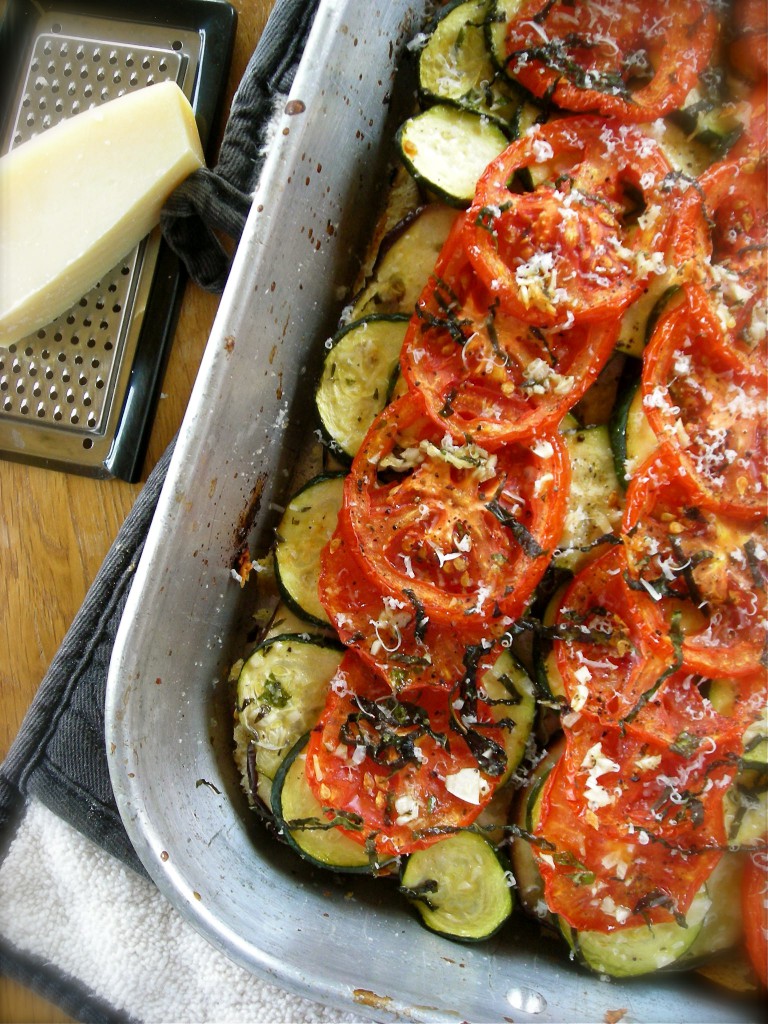 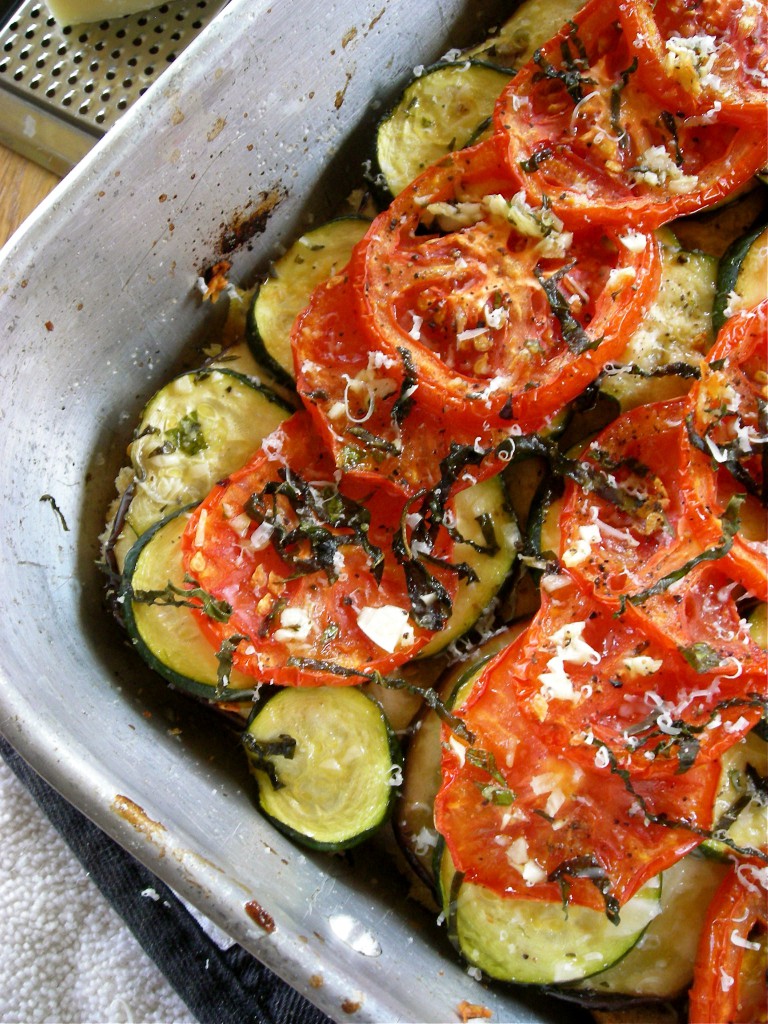
Provided your willingness to turn on your oven, here’s a dish that screams out “SUMMERTIME!!” in every bite, from the heady garlic and fresh herb infused olive oil that you drizzle over everything to the fresh vegetables that make up the bulk of this gratin. Get a really, really good loaf of bread for the base, a fine bottle of white wine for you, and enjoy a meal worthy of any fancy summer dinner party, or simply a way to ease yourself out of a hectic day.
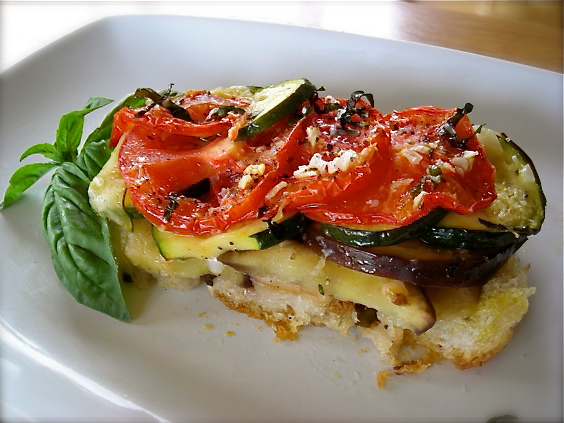
I spied this recipe on the Food & Wine website, searching for some new plant-friendly recipes to add to our eating repertoire. I knew we’d love it and I wasn’t disappointed. Once out of the oven, the smell was killing me. I could barely wait for it to cool enough to cut a slice and dig in. Mike came home from meeting with some of his clients, and despite having already eaten lunch, I pretty much shoved a slice at him and demanded that he try it. Which he did. He’s got the right attitude, hmm?
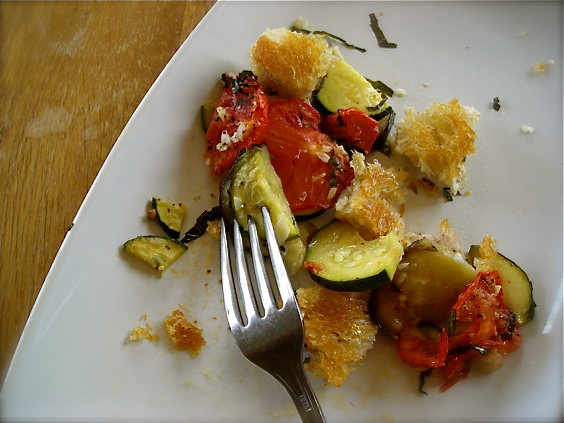
The base of this gratin is made from good rustic bread, torn in to pieces and drizzled with a heady blend of garlicky oil inundated with fresh herbs. It bakes up nice and crunchy, aromatic and flavorful, adding a nice contrast to the soft baked tomato, zucchini and eggplant slices gracing the top. A smattering of fresh basil, a spray of good parmesan cheese and a fork. Oh, and don’t forget the wine. It’s a dish that tastes of summertime, reeking of warm days, the scent of cut grass and the way the night air sulks around at dusk with the lingering scent of the day before finally giving way to the cool of night. If anything else smacks of good seasonal eating, show me, because I really want to know.
You know that day will come when you glance, overwhelmed, at the summer bounty before you and you think ‘Oh dear, what do I do NOW???’ Well I have the answer, my friends. You will make this dish. And with one bite, you will determine when you can make it again. And maybe, again.
Do you have any favorite ways to use zucchini and eggplant??
Ratatouille Gratin
1 medium eggplant, sliced 1/4″ thick
2 medium zucchini, sliced 1/4″ thick
3-4 medium tomato, sliced 1/4″ thick.
1/2 c. good olive oil
4 cloves garlic, minced extra fine
1 heaping tablespoon each fresh thyme, parsley and basil, minced fine, plus extra for finishing
1 1-lb loaf good quality artisan bread, torn in to 1-2″ pieces (i used a good sourdough, left in a paper bag overnight)
Stir olive oil, garlic and the heaping tablespoons of fresh herbs together in a small bowl. Whisk well to combine.
Toss eggplant and zucchini with 1-2 teaspoons of kosher salt and let stand for about 20-30 minutes. Drain any liquid and gently squeeze dry, if possible. Sprinkle tomato slices with salt and pepper.
Spray a 9×13 baking dish with cooking spray and arrange torn bread in bottom. Pack the bread in as tight as possible in one layer, using the entire loaf. Drizzle the bread with about 2 T. of the garlic/herb oil. Arrange the eggplant slices on top, then the zucchini, then the tomato. Drizzle the top of the vegetables with another tablespoon or two of the oil and sprinkle some thyme leaves over that.
Bake the gratin for 30-40 minutes, or until the vegetables are aromatic and slightly browned and the bread crust is crispy. Remove from oven and allow to stand for 10-15 minutes. Sprinkle with minced basil and parsley and fresh grated parmesan before serving, if desired. The gratin can be served warm, or at room temperature. To reheat, place gratin on a baking sheet and rewarm in a low oven.
From Food & Wine, with heavy modifications
August 17th, 2009
| 4 Comments »
First, there was a teeny little fun project.
Then there was dinner.
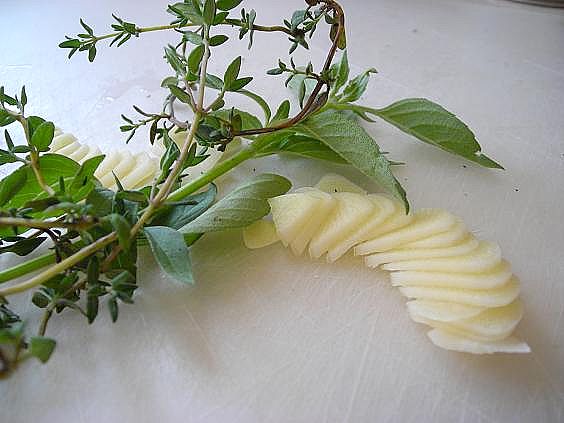 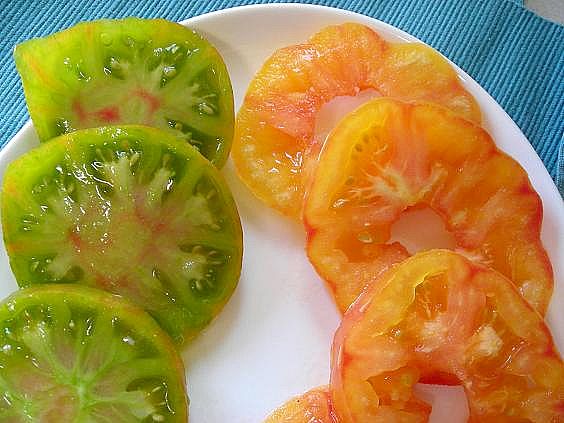 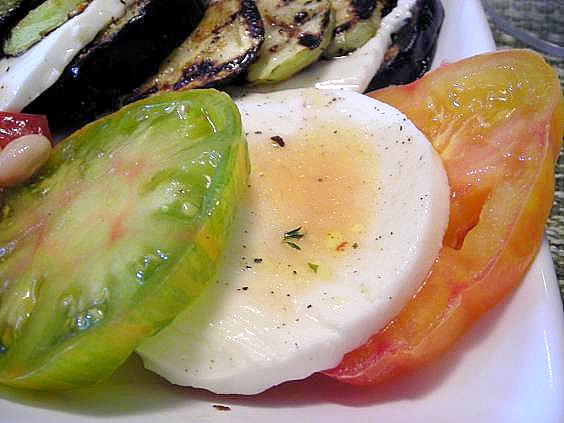 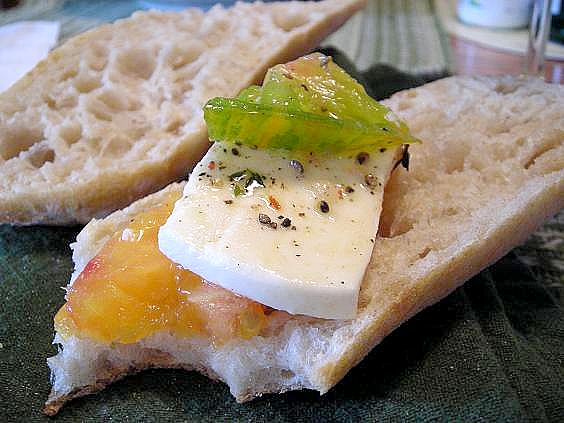 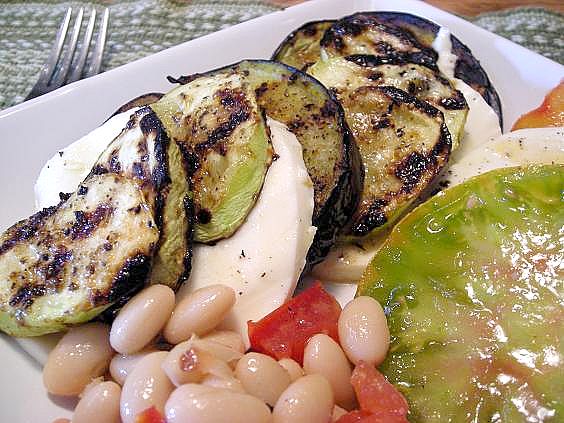 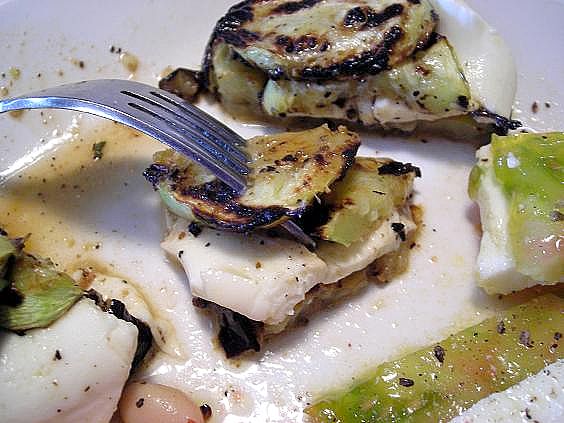  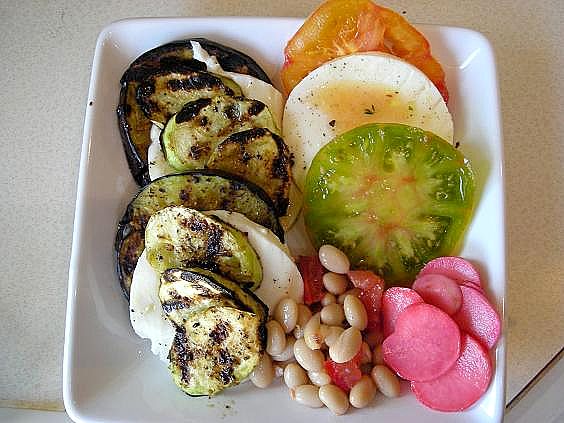
There was some good wine…..

and a good book……

It was almost a shame that the evening had to end. Sometimes you get such a perfect balance of simple, well- cooked and seasoned food, with plenty of color and a varied amount of flavor that you wish it could last for hours. It was that good. The night was breezy and warm, a beautiful rendition of mid-August, and the guys were each off on their own pursuits. It was just me and the cats. And it was heaven.
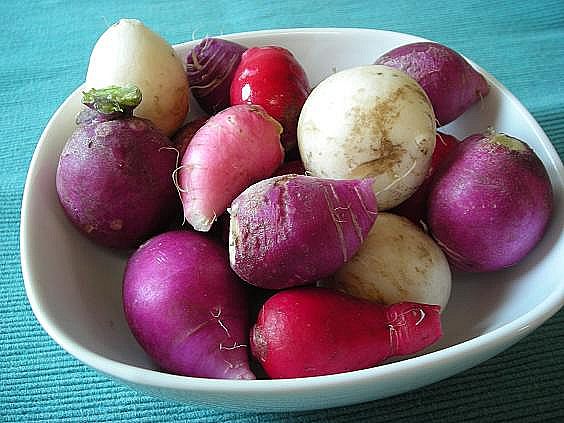
Pickled Radishes
From Epicurious
1/2 c. red wine vinegar
1/4 c. water
1/4 c. white sugar
2 t. kosher salt
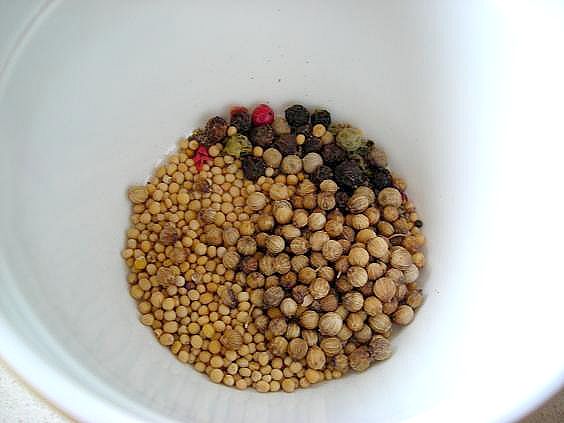
1 t. mustard seed
1 t. coriander seed
1/2 t. peppercorns
2 bay leaf
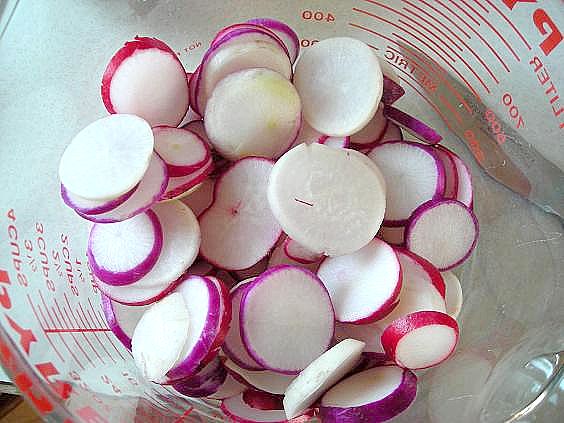
1 bunch radishes, sliced thin
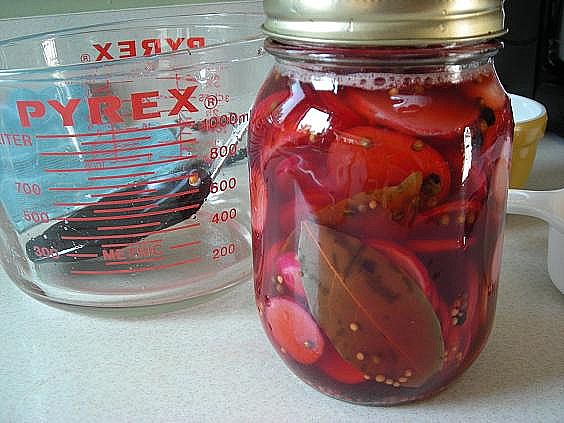
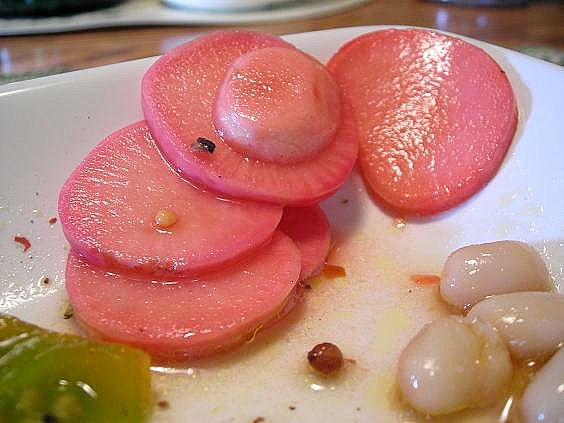
Scrub radishes well with a stiff brush and slice thin, discarding the stem end. Place in a pyrex or other heatproof bowl. Combine ingredients for the brine in a small saucepan and bring to a slow simmer, stirring to dissolve sugar. Simmer for about two minutes. Remove from heat and allow to cool slightly, then pour over radish slices, stirring to combine. Allow radishes and brine to cool for about 20-30 minutes, then spoon the entire mixture into a glass jar with a lid. Be sure to have sterilized the jar, lid and ring well in hot soapy water or by boiling. Screw on the lid, shake well to combine everything once again, and place jar in refrigerator. These are ready to eat within 3-4 hours. They will get more tang and bite the longer they sit. If you don’t wish to have the pink slices, substitute white wine vinegar for the red. This recipe offers a perfect balance of sweet and tart.
The idea for the dinner came from ————> HERE
The recipe for the Garlicky White Beans is —————> HERE
My method for grilling zucchini and eggplant can be found ———> HERE
|


