April 27th, 2014
| 1 Comment »
{{In the midst of radio silence on the blog, I’m re-posting this terrific Crackerbread recipe from last Spring,
along with a bittersweet story of my beloved rolling pin}}
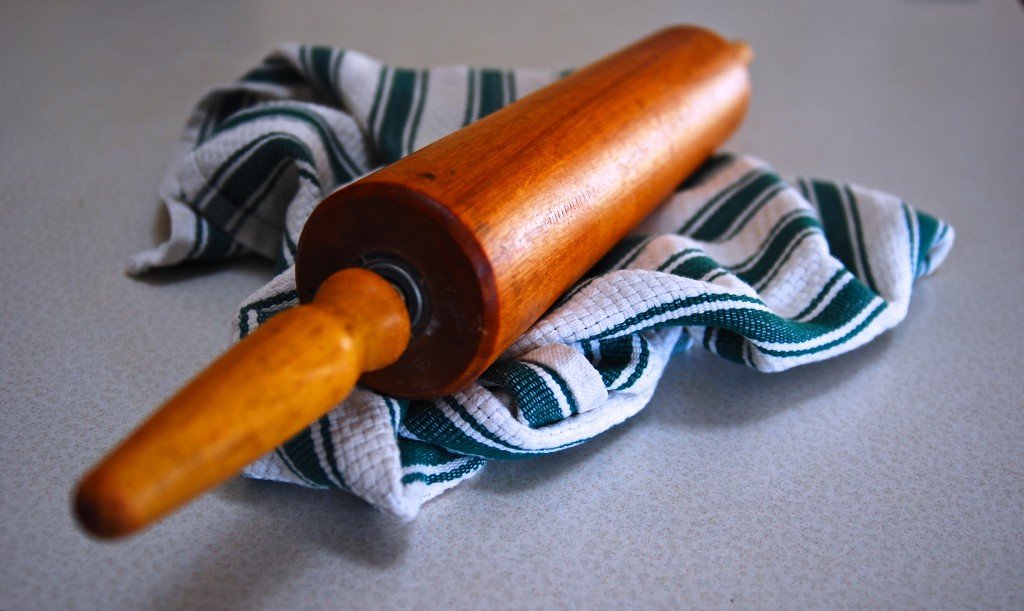
I have a rolling pin in my kitchen that I suspect is older than I am. It belonged to my Mom, and when she passed, I wordlessly picked it up, a flood of childhood memories racing through me; winter afternoons in our kitchen, the laminate tabletop covered in flour and pie tins at the ready. My sisters and I, our eyes eager, would watch our Mom as she pressed, turned, rolled and spun that rolling pin over a disc of fragrant pie dough. The pin whizzed as she pushed, a thwack on the counter as it dropped back on the dough, amidst the crackle of wax paper and the gentle song of a heating oven.
Come in to my kitchen…
December 6th, 2013
| 3 Comments »
The space between Thanksgiving and Christmas feels so much shorter this year, like a freight train coming at us, all decorated in sparkling lights, tinsel and bows. I love Christmas a lot, and the decorations are only a part of what makes it so appealing. But we’re barely past Thanksgiving and December is already roaring in to greet us, all proclaiming the glory of the season.
It’s time to turn the focus on the real meaning of the season.
But first….. we need some good food for celebrating, don’t we??
I tend not to post a lot in the last month of the year. My job becomes so incredibly busy this month and the uptick in activity drains a lot of energy out of me, leaving little time for extra effort in the kitchen to make, photograph and write about a divine treat, or beautiful holiday option. Plus, I just don’t think anyone needs yet another food blogger spelling out Christmas cheer in concentrated posts between now and the end of December. It’s become so saturated with those, hasn’t it?
But I do have some delicious treats, side dishes and snacks from past years that I think are wonderful, and thought that I’d just share a few of them with you. Some are old (but all things old are new again, aren’t they??) and some are new; some spell Christmas loud and clear, and others are just a darn good idea, but all of them can be incorporated at some point over the next weeks in to your holiday repertoire.
May your season be cheerful and bright, however you celebrate.
The ultimate Christmas treat: Sugar Plums
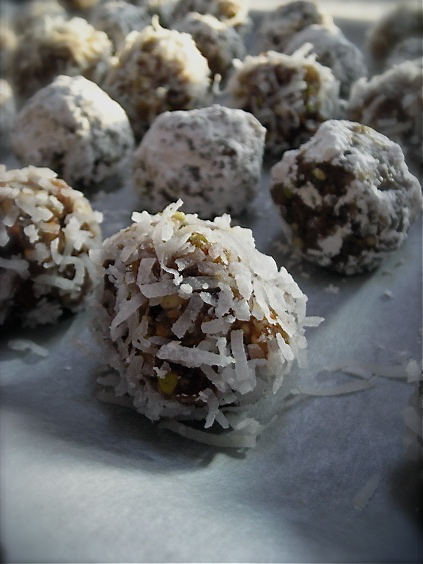
If you’ve never made this classic holiday treat, this should be the year you do. They are superbly simple, with a delicious taste that only gets better as they sit, waiting for Christmas morning. They’re quite healthy, too.
Sugar Cookies. The perfect blend of butter, sugar and vanilla, and just what you need to roll out and cut with fancy cookie cutters for decoration.

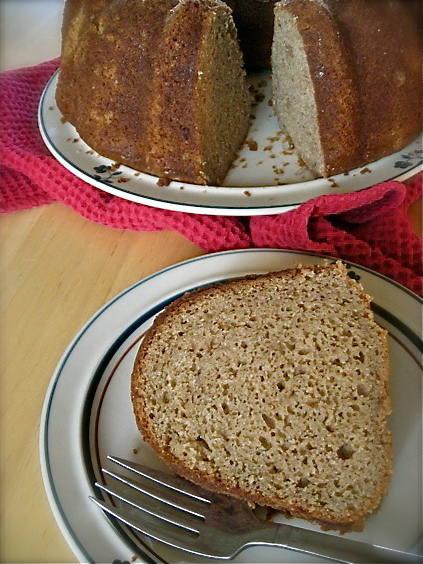
A Nutmeg Cake that smells like Christmas:
White Chocolate Macadamia Nut Cookies- Christmas perfection.

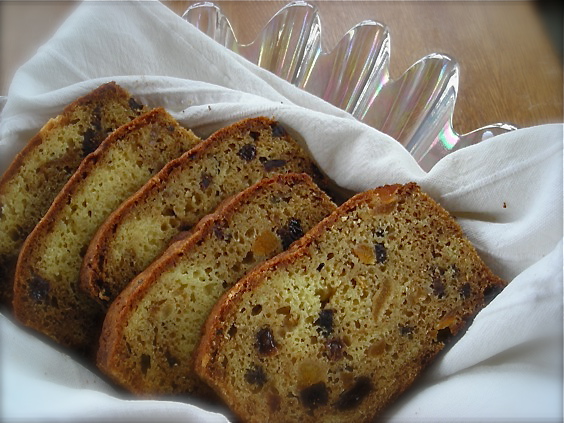
Swedish Holiday Fruit Bread (Fruktkaka), tasting like a long forgotten memory.
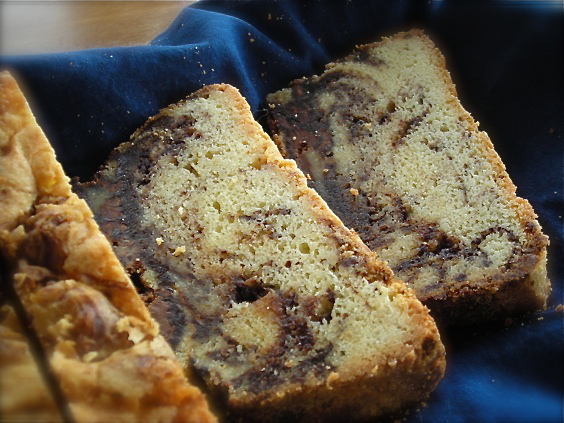
Nutella Pound Cake, anyone?? Can’t get much richer and decadent than that, can you?
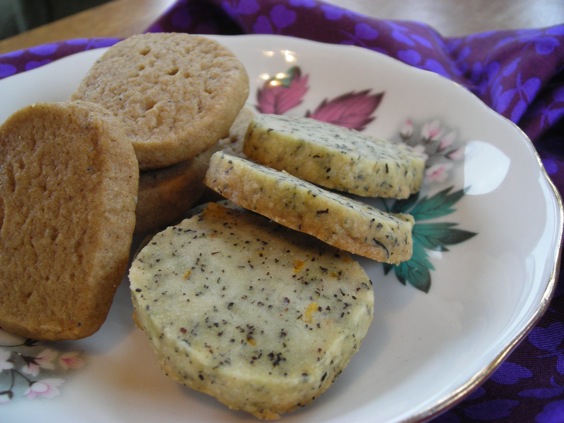
Earl Grey Tea Cookies– made with the beautifully aromatic tea leaves, these taste like a gorgeous Winter day and are a great afternoon treat.
Authentic German Stollen, which I must make again this year. This recipe was glorious. (Photo is from 2008- no judging!)

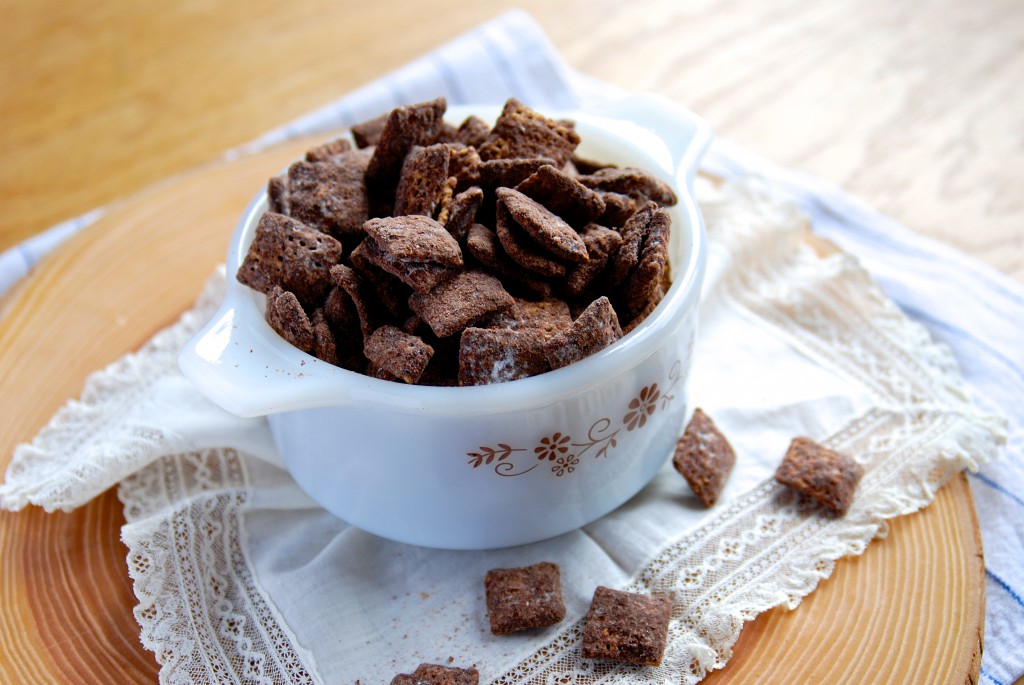
Great snack option, or perfect for gift giving, Dark Chocolate Nutella Muddy Buddies:
For a very hearty appetizer, this Chili Bean & Queso Dip is spectacular:

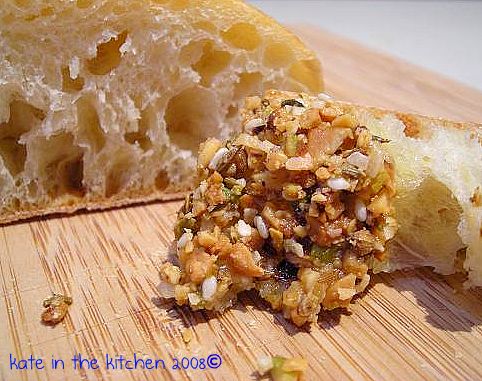
For something completely different, try making this Middle Eastern spice and nut blend called Dukkah. (again, photo from 2008- no judging!!)
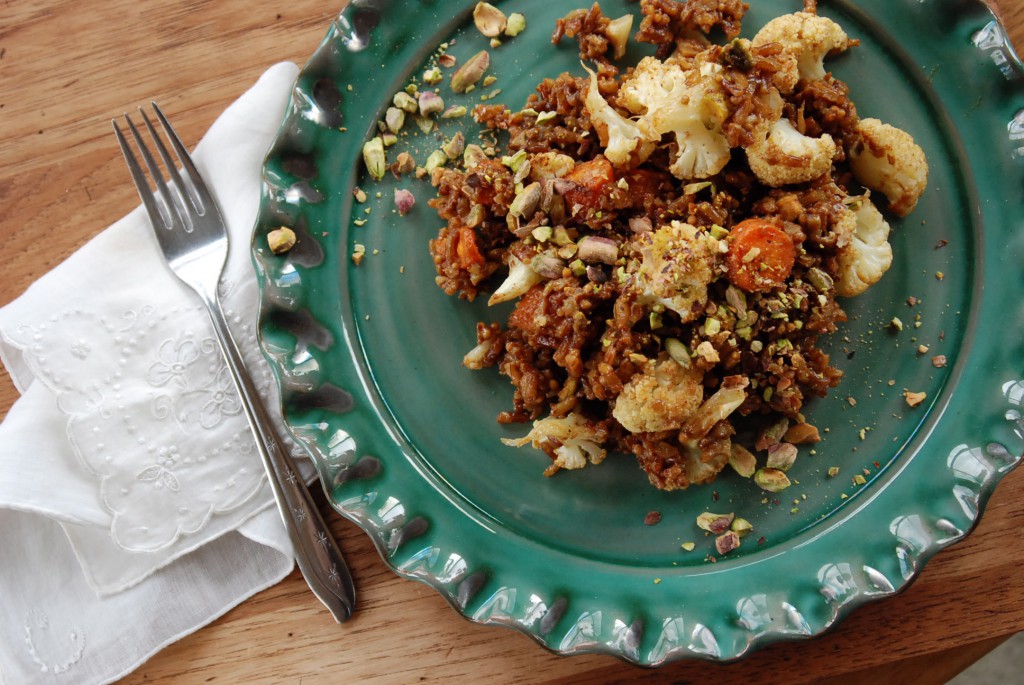
Make Christmas magic with this unique and delicious Red Rice Pulao with Roasted Vegetables as your side dish:
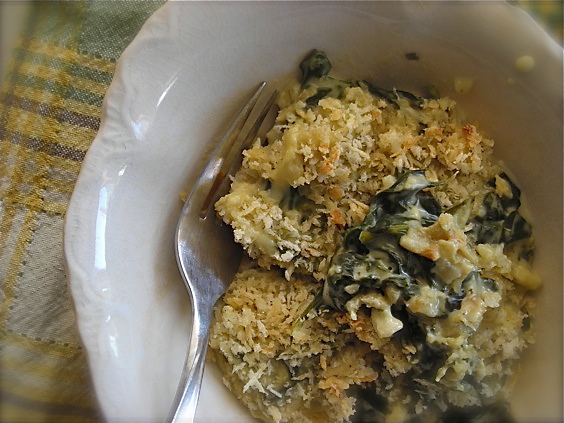
You can substitute your favorite hearty green in this Boursin Spinach Gratin, and still get an amazing, rich and creamy side dish:
May the magic and beauty of Christmas, and all the holidays be kept close to your heart, now and all the year through.
September 19th, 2013
| 3 Comments »
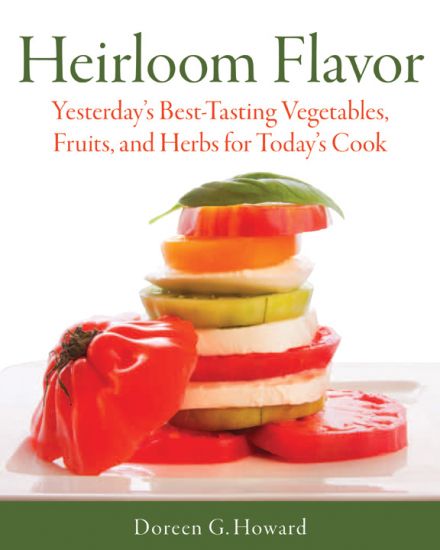
I have been fortunate lately to receive some really nice books for review purposes. This particular one, ‘Heirloom Flavor: Yesterday’s Best Tasting Vegetables, Fruits & Herbs for Today’s Cook’ by Doreen Howard, was highly anticipated, as our CSA offers many heirloom varieties, an option that was a huge draw for me in selecting it in the first place.
Come in to my kitchen…
August 28th, 2013
| 2 Comments »
Earlier this Spring, we took the leap and purchased a CSA share in the Bossy Acres farm. Bossy Acres, run by the team of Karla Pankow and Elizabeth Millard, grow organically on a farm in Northfield, and specialize in unique, heirloom varieties. Being a family of three, we decided to get the Mini share that would deliver every other week, plus an add-on share for fresh farm eggs and fresh roasted coffee.
Hands down, it was the best decision we made this year. In previous years, I would visit the Farmers Markets up to three times a week to keep a good stock of fresh vegetables on hand. In deciding on our CSA delivery, I figured that I would still be able to browse the markets on our off week from deliveries, but the wealth of vegetables showing up in our boxes keeps us chugging along in between delivery weeks, and only on a few occasions have I needed a quick visit to our local market to fill in around the edges. Our garden has also been producing well, and we’ve enjoyed broccoli, chard and a bounty of tomatoes from our own backyard, and the garden at our lake home.
In one delivery from Bossy Acres, complete with a copious harvest from the lake, I faced a counter full of cherry tomatoes that I desperately needed to do something with before they all started collapsing.
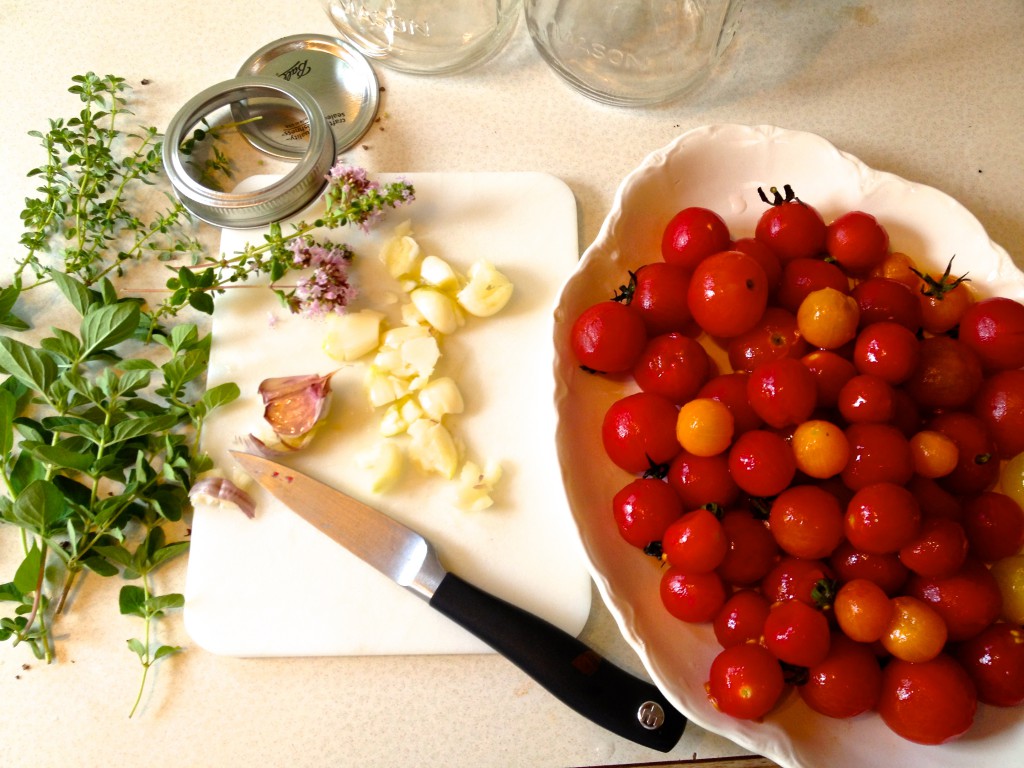
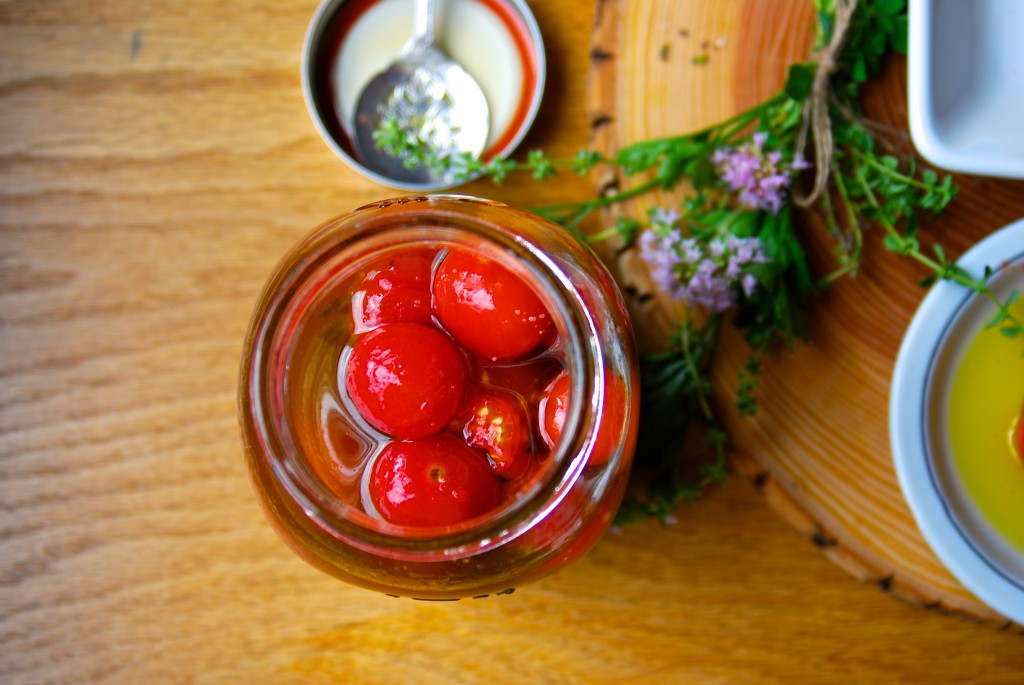
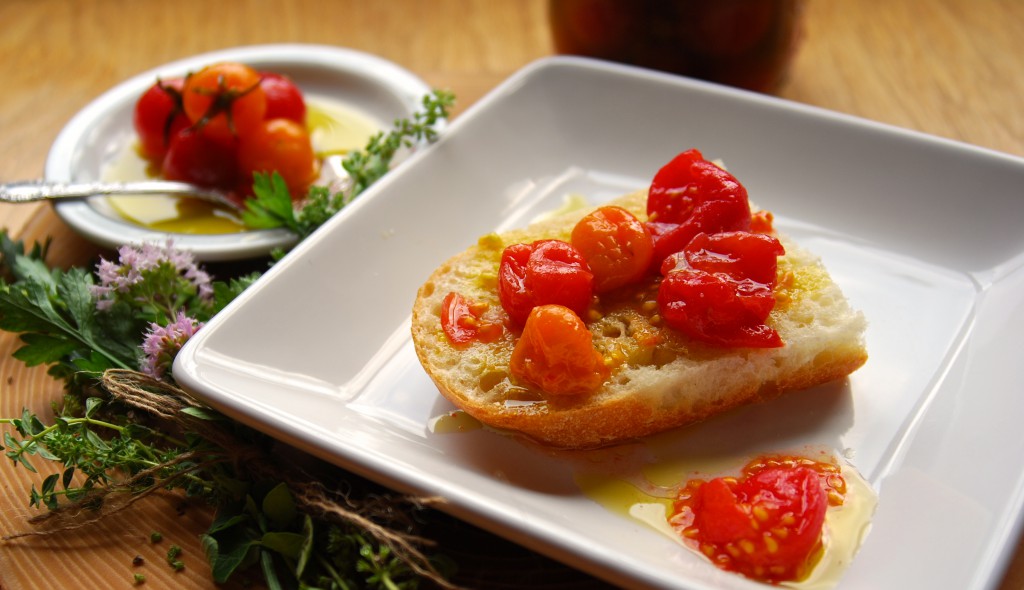
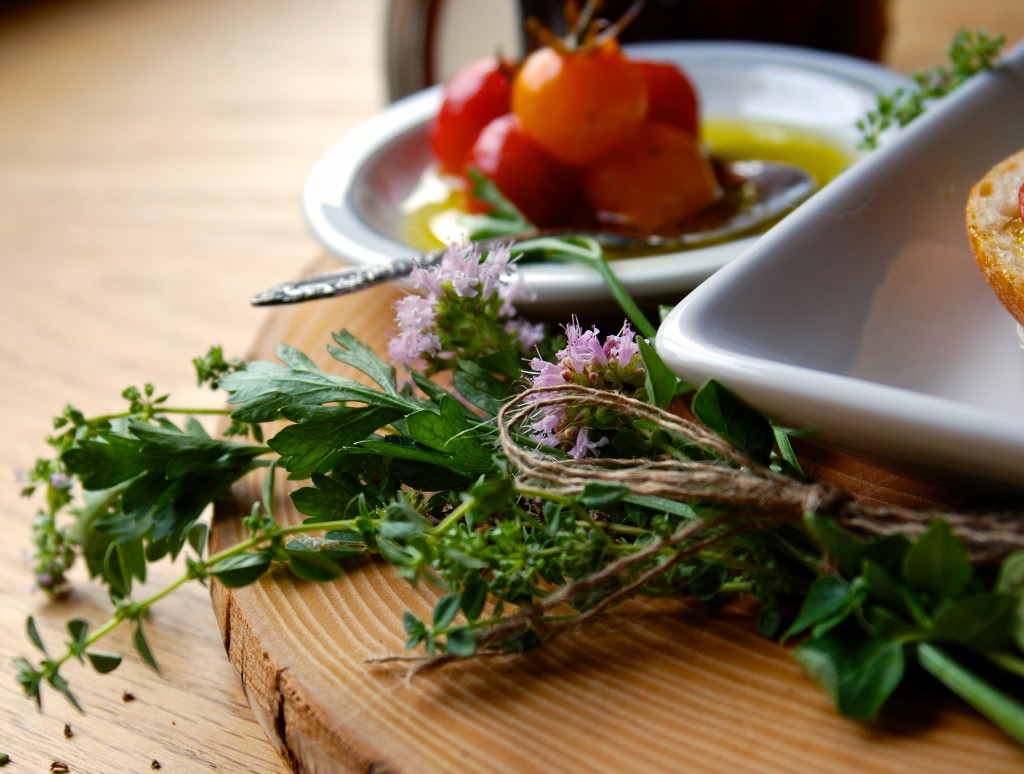
These simple marinated cherry tomatoes were a perfect option to take care of the bounty. One quart jar later, they were ready for a few days soaking in the refrigerator, redolent with fresh thyme, oregano and crushed cloves of aromatic garlic. The hardest part of the entire procedure was peeling the little things. The olive oil marinade even made enough to have some left over to fill an extra bottle for use on salads or drizzled over good bread.
A good marinated tomato has endless uses. I love using them on pizza, or you can toss them on your greens, too. Mashed and blended with vinegar, they make a simple vinaigrette, or like pictured here, scooped out and placed on bread, with some of the oil scattered over the top. Once the jar has had time to meld all the flavors together, what happens after that is only limited by your imagination and appetite.
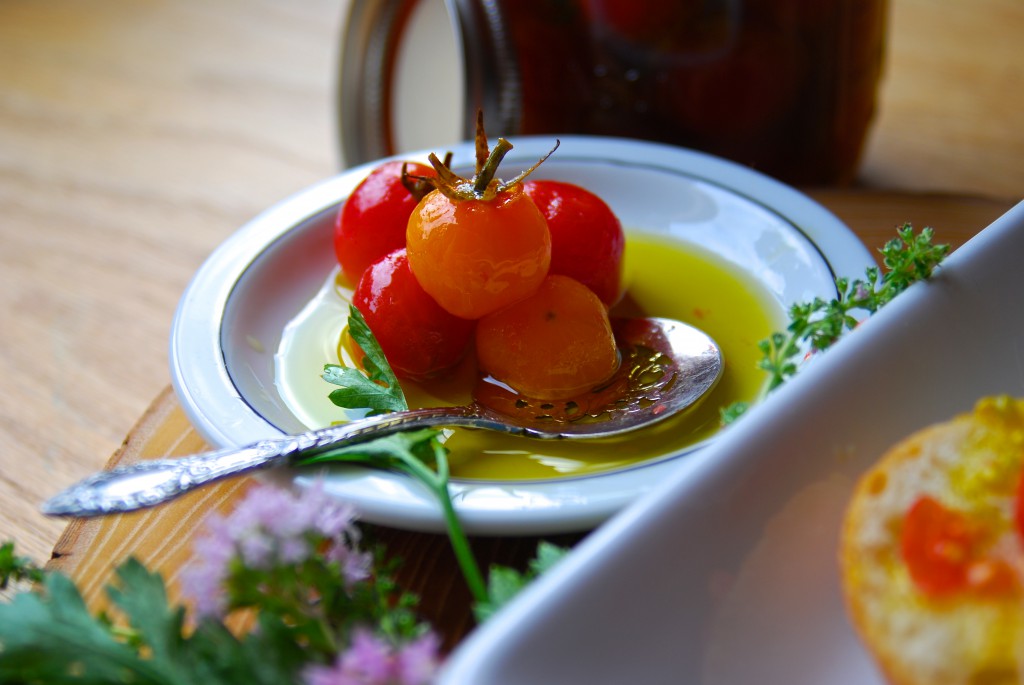
For your bounty of garden tomatoes, pack up a jar or two of these beauties. You will love them.
Herb Marinated Cherry Tomatoes
2 c. high quality olive oil
5 cloves garlic, crushed
1 t. crushed red pepper
2 sprigs each fresh thyme and oregano
1 t. mixed peppercorns
1 t. flaked sea salt (I used Maldon smoked)
2 pints Cherry Tomatoes
The Cherry tomatoes need to be peeled, and this was the most tedious part of the whole procedure. Score an X on the bottom of the fruit with a sharp knife and bring a pot of water to a boil. Place a large bowl of ice water nearby. Working in batches, drop the scored tomatoes in the boiling water for 15 seconds. With a slotted spoon, remove from the pot and immediately drop in the ice water. Once cooled, simply peel off the skins. Place the tomatoes in a quart canning jar with a few sprigs of fresh herbs. I liked using the flowering tops of the herbs in the jar.
In a small saucepan, warm the oil, garlic, red pepper, peppercorns and salt gently, stirring to dissolve the salt. Do not bring to a boil. Add the fresh herbs and remove from the heat. Allow to cool completely, then strain out the solids, pouring the oil over the tomatoes in the jar. Any remaining oil can be poured in to a carafe for other uses in the kitchen. Cover the jar and give a gentle shake, then allow to sit at room temperature for 2 hours. Refrigerate for up to two weeks. I doubt they’ll last that long.
You will see the oil solidify in the refrigerator. This is normal. Allow the jar to sit at room temperature for a short time before serving to bring the oil back to liquid.
June 24th, 2013
| 5 Comments »
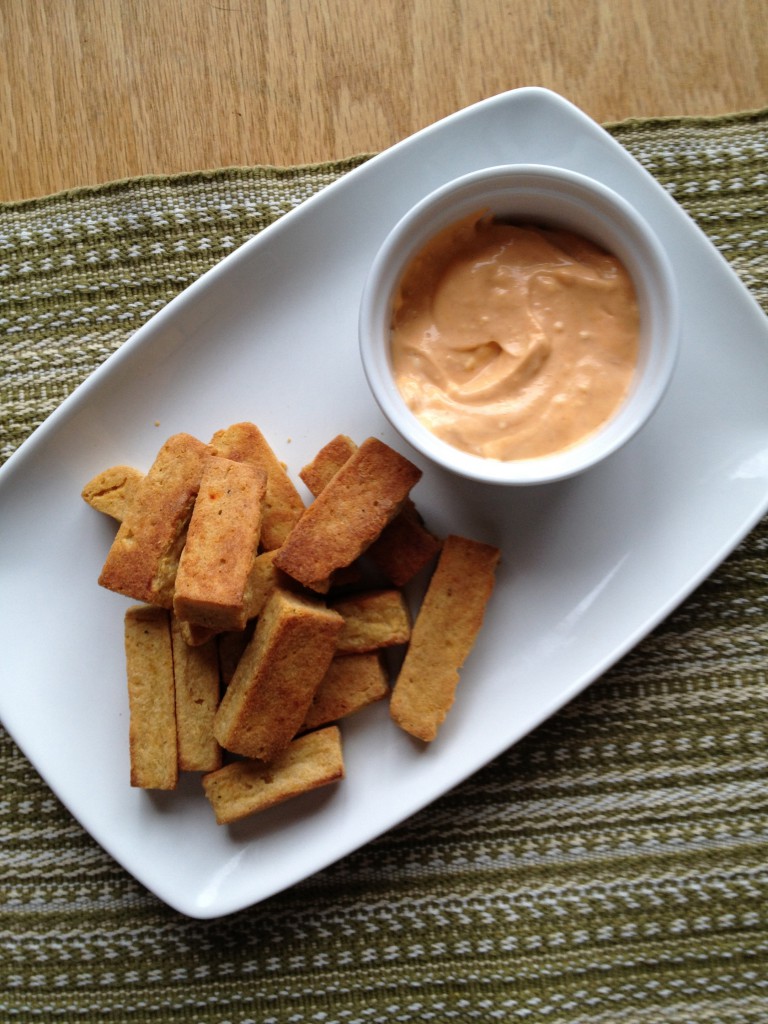
It’s hard to keep writing a food blog for seven years, which is how long my little spot on the Internet has been around. Began in June of 2006, when food blogs raised an eyebrow of question rather than a simple nod of understanding, I never anticipated that this place would become the launching pad for so much enrichment in my life. Or so much frustration.
And with such an intense saturation of food blogs, with clamoring voices, ubiquitous styles, and everyone trying to find a way to stand out, my page just keeps plugging along in the only way I know how. It’s just me and my food.
Come in to my kitchen…
March 21st, 2013
| 2 Comments »

For a simple supper or easy appetizer, these crunchy tostadas are a snap to put together. And they have me craving Summer.
Come in to my kitchen…
August 10th, 2012
| 2 Comments »
Something glorious happened in Minnesota in the last week; that stifling, oppressive heat and humidity finally was swept away and in it’s place is cool, breezy sunshine, temperate nights and audible sighs of relief. A pair of jeans even made an appearance lately.
Now I do realize that August can still be hot and sticky, but I am really crossing my fingers that the worst of it is over. I enjoy my outdoor time, my biking and fresh air and I would really love to get back in to this without taking a bath in my own sweat.
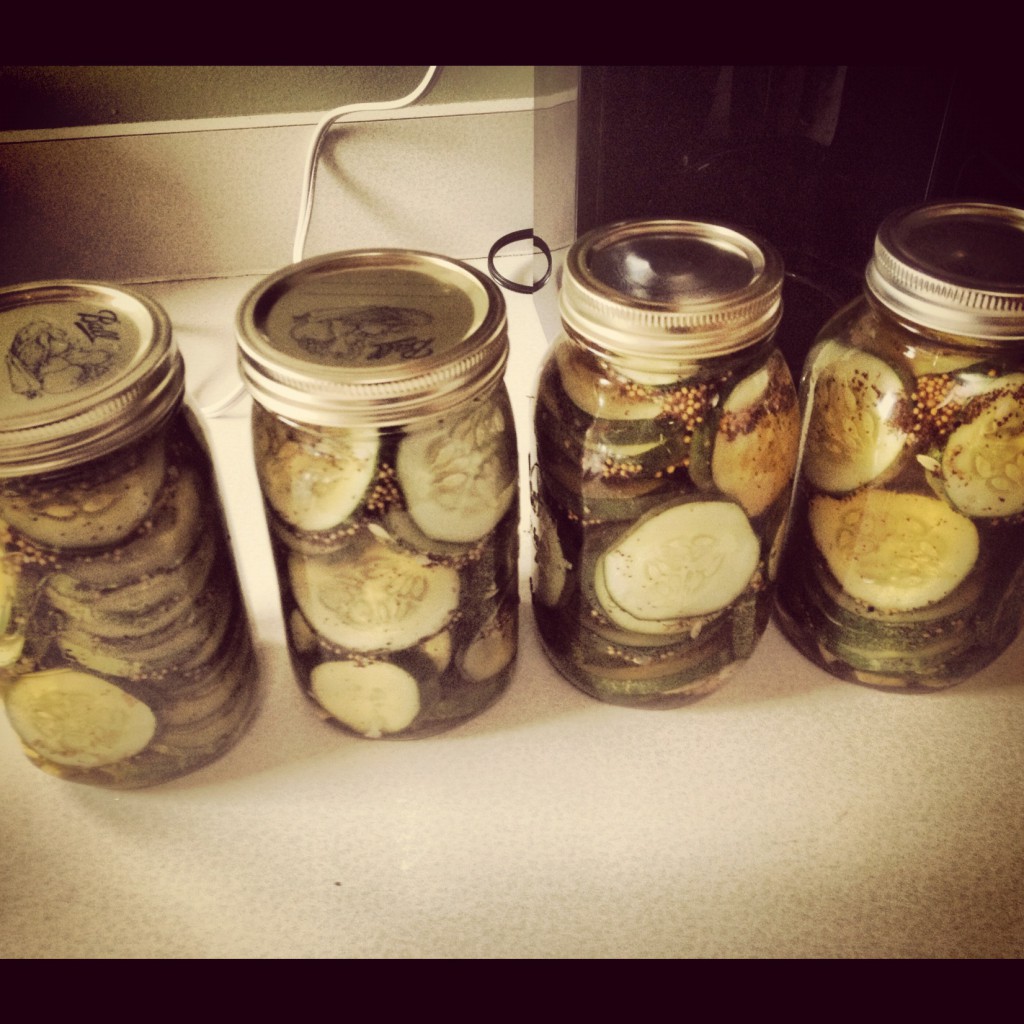
And it is that time of year too, for pickling, for canning, for preserving. I haven’t leapt headfirst in to the preserving craze that a lot of home cooks are on these days, but this year, faced with an abundance of cucumbers from our garden at the lake, I did tackle making refrigerator pickles and I’m so glad that I did. These pickles pack a punch of memory that I love with each crunchy, sweet-sour bite.
When I was very little and before my parents split, we spent a few summers enjoying a vacation at a resort near Detroit Lakes. It was a perfectly idyllic week for both parents and children, as this resort had all sorts of activities planned out, guaranteed to keep kids happy and occupied, while parents had their own time to sit and relax. Every morning, the staff would gather the kids right after breakfast, and some days, keep us busy until we arrived, breathless, grimy and sunburned back at the dining hall for dinner. Three squares a day were served, and at dinnertime, a relish plate was on every table that held carrot and celery sticks and tiny, sweet-sour pickles that I loved. The vegetables, inevitably, would absorb some of the pickle brine, so everything sort of tasted the same, but I loved nibbling off that plate and had no idea how much I missed that flavor until last Fall when my sister-in-law brought a jar of refrigerator pickles to a family gathering and I lifted one to my mouth for that first, long forgotten crunch.
It was like rapidly falling backwards in time to being 5 years old, reaching across the huge rectangle table in that massive dining hall, with floor to ceiling windows open to the summer breeze and surrounded by the last memories of my family completely intact. That sweet, salt, celery and mustard seed flavor had eluded me for a lifetime and I didn’t even know it until I tasted those pickles. I was flooded with memories, scents and nostalgia. I could smell the lake, our cabin, the cotton sheets we slept on, suntan lotion, the hot dry grass underfoot. I could see that resort in it’s entirety. I could recall the fun and laughter and the sheer exhaustion of falling asleep after a long, busy and exciting day. It was the last memories of perfection in life, before fracture, before pain and shouting and the upheaval of divorce. It was the end of one life and the beginning of another. But now, where life is happy and easy, where the love abounds, the flavor comes full circle. And I’ve made six quarts of these lovely little pickles, and we’re all enjoying them greatly.
There’s very little work involved in making these pickles, outside of stuffing the jars with cucumber slices. Our garden cucumbers from the lake were quite round and large by the time I got hold of them; with smaller cukes, the stuffing becomes much easier. Add in slices of onion and peppers, crushed cloves of garlic, slices of jalapeño for kick. I made my quarts with garlic and love the flavor. One 12-hour period in the refrigerator and you’re done.
Refrigerator Pickles
For the Brine:
1 c. white vinegar
1-1/2 cups granulated sugar
1 T. kosher salt
1 t. celery seed
1 t. mustard seed
In a non-reactive pot, bring ingredients for brine to a boil, stirring well to help dissolve the sugar and salt. Place sliced cucumbers and any extra flavor additions in quart jar. Pour brine over, screw down the top and shake gently to distribute. Allow to cool slightly, then place in refrigerator for a minimum of 12 hours. Make sure you’re putting the jars in the refrigerator while they are still fairly warm. You should be able to hold them, but still feel the heat.
Give the jars a good shake the next day to redistribute the brine and slices. This recipe should make enough brine for 1-2 quarts.
RECIPE NOTES: I doubled this recipe for my first batch, which made three quarts, easily. The next batch, in which I had 12 huge cucumbers to use, I packed 4 quart jars, made a 5X batch and ended up with quite a bit of brine left.
Be sure you are really packing the jars well. These will shrink considerably while pickling.
For both batches I made, I used a small amount of brown sugar in place of the white. It gives the pickles a bit more deep flavor. It’s not necessary at all, just an option.
May 23rd, 2012
| 1 Comment »
I’ve been phenomenally absorbed by Tamar Adler’s An Everlasting Meal. I’ve barely even gotten through half of it because I read, re-read, underline, contemplate, read AGAIN and then think about it like my very life depends on those words filling every pore in my body. Have you read it? If you love food, and you love simple, easy, good food, I strongly encourage you to pick it up, but be warned….. this book could change the way you cook and I urge you to own it so you can really enjoy the prose, the story, the thoughtful way that Tamar looks at the very things that sustain us.
I’m grateful to this book too, as it came to me through a renewed relationship with an old friend from high school. Connecting on Facebook, even though she lives in Brussels, Belgium, we’ve exchanged many emails about food, and her quest for some information on what constitutes ‘good’ olive oil led to a long discussion about this book. A few days later, the book itself arrived on my doorstep, courtesy of this friendship, and now I know why Barbara was so moved by it.
Tamar’s philosophy about food is utterly simple. It doesn’t have to be complex in the least, and she states this over and over again, through every chapter, rich with descriptives of meals so ridiculously simple that it honestly could inspire even the most timid home cook to become brazen in their own kitchen. The chapter on beans gave me more to think about regarding the humble legume than I’d ever imagined, and was the inspiration when along came a day where a simmering pot of beans just seemed like the thing to do.
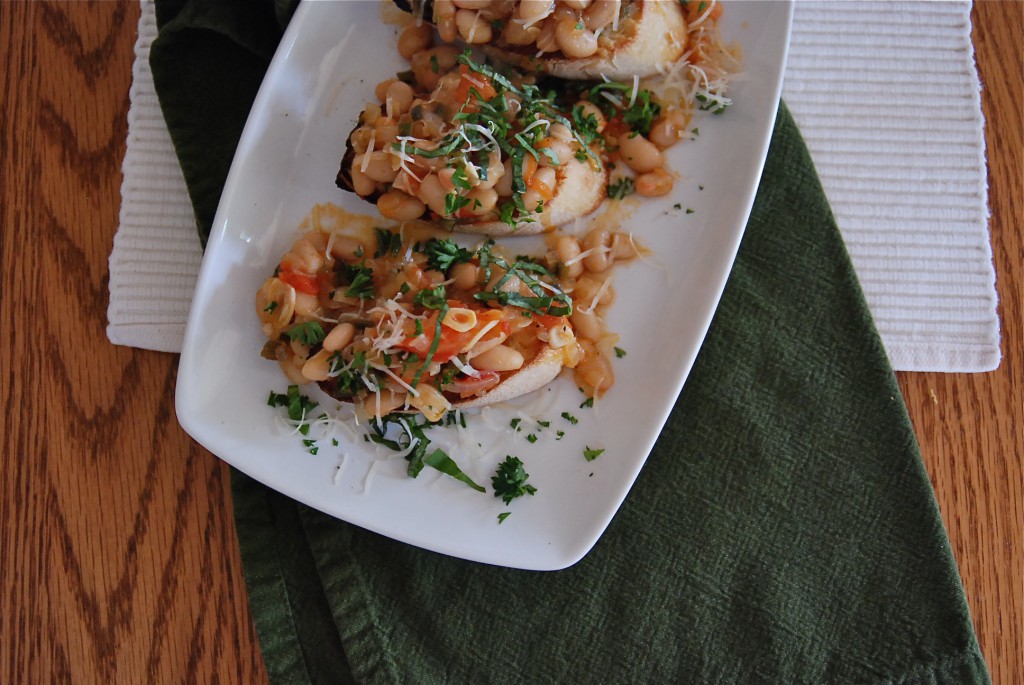
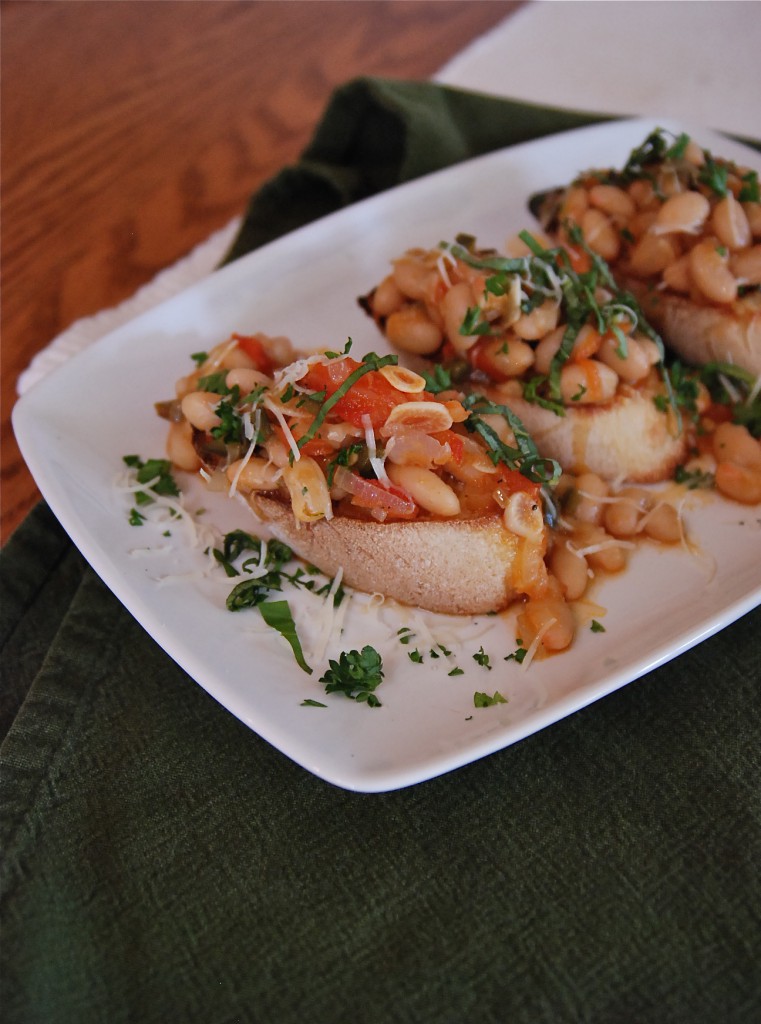
Simple and fulfilling meals have always been my most favorite. I don’t mind fancy eating, once in a great while, but my start on food was a humble beginning, and I’ve lived through some seasons where there just wasn’t enough on the table. I’m not particular about my food, either. I’ll eat most anything I’m served and I’m grateful for it, as the memories of hunger will always remain within me. To me, a pot of beans is a thing of beauty; savory without a lot of work, filling without heft, satisfying like an old friend. It’s soul {filling} food, that which makes you just feel good. Although I do enjoy the long process, on occasion, that a dried bean requires for preparation, I keep on hand a wide variety of canned beans, and in a pinch, these have saved dinner, lunch and even breakfast from mediocrity. A good time simmering and they become so creamy soft and perfect. With a loaf of chewy bread, it’s royalty on a plate, by way of a peasant’s wage.
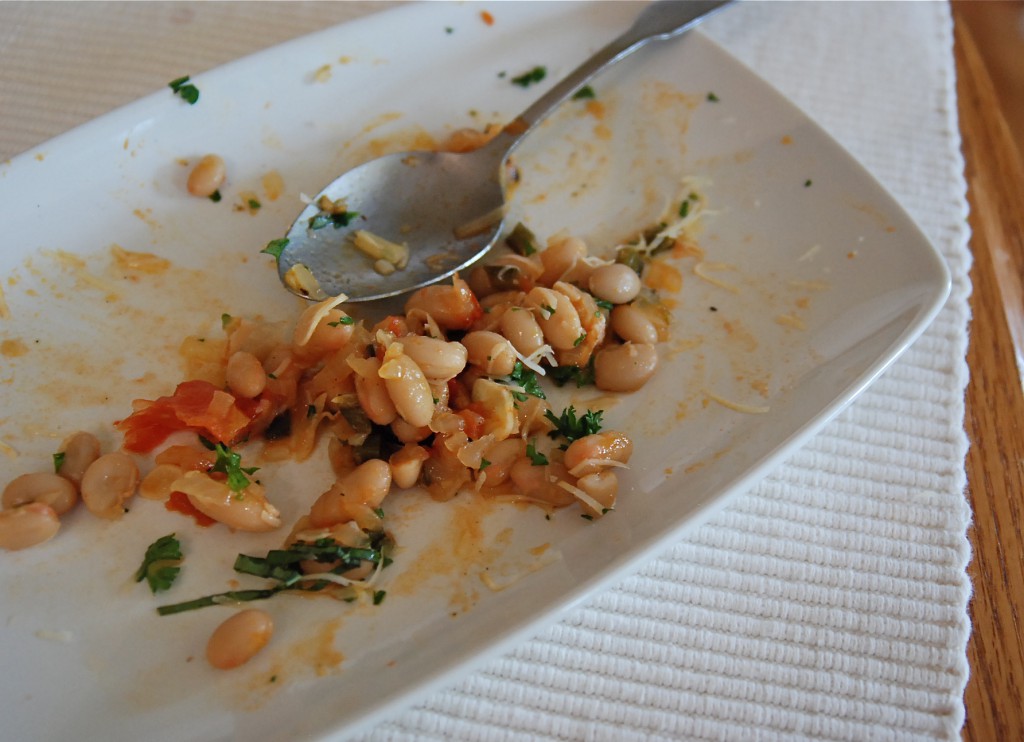
White Bean Ragout
2 large onions, minced fine
1 bell pepper, minced fine
3-4 cloves garlic, thinly sliced
2 medium tomatoes
2 15-oz cans Great Northern white beans, or Cannellini
2 c. vegetable broth
1/2 c. chopped fresh parsley and basil (I don’t recommend subbing in dried)
1/2 c. shredded fresh parmesan cheese
Baguette slices
First, we’ll roast those tomatoes. Slice each one in to quarters, remove the tough core and place on a baking sheet. Heat the oven to 400°. Drizzle the tomato wedges generously with good olive oil, and sprinkle with a bit of sea salt and fresh cracked pepper. Place in the oven and roast until the skins blacken slightly and get all puffy, but not to the point of collapse. You want some heft left in them. Allow them to cool slightly, discard the skins and gently lift them in to a small bowl. Any oil remaining on the pan can be scraped in to the bowl as well.
As the tomatoes roast, heat a large, deep skillet and add oil of choice. Saute the onions and bell pepper, stirring occasionally, for about 25-30 minutes, or until they are very, very soft. Add in the sliced garlic and continue to cook for about 15 more minutes. Don’t allow the vegetables to brown too much. A little is good. Sprinkle them with sea salt and some cracked pepper.
Take the tomatoes and add them to the pan, breaking them up with a spoon. Make sure you add all the juice and oil that’s accumulated too. That’s delicious. Stir in the beans and add the broth. Allow the mixture to simmer, gently, stirring it on occasion, until the broth is thickened and the beans are nice and creamy. If it seems to get too dry and/or sticks to the pan, add more liquid, like broth, or even water. Taste for salt and pepper, adding more if you wish. Add a few tablespoons of shredded parm to the vegetables.
Sprinkle the baguette slices with more parmesan and either broil or toast in a toaster oven until browned and crispy. Alternately, you can grill the bread too, adding the parm when the bread is slightly charred and hot. Place your toasted bread on a plate and scoop the beans over them, making sure to drizzle the liquid on as well. Top with more parm and the fresh herbs. Serve warm, or at room temperature.
Recipe origin: Bon Appetit magazine, May 2012; here with adaptations
January 31st, 2012
| 4 Comments »
Previously in this space, we talked about mushrooms. Specifically, we talked about my quick and decisive learning curve that led me to an all-out lustrous affair with fungus.
Today, it’s all about Beets.
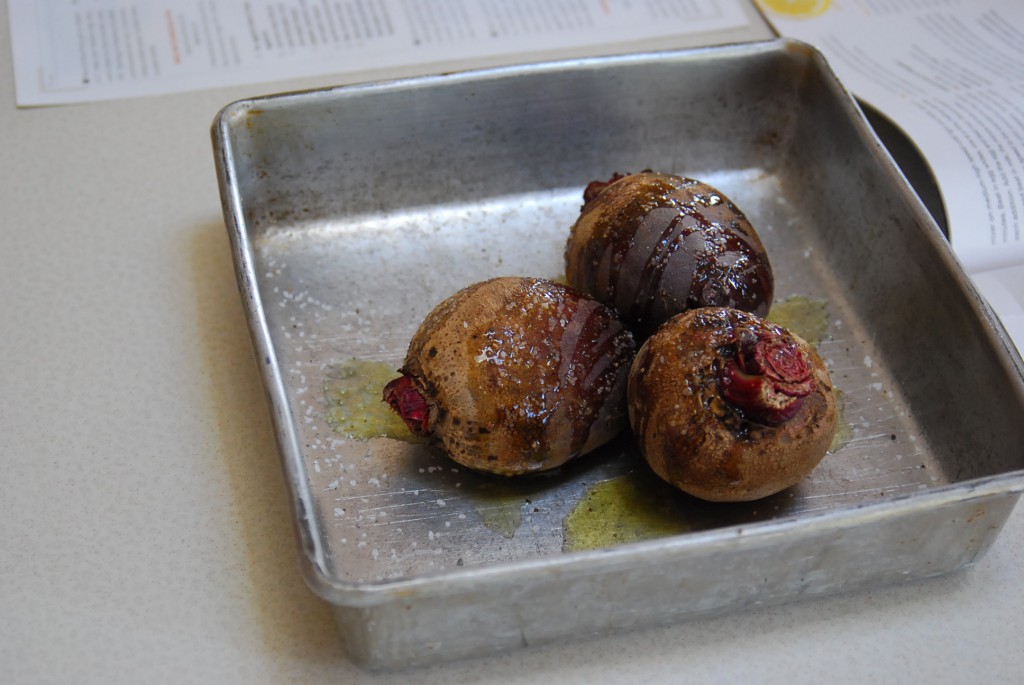
Beets and I had a torrid love affair back in 2009; it was then that I discovered the merits of this earthy root vegetable, one that turns tender and appealing from a long stretch in a hot oven; that it’s earthiness and deep, dark flavor isn’t so overpowering when paired with any number of other ingredients, and most specifically, that the nutrients in this little orb are well worth an incorporation to one’s regular eating. The greens also made their way in to my heart, one of the first to do so, and I believe they were responsible for me learning to love all things dark green and leafy.
Beets have a spectacular nutrient profile, primarily being a superb source of anti-oxidants, with anti-inflammatory and detoxification properties as well. Beets are in the same Chenopod family as spinach, chard and, surprisingly, quinoa. And while they contain an incredible amount of anti-oxidants, it’s the specific ones in beets- lutein and zeaxanthin- that make these vegetables stand out with their nutritional defense for your well-being. Lutein is especially beneficial for eye health, and the anti-oxidant mix in Beets is highly supportive of the nervous system. The anti-inflammatory properties of Beets also support heart health, and can help balance inflammation brought on by Type-2 Diabetes.
But even with all that, many people can’t get past the taste of Beets. They are dark and earthy, and quite honestly, I struggled with them at first, but I discovered that the lovely gold Beets are far less heavy tasting than their red cousins. Once I was able to enjoy the gold, I tried several recipes with the red and found a lot to enjoy about them as well.
Then, along came this recipe, pairing mellow and tender roasted beets with garlic studded mashed potato in a classic Skordalia. One bite and I was in love. With Beets. Again. Oh the glory…..
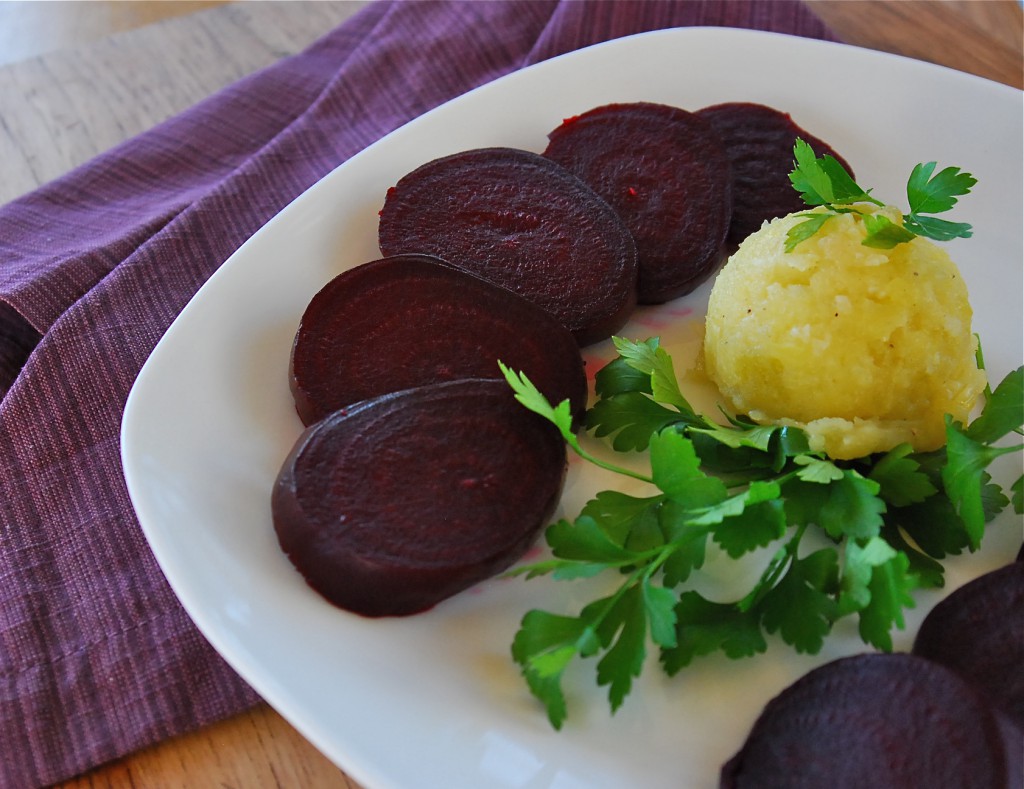
Served warm, with toasted pita bread on the side, this simple, non-fussy dish was rich with flavor and texture. The soft, fragrant potato mix, studded with garlic and thickened with a swirl of a soft, fruited olive oil lends a beautiful contrast to the hearty and tender roasted beets. I would have never imagined that the two of these foods together, both so simple and humble, would be so perfect.
Roasted Beets with Skordalia
4 medium red beets (about 1 1/2 lbs.) trimmed and cleaned
10 tbsp. extra-virgin olive oil
Kosher salt and freshly ground black pepper, to taste
1⁄4 cup finely ground toasted walnuts
1 tbsp. red wine vinegar
6 cloves garlic, smashed and minced into a paste (I sauteed the garlic in some of the olive oil before adding it to the potato for a more mellow garlic flavor)
2 medium russet potatoes,
peeled and cut into 1″ squares and boiled until tender
Heat oven to 425°. Put beets in an 8″ x 8″ baking dish and drizzle with 2 tbsp. oil. Season with salt and pepper and pour in 1 cup water. Cover pan tightly with foil and crimp edges to form a seal. Bake beets until a knife inserted into beet slides easily into the center, about 1 hour. Transfer pan to a rack, carefully uncover, and let cool for 30 minutes. Peel beets and cut into 1″–2″ pieces; set aside.
Put walnuts, vinegar, garlic, and potatoes into a medium bowl and mash potatoes until smooth. Vigorously stir in remaining oil and season with salt and pepper. Transfer beets to plates and serve with some of the skordalia spread on the side.
Recipe posted in it’s entirety from the original source in Saveur magazine, issue #131.
November 7th, 2011
| 3 Comments »
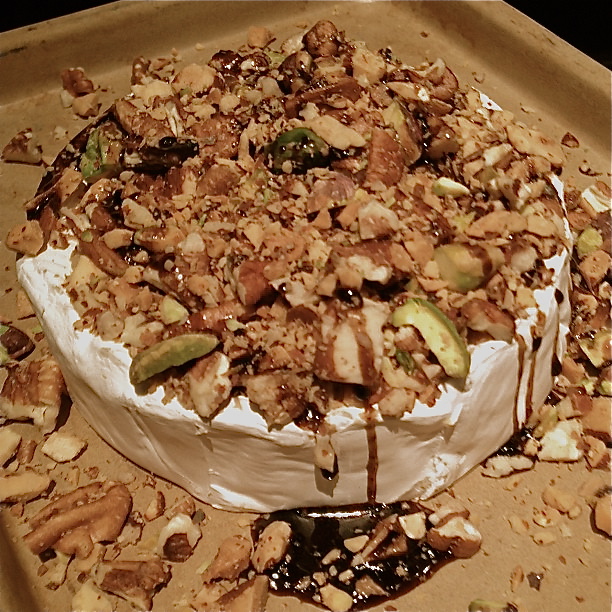
That’s a pretty way to end a long day, isn’t it?
I gave in yesterday to some unhealthy eating, including things fried, and eating meat. While the meat isn’t exactly unhealthy, it did it’s usual number on me with stomach upset and I found once again that after a few bites of it, I wasn’t enjoying it. Still, I ate what was remaining on my plate to be polite because my staff bought me that lunch, and they were thrilled to share with me.
Then for dinner, I was unmotivated, not to mention alone, as Mike and Griffin were at their Sunday night youth group gathering and dinner ideas just slipped in and out of my mind as the dark afternoon gathered in the quiet house. I was feeling off from the afternoon fare, and a few perusals of the refrigerator didn’t reveal anything exciting. Except a small wheel of Brie.
Soon enough, this delightfully warm and enchanting snack lay on the table in front of me. A variety of nuts, chopped and toasted, were spread over the top of the heated cheese, then drizzled with a fragrant balsamic-honey glaze. A sturdy knife, some multi-grain crackers and Etta James crooning over iTunes radio to me, and an unsettled day, busy with work and people, gave way to a calmer and more focused evening.
This creation would make a delicious and unique appetizer for a holiday party. It’s so simple to make too; I used pistachios, almonds and pecans for my nut topping. You could use whatever nuts appeal to you. My wheel of Brie was fairly small, and I used a cup of assorted nuts. I chopped them coarsely, and toasted them in a pan until golden and fragrant. Just before I removed them, I made space in the center and dropped in about a half tablespoon of butter. When it melted and the foam disappeared, I stirred it into the nuts, then scraped them in to a bowl.
Placing the same pan back on the burner, I poured about a half cup of balsamic vinegar in the pan and warmed it to steaming. The Brie was in a 375° oven on a small stoneware pan while I worked on the topping. When the balsamic was warm, I drizzled about 2 tablespoons of honey in to the pan and just let it melt and mix with the vinegar until the Brie was warmed through. Removing the Brie from the oven, I topped it with the nuts, then poured the warmed glaze over it, scraping the pan with a rubber spatula. The Brie wheel was in the oven for maybe 10 minutes, but I could have gone longer as the rind seemed a bit thick and the cheese was still firm in some spots. Time will depend on how warm and melty you want your cheese, and the thickness of the rind.
What’s on YOUR plate this month?

|


