December 6th, 2013
| 3 Comments »
The space between Thanksgiving and Christmas feels so much shorter this year, like a freight train coming at us, all decorated in sparkling lights, tinsel and bows. I love Christmas a lot, and the decorations are only a part of what makes it so appealing. But we’re barely past Thanksgiving and December is already roaring in to greet us, all proclaiming the glory of the season.
It’s time to turn the focus on the real meaning of the season.
But first….. we need some good food for celebrating, don’t we??
I tend not to post a lot in the last month of the year. My job becomes so incredibly busy this month and the uptick in activity drains a lot of energy out of me, leaving little time for extra effort in the kitchen to make, photograph and write about a divine treat, or beautiful holiday option. Plus, I just don’t think anyone needs yet another food blogger spelling out Christmas cheer in concentrated posts between now and the end of December. It’s become so saturated with those, hasn’t it?
But I do have some delicious treats, side dishes and snacks from past years that I think are wonderful, and thought that I’d just share a few of them with you. Some are old (but all things old are new again, aren’t they??) and some are new; some spell Christmas loud and clear, and others are just a darn good idea, but all of them can be incorporated at some point over the next weeks in to your holiday repertoire.
May your season be cheerful and bright, however you celebrate.
The ultimate Christmas treat: Sugar Plums
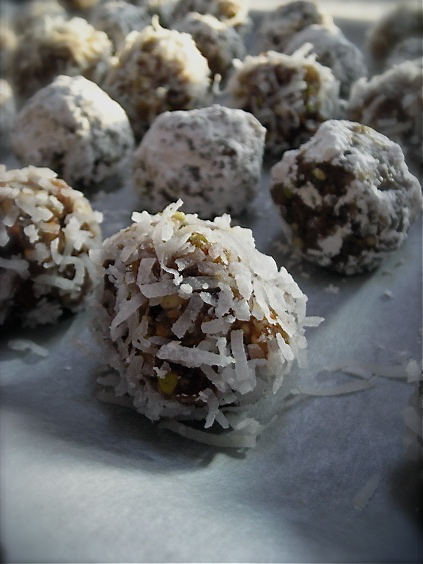
If you’ve never made this classic holiday treat, this should be the year you do. They are superbly simple, with a delicious taste that only gets better as they sit, waiting for Christmas morning. They’re quite healthy, too.
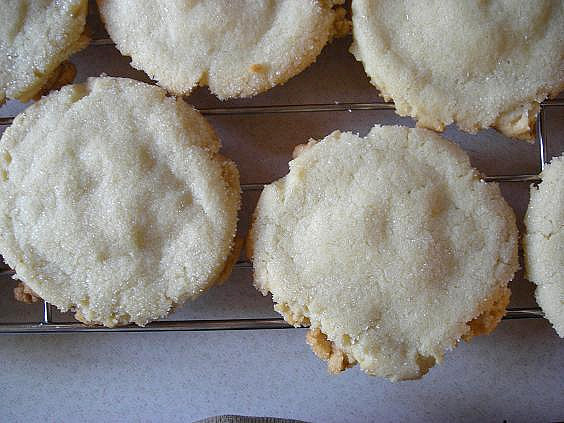
Sugar Cookies. The perfect blend of butter, sugar and vanilla, and just what you need to roll out and cut with fancy cookie cutters for decoration.
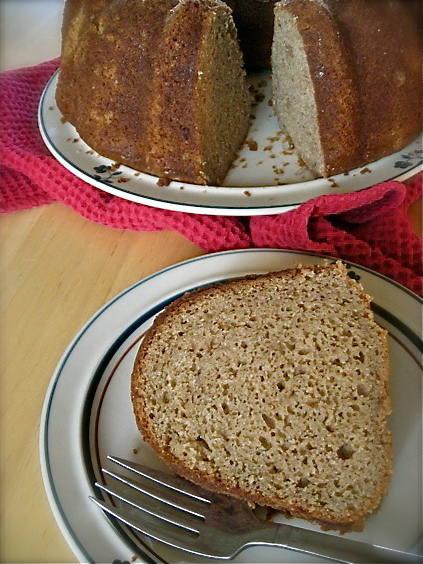
A Nutmeg Cake that smells like Christmas:
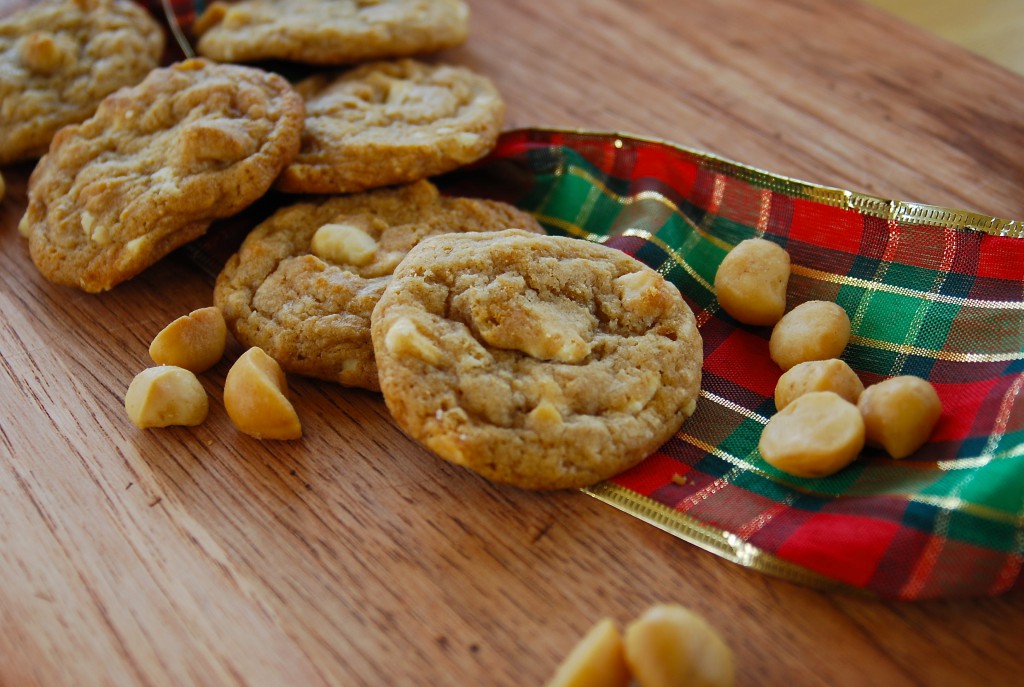
White Chocolate Macadamia Nut Cookies- Christmas perfection.
Swedish Holiday Fruit Bread (Fruktkaka), tasting like a long forgotten memory.
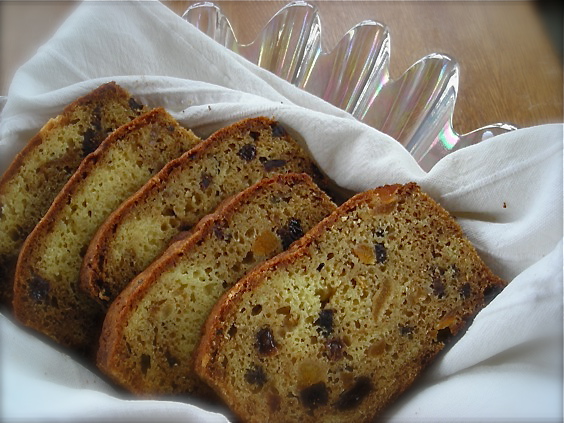
Nutella Pound Cake, anyone?? Can’t get much richer and decadent than that, can you?
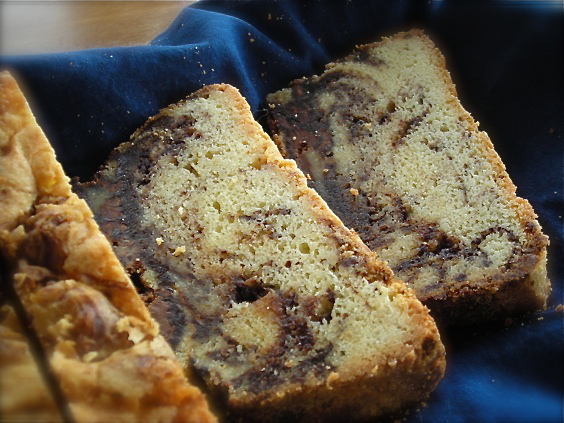
Earl Grey Tea Cookies– made with the beautifully aromatic tea leaves, these taste like a gorgeous Winter day and are a great afternoon treat.
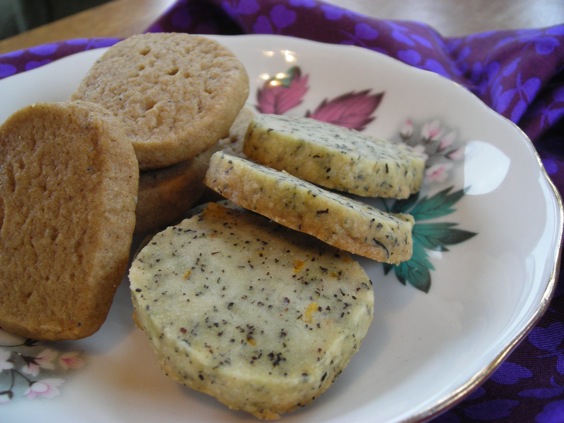
Authentic German Stollen, which I must make again this year. This recipe was glorious. (Photo is from 2008- no judging!)
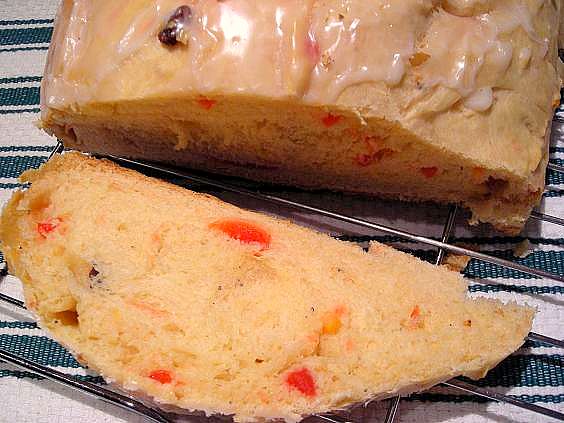
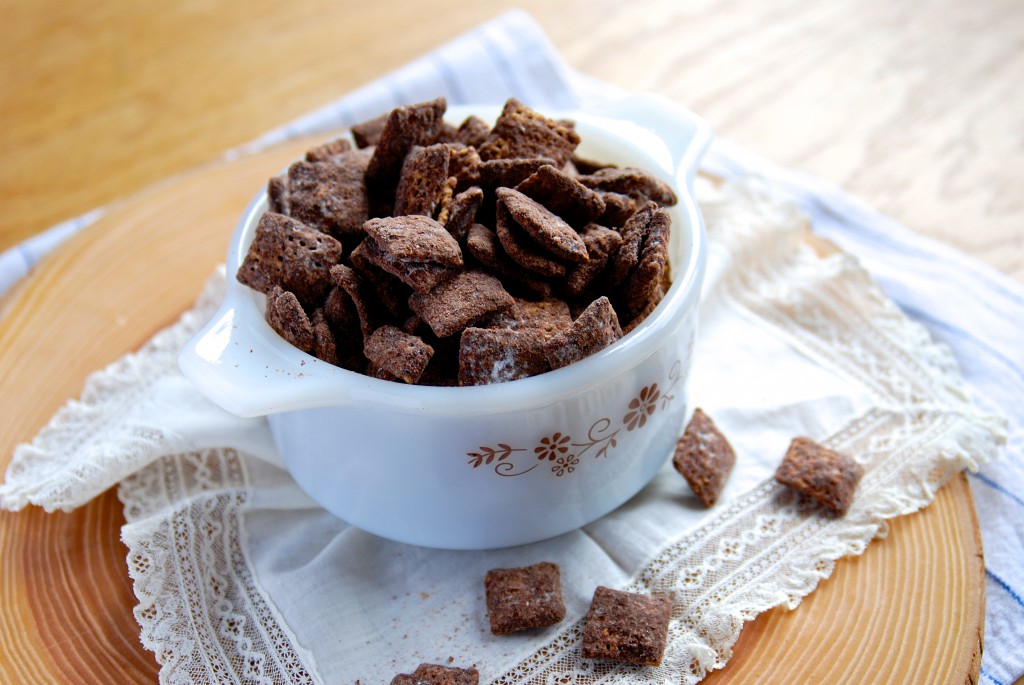
Great snack option, or perfect for gift giving, Dark Chocolate Nutella Muddy Buddies:
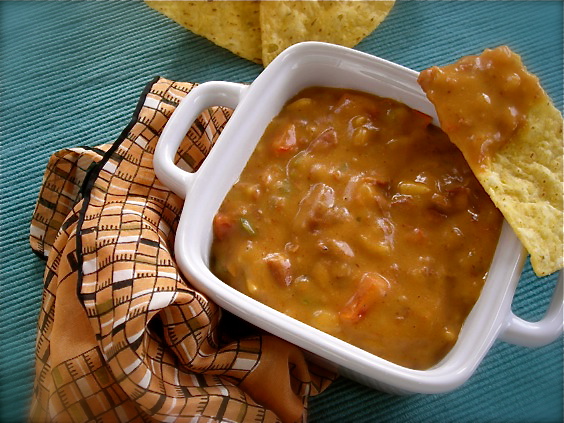
For a very hearty appetizer, this Chili Bean & Queso Dip is spectacular:
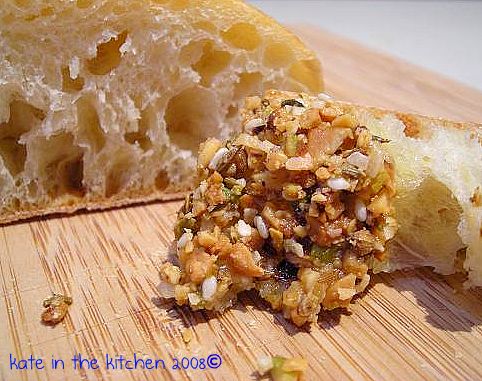
For something completely different, try making this Middle Eastern spice and nut blend called Dukkah. (again, photo from 2008- no judging!!)
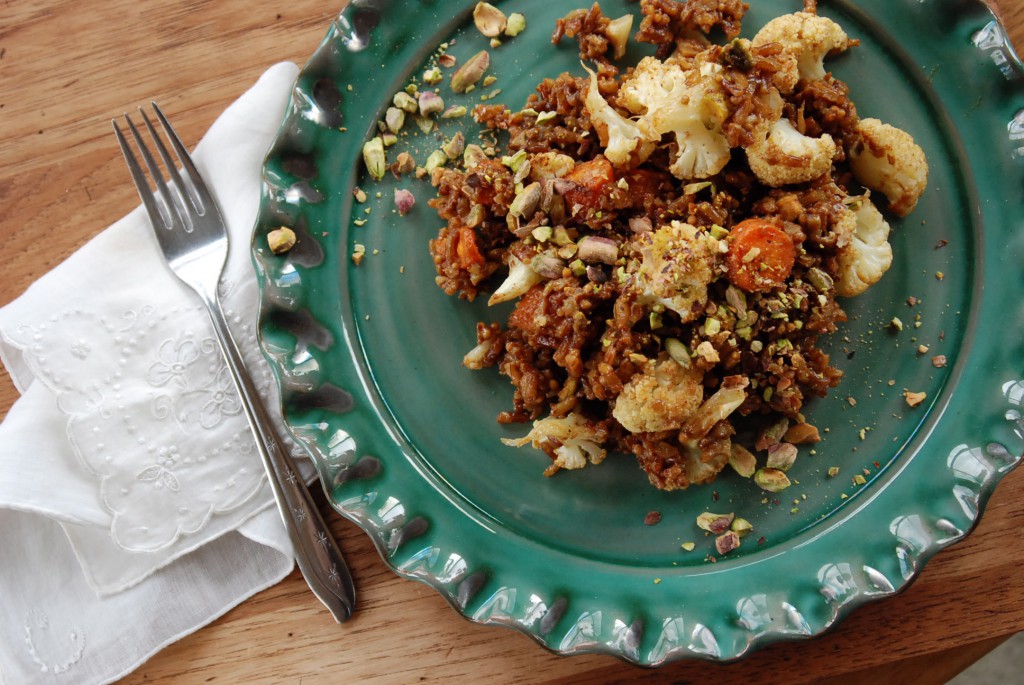
Make Christmas magic with this unique and delicious Red Rice Pulao with Roasted Vegetables as your side dish:
You can substitute your favorite hearty green in this Boursin Spinach Gratin, and still get an amazing, rich and creamy side dish:
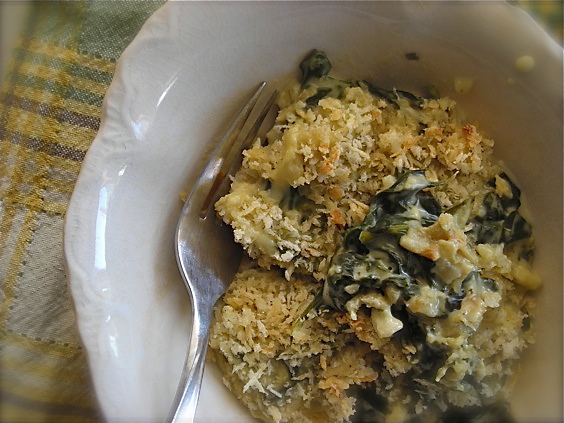
May the magic and beauty of Christmas, and all the holidays be kept close to your heart, now and all the year through.
November 13th, 2013
| 4 Comments »
The end of the year always brings reflection for me. I tend not to wait until the flip of the calendar to January, and resolutions never cross my thoughts, but I look at my life and do a sort of personal evaluation on where I am, where the past year led me, and where I’d like to take the next 12 months. This process is only in the beginning stages right now, and as in past years, it always includes this blog space of mine.

Our church just started a sermon series on breaking free of the chains that hold us to societal norms, like the collecting of possessions, the constant need for ‘new’ at every turn, putting forth the appearance of perfect, and other traps that hold us to a collective thinking that is less than Christ-like. Our first message talked about how we tend to accumulate far more than we ever need, that our houses are twice the size they were 20 years ago, and at the same time, Americans rent 1.2 billion square feet of storage space. No one needs to have that spelled out; our homes are even way too big to hold everything we have.
This series comes so perfectly timed for Mike and I, as we decided the week before that we need to clear up the clutter of un-used items in our home and take back the space, even if it means simply leaving it bare. There’s that desk that sits in the corner, it’s purpose long gone yet the top is cluttered with items that haven’t got any other ‘home’. The spare bedroom has become a dumping ground for far too much, unorganized and chaotic. The lighter weight blankets, the flannel sheets, a closet full of off-season clothing, items that Griffin has outgrown, a pile of clothing started for donating. The list is endless, and I know that you’ve probably got a space like that in your house, too. I open drawers and find items I had forgotten about, and I wonder, why do I have this if I don’t even remember that I own it?


I look at my life over the last nearly 30 years of my adulthood and I see this triangular alliteration, a constant passing of years and growth that is my life. From the wide-open possibilities of my 20 year old self, I’ve seen how my focus has narrowed down, tossing aside what doesn’t work, trying on a new persona, peeling away the bits and pieces until I arrive, here, with the still changing ideas of what my life needs. Mike and I, with a young man looking at his 20th birthday next year, are starting to think of the paring down process of our third act. Our empty nest years. We know we’ll need to move, depart from this beloved home with it’s bright Southern light and wide open space. What do we really need, and what can we begin to release from our lives?
All I know is that if it’s been in a drawer, collecting dust, or tucked in a box that I don’t recall the contents of, hanging in a room that I don’t frequent, buried under a childhood long gone, I can rightly agree that its need has left my life. I can gaze at a box of beloved books that I read to Griffin, on repeat, under the blankets of his first bed, his little boy body, warm and youthful, snuggled next to mine and I remember how I loved those moments in the night. I can release these books, retain the memories and place the box in the pile to donate. I’m finding that the more I let go, the more joy I begin to feel. We simply aren’t made to thrive amidst clutter that has ceased to serve any purpose.

As the November light faded on our day, after raking one more time through the yard, clipping away dead growth on the annuals and moving more items to donate, I found myself peeling apples again. Fall has it’s routines and therapies, the cleaning out and putting away, storing Summer, baring the space to settle under silent snowfalls. Apple peeling is one of my Fall routines, the peel slipping away from my hands in one long strand, juices running down my wrists, a quick twist of knife and hand and the pieces begin to pile up in a beloved ceramic bowl. The oven tells me it’s ready, cinnamon fills the air and butter meets oats to top a pan full of apples and crushed, fresh cranberries. The fragrance unmistakeable, the timing perfect. I can see what I no longer need in this life, and eagerly anticipate letting go of it, but I could never stop peeling apples each November, eating Apple Crisp, warm under melting vanilla bean ice cream, ready to welcome in a new season.
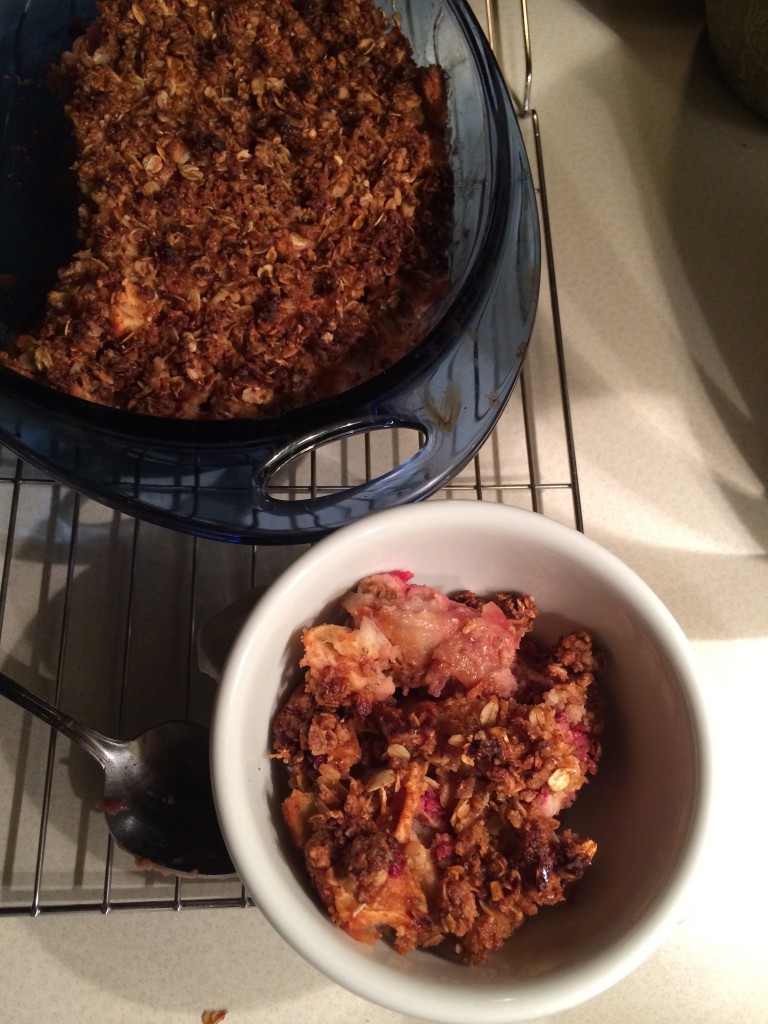
Apple Cranberry Crisp
For the apples:
6 c. chopped apples, using a mix of tart and sweet (this batch I used Haralson and Honeycrisp)
2 T. brown sugar
1 T. almond flour
1 T. coconut flour
1/2 t. ground cinnamon
pinch of ground cardamom
1 c. fresh cranberries, chopped (i used a food processor; you will mix these in just before assembling the crisp)
For the topping:
1-1/2 c. whole rolled oats (use gluten free oats if needed)
1/2 c. almond or sorghum flour (use AP if no need for gluten-free)
1/3 c. brown sugar
2 t. ground cinnamon
1 t. ground cardamom
1/2 t. ground nutmeg
pinch of sea salt
4 T. super cold butter
1/3 c. maple syrup (if you have apple cider syrup, it’s a divine substitution)
Mix the apples with the brown sugar and flours, stir to combine and set aside. Heat your oven to 375°.
In a small bowl, stir together the dry ingredients for the topping. Cut the cold butter in to small cubes and add to the bowl, tossing to coat. With a pastry cutter, two forks, or your hands, quickly cut/rub the butter in to the dry ingredients, leaving some large pieces. Drizzle the topping with the maple syrup and toss to mix.
Spray your baking dish with cooking spray, or rub with additional butter. Toss the chopped cranberries with the apples, and spread half the mixture in the dish and top with about a third of the crumb topping. Layer the remaining apples, then the rest of the topping. Drizzle a bit more maple syrup over the top, then bake 30-40 minutes, or until the topping is crisp and browned and the contents are bubbling.
Serve warm with vanilla ice cream, creme fraiche, vanilla yogurt or warmed and whipped cream cheese.
NOTE: I like my crisp a bit drier than most, and the flours tossed with the apples will absorb their moisture. If you prefer a more saucy version, omit the flours and use white sugar in place of the brown to toss the apples. It will draw out their juices. Tossing the chopped cranberries with the apples just prior to assembling keeps them from bleeding. If you don’t mind that sort of thing, toss it all at once and let it sit.
November 4th, 2013
| Comments Off on the amazing sweet potato cornbread {gluten free}
I talked about walking away from wheat in my last post, with that delicious Maple Apple Cake that had no wheat whatsoever in it, and I couldn’t resist sharing this incredible Sweet Potato Cornbread recipe with you as well.
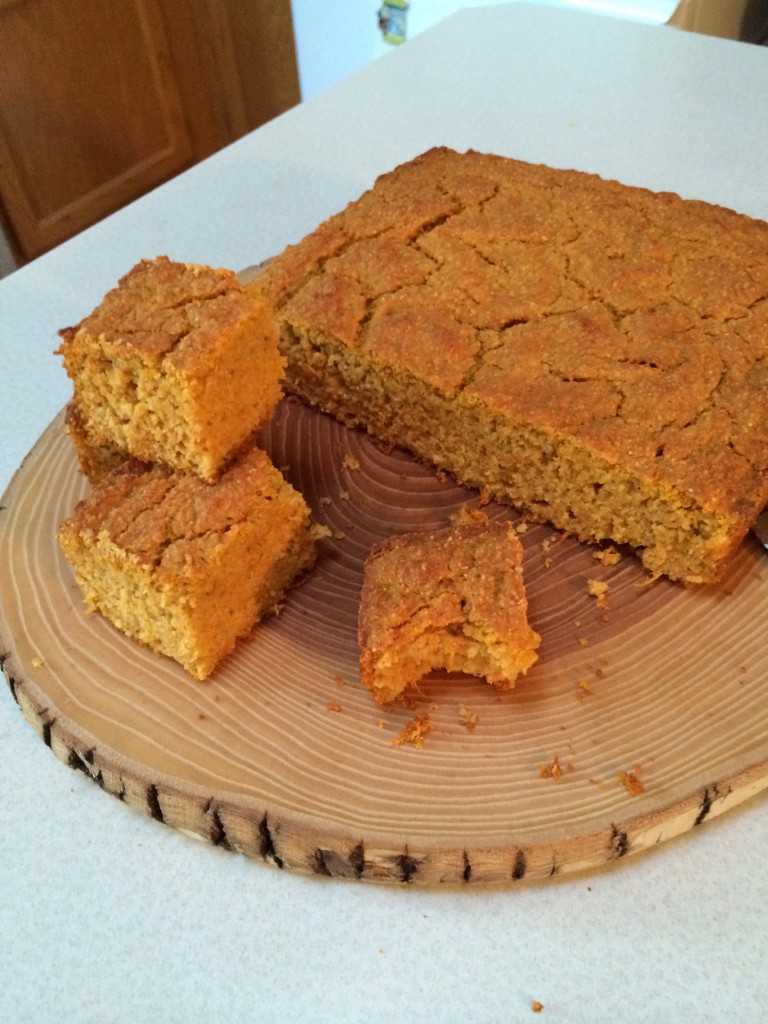
Cornbread is a staple around here in the cold months. We eat it with all manner of soups, chili and such, and all of us love a good hearty piece, drizzled with honey as a side to a steaming bowl. I needed to find a wheat-free option for this quickly.
Fortunately, it didn’t take much searching to come across this recipe for Pumpkin Cornbread on Ashley’s delicious blog, Edible Perspective. I’ve been following Ashley’s site for quite some time now and love all her simple yet inventive recipes. She inspires a great deal of dazzling food thought for me in my own kitchen.
Ashley has no less than three versions of her Pumpkin Cornbread in the referenced post and the last one she lists is the one that nailed the homerun of wheat-free Cornbread that will now be my go-to recipe. Again, like that phenomenal cake I just made, the base is a mix of flours and does not rely on a commercial blend. I just don’t want to take the lazy route to make my favorite baked goods without wheat, and exploring the means of creating these standards is half the fun.
Texture is of vital importance in baked goods without wheat. A good quality result shouldn’t immediately raise a red flag that something is missing, and this cornbread’s texture is spot on for what I love about top-notch cornbread; it has that cracked, rugged top and a dense crumb that holds just enough moisture to keep it from crumbling with the first bite. Adding roasted and mashed sweet potato helps with that tenderness. Sinking my teeth in to that first piece, cut while still warm from the pan, and I rolled my eyes in joy. It was perfect. The crumb was perfect. The taste- superb. The texture was pure cornbread, with hardly a hint that the wheat was missing.
It’s results like this that I can’t resist praising. I LOVE this cornbread, and can’t wait for the next bubbling pot of soup so I have an excuse to make it again.
Like I need one, right?
Sweet Potato Cornbread
1/2 c. gluten free oat flour (I grind Bob’s Red Mill GF oats to make mine)
1/2 c. medium grind cornmeal
1 c. corn flour (use Masa Harina in a pinch- this is different than cornmeal)
1 T. baking powder
1/2 t. baking soda
3/4 t. fine grain sea salt
2 large eggs
1 c. mashed sweet potato (about one good sized spud; I roasted mine until it collapsed, cooled, skinned and mashed)
2 T. maple syrup
3/4 c. unsweetened almond milk (use whatever milk you wish)
2 T. olive oil
Heat your oven to 375°. Spread a few tablespoons of oil around the pan you chose for baking. I used an 8×8 square baking pan.
Whisk together the oat flour, corn meal, corn flour, baking powder, soda, and sea salt. In a large measuring cup, measure out the milk, then add the sweet potato, maple syrup, eggs and oil. Whisk wet ingredients together until smooth, then pour over the dry ingredients and gently mix with a rubber spatula, scraping across the bottom of the bowl. Mix only until combined, then scrape in to prepared pan and smooth the top.
Bake 30-40 minutes, or until tested done in the center of the pan. Allow to cool before removing from the pan.
This recipe is adapted slightly from Ashley’s. Please check out her post on how she created, and re-created this cornbread, and the multiple ways she made her version.
October 24th, 2013
| 3 Comments »
Several months ago I started having pretty severe discomfort in my belly and immediately suspected that wheat might be the problem. I decided to eliminate it from what I ate for a week to see if there was any relief, and it was clear after only two days that my belly was happier without it. I had been considering cutting back on my consumption of wheat anyway, so it wasn’t much of a change to stop eating it all together. Once dropping it completely, I’ve realized that eating a small amount here and there is not that disruptive on my digestive system, and can enjoy a bit of good quality bread if need be, but along with dairy, I’ve learned that the more processed the product is, the worse it affects my gut. I think it’s so amazing that our bodies know what’s not good for us, and all we need to do is pay attention.
Along with eliminating wheat came the need to understand substituting gluten-free flours for baking, a process that is expansive and often dizzyingly complicated, with the starches, the gums, bean flours, ancient grain flours, rice flours and such, but thankfully there is a huge wealth of knowledgable people out there who can take the mystery out of replacing whole wheat with delicious alternatives. I’m not interested in just subbing in an AP GF flour blend when I bake; I want to understand how blending GF flours can enhance your baked goods, and make them more flavorful, instead of just relying on what someone else decides is a good alternative. Plus, the more I read about GF baking, the more I realize that not one blend will produce similar quality results for breads, cakes, muffins or scones. Each of those baked goods requires different blends, gums and starches to produce the textures that we crave, that are often gone missing in GF baked goods.
It’s been a learning curve, no doubt. I made a GF Lemon Coconut Cake that sounded amazing on paper, but the first bite was akin to a balloon rapidly leaking air. It wasn’t good. Not even close, and despite my hatred of throwing out food, the whole cake went in the trash. I’ve spent a lot of time reading GF blogs, researching and absorbing. I’ve purchased small bags of all the options I want to try, and slowly am working towards a fuller understanding, but folks, it’s a long way off. We all have to start somewhere, don’t we?
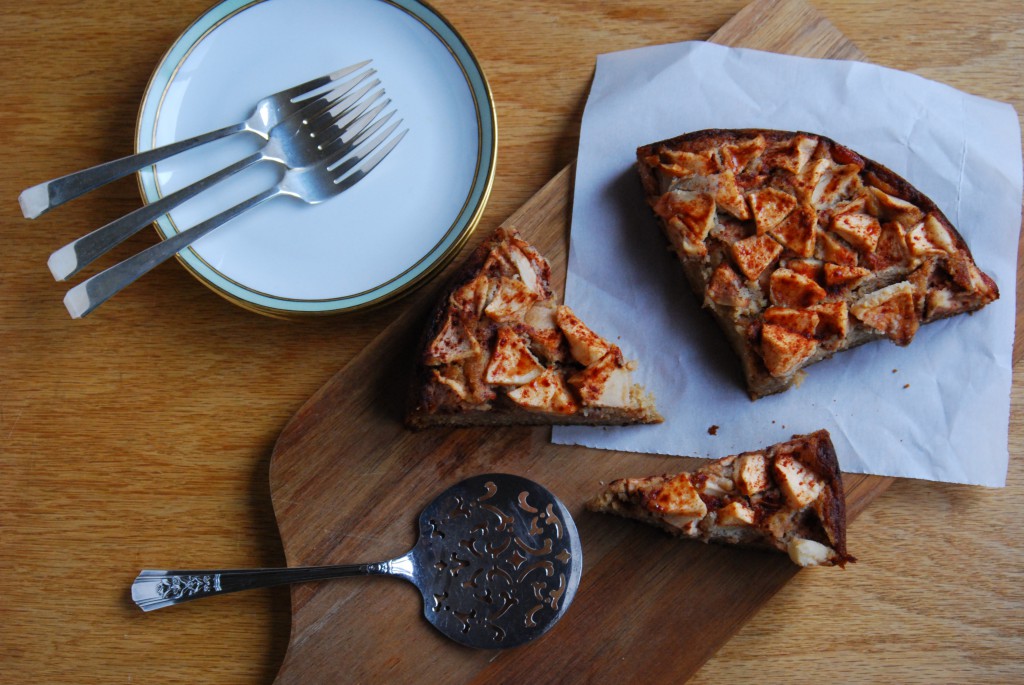
Yesterday, while pining for something cake-like and warm to use the apples that are sitting in storage, I found this cake recipe on Healthy Green Kitchen, which is one of my go-to sites for healthy eating. I had everything necessary to make it, too, which was miraculous. And Winnie is a source to trust, as far as I’m concerned, so I wasn’t all that concerned that this cake was going to end up in the garbage.
And if you’re one of those folks who think sugar is the devil itself, please read her current post containing her thoughts on the whole sugar uproar. It’s worth a few minutes of your time.
Now, back to that cake.
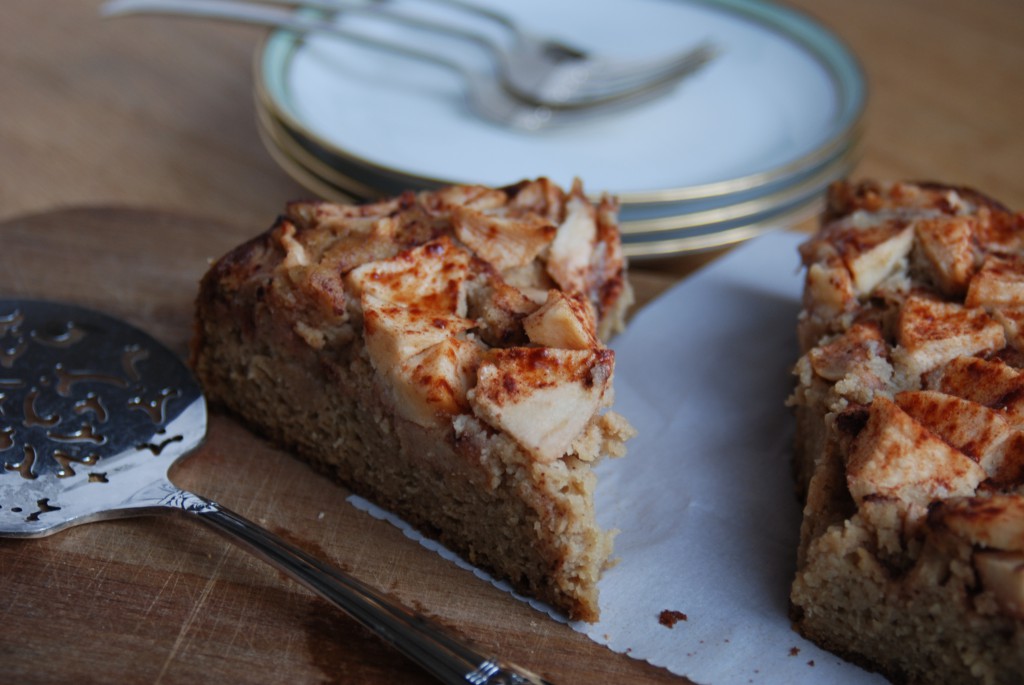
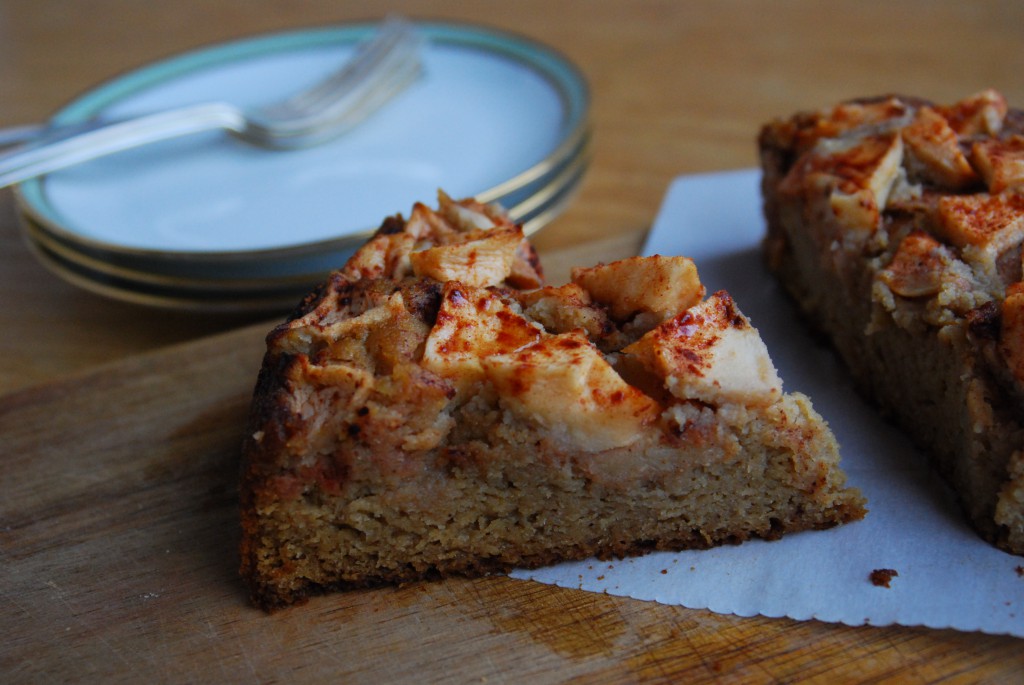
This recipe was heavily adapted from the one on Winnie’s blog, mostly because I discovered that I was out of white sugar so I subbed in a brown sugar/maple syrup blend. Her recipe called for straight almond flour too, but due to it’s expense, I don’t like to use it so freely, plus I love how coconut flour works to add bulk and texture in baked goods, and with the extra liquid from the syrup, it needed that bulk. I also wanted to add sorghum for experimental purposes. The texture, crumb and flavor of this cake was delicious and tender, with a flavor that we all gave an enthusiastic thumbs up! I’d make it again, exactly the same way.
Please note that it can be made with regular AP flour in the same amount as the total of the three GF options I’ve listed.
Maple Apple Cake
3 eggs
1/2 c. packed brown sugar
1/4 c. pure maple syrup
1 c. almond flour
1/2 c. sorghum flour
1/2 c. coconut flour
3/4 c. cup plain almond milk
3 T. butter, melted
2 t. baking powder
1 t. pure vanilla extract
3 medium apples, about 1 3/4 pounds peeled, cored, and chopped. I used Haralson.
Optional: Powdered sugar for dusting the top, ice cream or yogurt to serve along side.
Preheat oven to 350° and prepare a 9″ springform pan by spraying with cooking spray, or rubbing with butter. Coat with a sprinkle of almond flour, if desired. {{My springform pan always seems to leak, so I wrap the bottom in tin foil}}
In the bowl of a stand mixer, place the eggs, brown sugar and maple syrup. Beat on medium speed for 5 minutes, until light brown and thickened. Reduce the speed to medium-low and add the flour, scraping sides if needed, then the milk and melted butter. Scrape if needed, increase to medium, and blend for 3 minutes. Add in baking soda and vanilla extract, then blend for 2 minutes.
Scrape batter in to prepared pan and arrange chopped apples on top. Sprinkle with a few pinches of brown sugar and a sprinkle of cinnamon, then place in pre-heated oven. Bake for 50 minutes, or until a toothpick inserted in the center comes out clean. Do not over bake.
Allow to cool for 15 minutes, then release the spring on the pan. Cake can be served warm.
October 16th, 2013
| 1 Comment »
October is a great month for many good happenings in the kitchen, like baking, and soup simmering, and fragrant dishes of all kinds, but THIS October is different as I’m in the midst of a 3-week detox, with many a limitation on what I’m eating. I’m hoping it helps to re-set some health issues I’ve been having, and support more consistent sleep patterns.
It isn’t all bad. I’m actually allowed a lot of delicious foods and I’m never hungry, but I’m wishing I could make pumpkin bread and eat a thick slice dredged in good butter. I’ll be celebrating Halloween by doing just that.
Until then…..
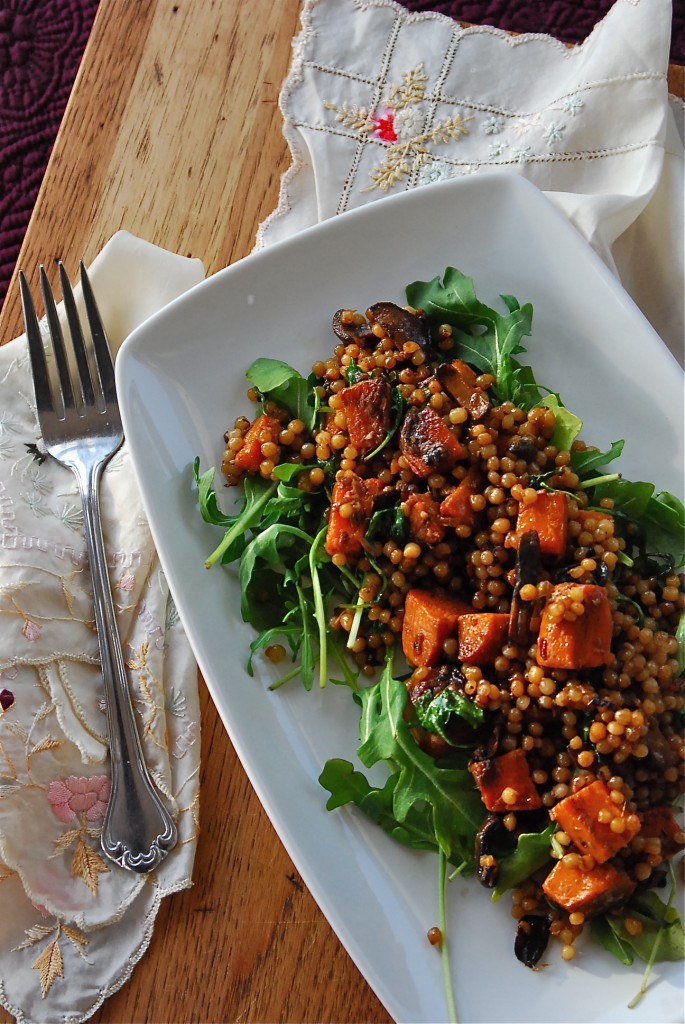
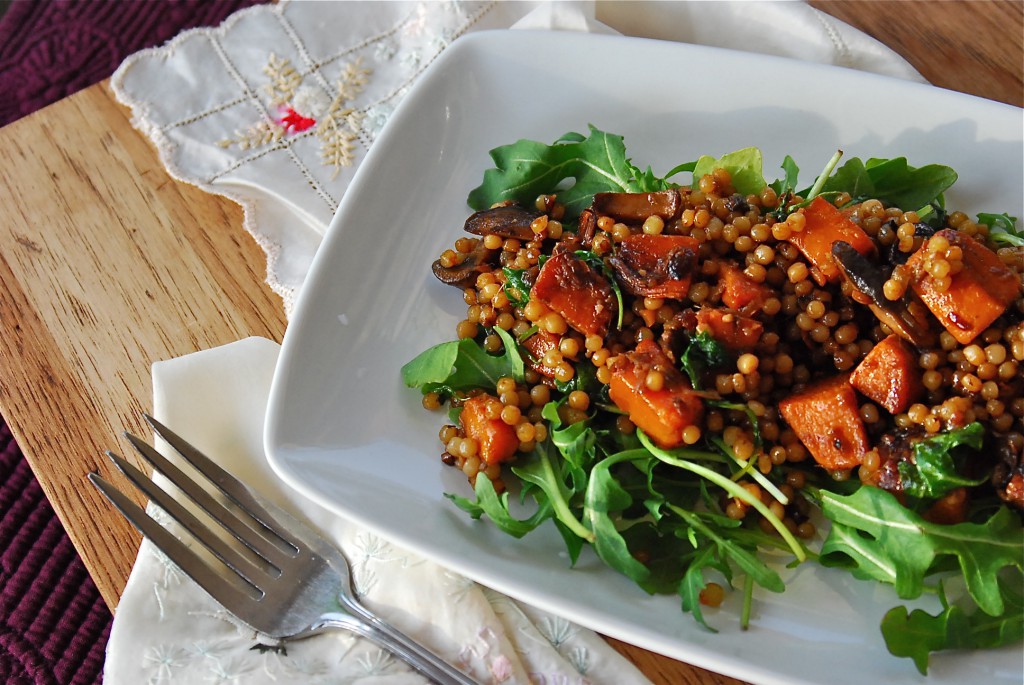
This recipe is so perfect for right now. We’re being drenched in Autumn rain and it’s become quite gloomy outside. Fall color has it’s own beauty against the dull and gray rainclouds, though, and inside your kitchen, this dish can bring a blaze of burnished color to a chilly and uninspiring day.
I first made this dish last Winter and we absolutely fell in love with it. While it does take a bit of work, the flavor is compelling, and well worth a bit of time. Pour a glass of good wine, or a delicious craft beer and sip while you cook, stir and inhale.
Caramelized Vegetables with Pearl Couscous
Salt
2 c. pearl couscous
Grapeseed, or coconut oil
1 large sweet potato (about 3/4 pound), peeled and diced, about 1/4″-1/2″
1 large onion (about 1 pound), finely diced
4 cloves garlic, minced
3-inch piece fresh ginger — peeled and chopped fine, about 1 tablespoon
1-8oz pkg portabella mushrooms, sliced, with stems removed
1 T. balsamic vinegar
2 T. soy sauce
3 big leaves chard or kale, stalks removed and leaves finely chopped — about 2 cups (I subbed in the equivalent of arugula)
Freshly ground black pepper
Parmesan, optional
Heat a large pot of water to boiling and salt it generously. Cook the couscous until barely al dente — about 5 minutes. Drain and toss with a generous drizzle of oil so that the grains are lightly coated with oil. Set aside.
Heat a large sauté or frying pan (the largest you have — you want plenty of room and hot surface) over high heat. Drizzle in a little grapeseed or coconut oil (not olive oil — you want an oil with a high smoke point) and heat until very hot. Add the sweet potatoes and arrange them in one layer. Cook them over high heat until they are beginning to caramelize and turn brown — about 4 minutes. Flip them over and cook for another 3 minutes or so.
Turn the heat down to medium and add the onions, sprinkling them with about a teaspoon of salt. Cook, stirring occasionally, until the onions are beginning to turn brown. Add the minced garlic and chopped ginger and stir them into the onions. Push the sweet potato and onions to the edges of the pan, making room in the center.
Add the sliced portabella mushrooms to the hot center of the pan and cook them for 4 minutes without turning them. Then flip and stir them and cook for another 4 minutes. Once browned, stir them in to the sweet potato and onions. Keep the heat at medium, or slightly higher. Stir the vegetables occasionally. You want them richly browned.
At this point everything should be getting well-cooked; the onions should be quite dark brown and the garlic should be golden and soft. The potatoes should be softening.
Whisk together the vinegar, soy sauce, and 2 tablespoons of oil. Pour this into the pan with the vegetables and mix everything together, scraping the bottom as you go. Cook all the elements together for about 3 minutes on medium heat. Then turn the heat up to high, as high as it will go.
Add the couscous gradually, shaking in about a cup at a time, stirring and scraping constantly. Cook the couscous over high heat with the rest of the vegetables for about 5 minutes, letting the couscous get browned on the bottom of the pan, then scraping it up. You are developing a little more color and flavor on the pasta, and helping all the flavors combine. (I cooked this a bit longer to get more flavor in the couscous. The browning of it smells glorious)
Finally, toss the greens into the mix and cook for 1 more minute or until the greens are barely wilted. Turn off the heat and taste. Add salt and pepper if needed. Serve hot, with shavings of Parmesan if desired. (We didn’t even consider the parmesan. And I don’t think it even needed it.)
October 9th, 2013
| 1 Comment »
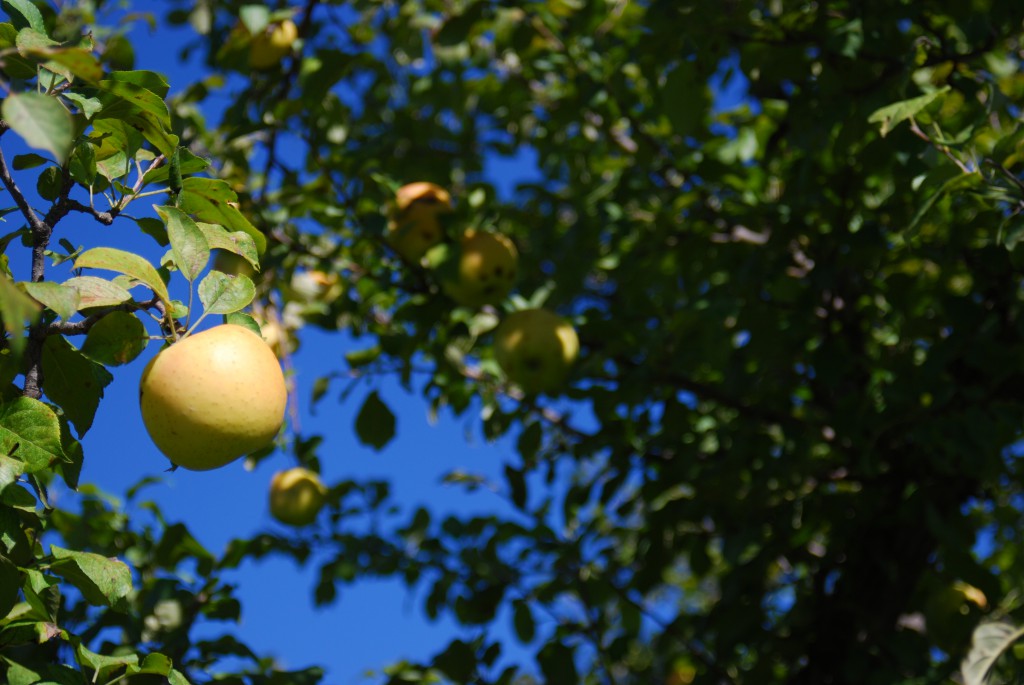
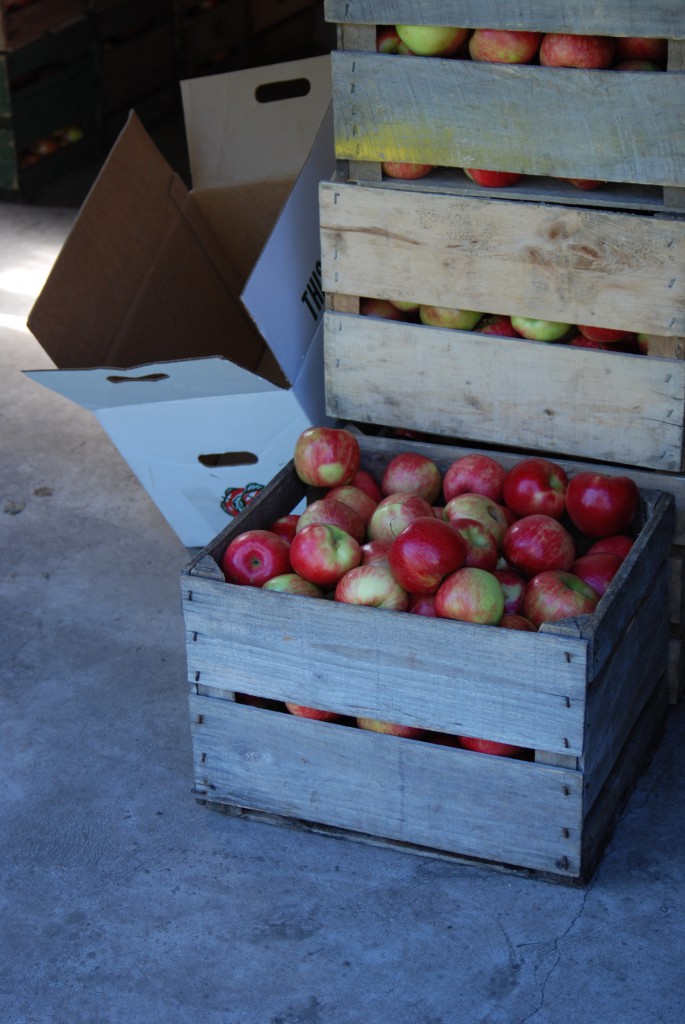
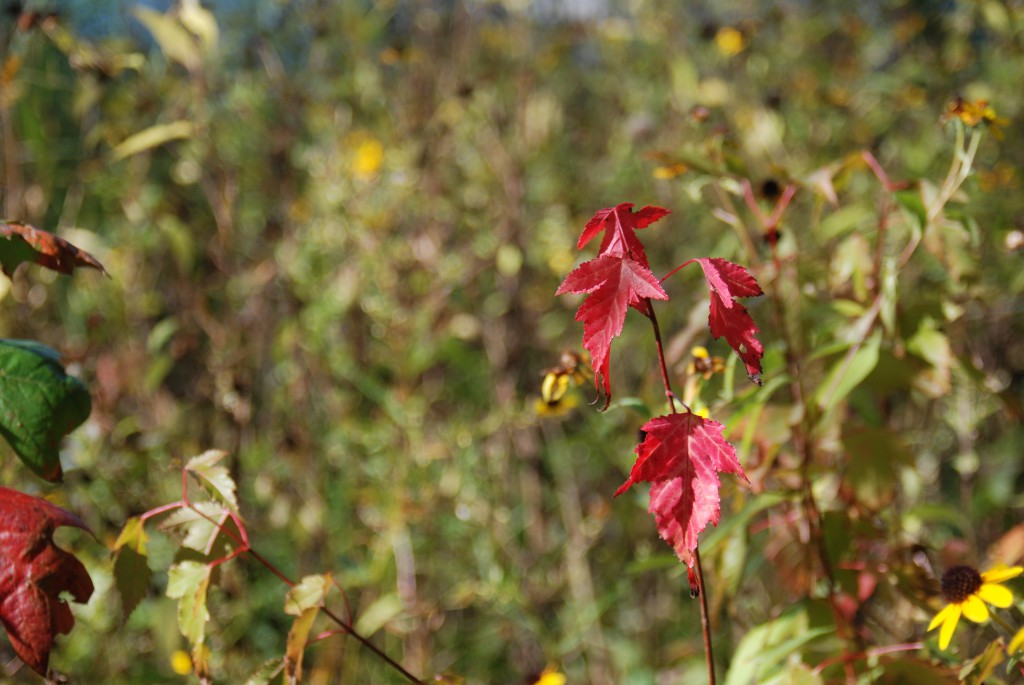
I love October. I love everything about it, from it’s blazing maples and fiery Sumac to the clear, crisp nights of abundant stars, the scent of woodsmoke floating on the chilled air. I love that switch to snugglier clothes and another blanket on the bed. I love a simmering soup pot, a pan of fragrant cornbread, baking with apples and fresh-pressed, rich apple cider
I just LOVE October!



I haven’t always loved Ratatouille, though. And I’ve made it multiple ways that have been OK, to an extent, but haven’t been so wonderful that I jumped at a chance to repeat the recipe. Yet every year, when the abundance of zucchini and eggplant and tomato is all there, ready and waiting to be slowly cooked together in this classic peasant dish, I always want to try something again.
There are so many ways to make a simple dish like this.
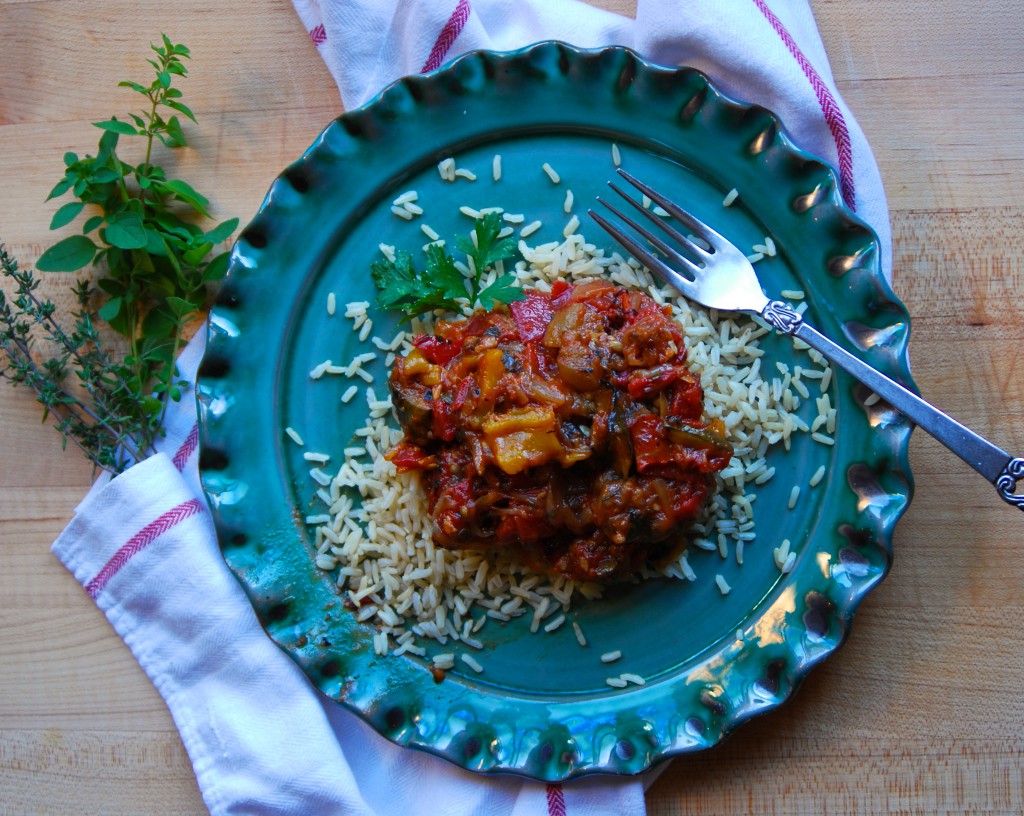
This recipe I would repeat. Over and over again. While it is a bit extensive, with the grilling and the simmering, the end result is well worth the extra effort. This Ratatouille was silky smooth and simply melted in my mouth, with hints of smokiness from the grill. And as all good dishes go, it was even better the next day.
This recipe does not use fresh tomatoes, and I love the rich flavor that fire-roasted canned tomatoes gives it. Feel free to use fresh if you wish, knowing you will lose some of that smoky taste if you do.
Ratatouille, Grilled and Simmered
3 small zucchini, sliced horizontally
1 medium eggplant, peeled and sliced into 1/2″ slices
2 medium onions, sliced thin
3 cloves garlic, finely minced
1 each red, yellow and orange bell pepper, gutted and halved
1 28-oz can fire roasted tomatoes (strongly suggested for the amazing flavor they will add- sub in fresh if you wish)
1/2 c. good quality olive oil
1/4 c. balsamic vinegar
1/4 c. mixed fresh herbs, like oregano, thyme, parsley, basil, all finely minced
2 t. smoked paprika (smoked is preferred; use regular if it’s all you have)
Salt and pepper
Whisk the olive oil and balsamic vinegar together in a measuring cup. Brush a small amount on one side of the eggplant slices, being careful not to spread on too much. Brush some on the zucchini and reserve the remaining oil/vinegar mix for later.
In a 6-qt stockpot, heat a small drizzle of olive oil and add the sliced onions. Cook over medium heat, stirring occasionally, until the onions are opaque. Add the garlic, reduce the heat and cook, stirring often, until the onions and garlic are very soft.
While the onions cook, heat your grill, and when hot, place the peppers, skin side down on the hottest part. Add the sliced zucchini and eggplant, and cook until tender and slightly charred for all vegetables. Place peppers in a bowl and cover with plastic wrap to steam so you can remove the skin. Rough chop the zucchini and eggplant and add to the pan with the onions, stirring to combine. Drizzle in a small amount of the oil/vinegar mix to moisten and add the smoked paprika. When cool enough to handle, skin the peppers and rough chop those, adding to the pan, along with the can of tomatoes. Stir everything, get it simmering, then reduce the heat and cover the pan. Allow it to cook, slowly, for 30 minutes. Stir it once or twice to insure it isn’t sticking. Reduce heat if it is, and drizzle a bit more of the oil/vinegar mix in, if needed.
Season to taste with salt and pepper, and add in half the fresh herbs. Allow to simmer about 5 more minutes. Stir, taste and season more, if needed. Serve warm or room temperature, over brown rice or pasta, or with a thick, hearty bread to soak up the juices.
KATE’S NOTES: I am nuts for fire-roasted tomatoes and have tried multiple brands, always coming back to Muir Glen Organic. The taste is bar none for a canned product- it tastes like tomato right off the vine! You can use fresh tomato in this dish if that’s your thing, but the extra fire-roasted taste will lend well to the final result, along with the grilled and charred vegetables.
The smoked paprika also adds a nice deep, smoky flavor, and has been one of my most favorite spices to add to just about everything lately. You will get a much different taste if you use regular paprika.
October 3rd, 2013
| 2 Comments »
Rice bowls sound so 1970. Especially brown rice bowls. With tofu. I’m old enough to remember the 1970’s, the retro colors, long flowing skirts and hair and the food culture of healthier options. I look around now and see so much of the same, in people far too young to even know what it was all about.
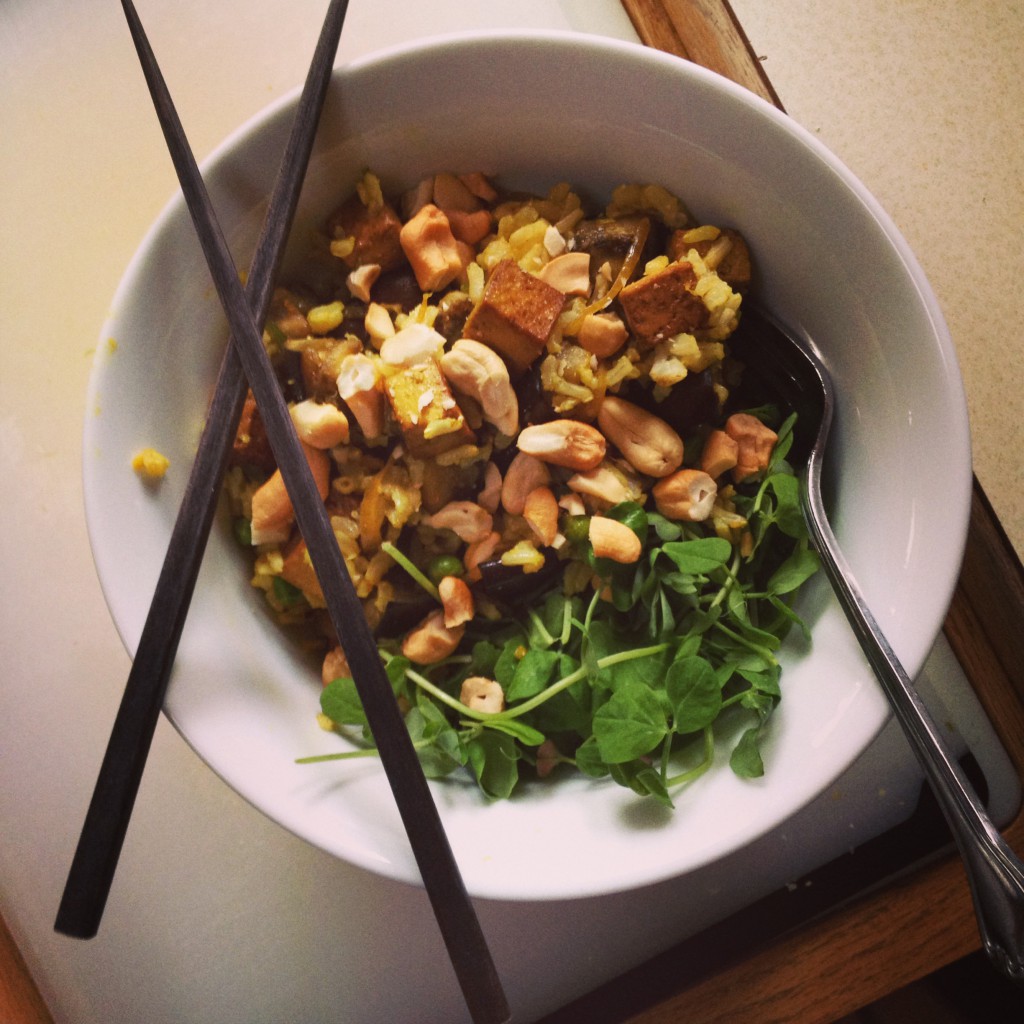
Come in to my kitchen…
September 25th, 2013
| Comments Off on fall, and apples
We’ve passed that equinox now, where the last days of Summer fade in to Fall and everywhere you look comes a pop of color from the trees that wasn’t there yesterday. It happens in a blink, sometimes right before your eyes.

Fall is all about apples. And pumpkin. But with the onslaught of pumpkin recipes that have been spilling out of the Internet since we rolled over the calendar to September, the iconic Fall ingredient stands to hit the saturation level long before Halloween even arrives.
So, let’s talk about apples.
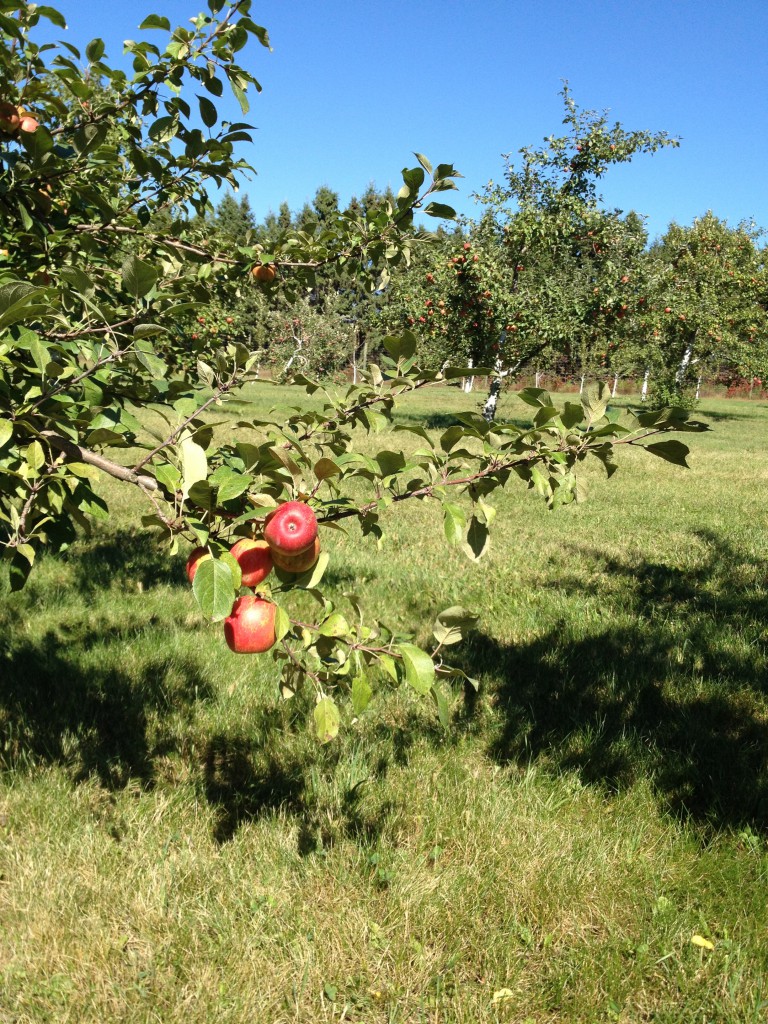
{Baker Orchard, Centuria WI}
Baker Apple Orchard is near our lake home, and we visit this beautiful place multiple times a year, our families being long-time friends. The orchard is wonderful for a leisurely hike, exploring the century-old barn and the woods around the property. We always take home a jug of their exceptional fresh apple cider and often, multiple bags of gorgeous apples.
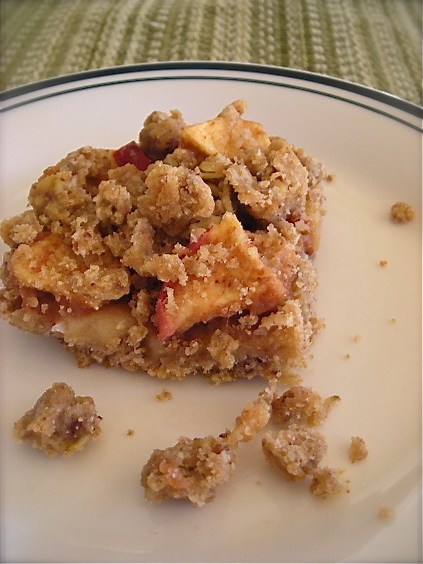
We could eat apples every day, and sometimes, Mike does just that. But we also love them in baked goods, and I love making fresh applesauce each year. Many years back I made a batch of apple butter too, one of my most favorite spreads. Our first visit to Baker this year netted us a sack of Honey Crisp, so hopefully, this upcoming weekend when we return we’ll have access to baking apples. I’ve been dreaming of applesauce, a simmering batch on the stove, and of these Apple Streusel Bars, too. This recipe is one of my most favorite things to do with apples every year. It yields a tender, buttery bar with that all important crunchy topping amidst chunks of savory apple. We can polish off a pan in no time.
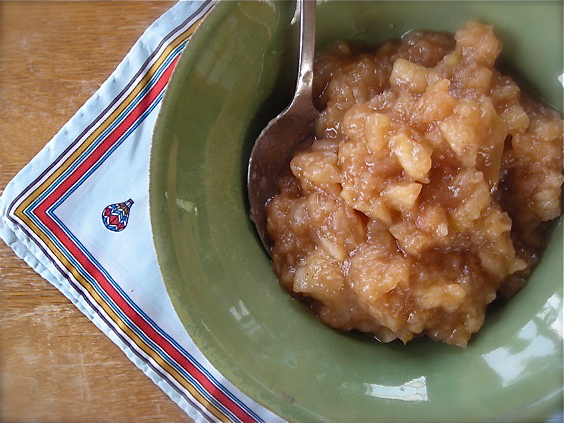
My favorite Applesauce recipe is made with maple syrup and cinnamon, making a holy trinity of Fall flavor that coats the house in a comforting scent. One batch makes a decent amount, and I prefer to make it fresh, and on repeat, over making a large batch. Warm from the pan, in thick, flavorful chunks, with a small scoop of vanilla ice cream on top is a perfect treat.
What’s your favorite way to eat apples in the Fall??
Apple Streusel Bars
Pastry:
2 c. flour
1/2 c. sugar
1/2 tsp. baking powder
1/2 tsp. salt
1 c. real butter, softened
1 egg, beaten
Apple Filling:
1/2 c. white sugar
1/4 c. flour
1 tsp. cinnamon
4 c. (about 3 medium) sliced, peeled baking apples
To prepare crust, mix flour, sugar, salt, and baking powder in a medium bowl. Cut in butter with a pastry blender or two knives until you have pea-sized crumbles. Gently mix in beaten egg.
Spray a 9×13 baking dish with non-stick cooking spray. Gently pat about 2/3 of the crumb mixture onto the bottom of the dish. Preheat oven to 350° and set aside.
To prepare apple filling, combine sugar, flour, and cinnamon and toss with apples.
Spread apples out on prepared crust. Sprinkle reserved crust mixture over apples evenly and bake in preheated oven for 40 minutes. Allow to cool completely before slicing.
Maple Cinnamon Applesauce
6 McIntosh or other tart apples, peeled, cored and cut into 1-inch pieces
2 Golden Delicious or other sweet apple, peeled, cored and cut into 1-inch pieces
1/4 cup water
2 tablespoons pure maple syrup
1/2 teaspoon ground cinnamon
Combine apple pieces and water in a large saucepan. Bring to a boil, then reduce heat to maintain a simmer. Cover and cook, stirring once or twice, until the apples are very soft and falling apart, about 30 minutes. Mash the apples to the desired consistency and stir in maple syrup and cinnamon.
September 19th, 2013
| 3 Comments »
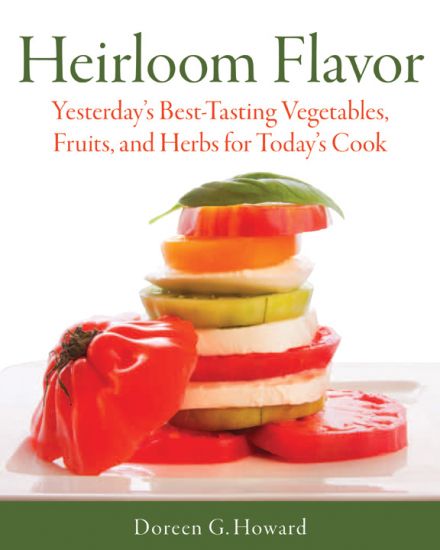
I have been fortunate lately to receive some really nice books for review purposes. This particular one, ‘Heirloom Flavor: Yesterday’s Best Tasting Vegetables, Fruits & Herbs for Today’s Cook’ by Doreen Howard, was highly anticipated, as our CSA offers many heirloom varieties, an option that was a huge draw for me in selecting it in the first place.
Come in to my kitchen…
September 11th, 2013
| 1 Comment »
It doesn’t take much to get my hands dirty, foraging in the garden for the tomato harvest, cutting herbs for the kitchen or pulling up the few weeds that mock the dwindling layer of mulch over the soil. And those tomato plants love to leave their thick, green coloring on my hands and arms as I pick, the fuzzy leaves and stalks brushing against me. When I wash off afterwards, the water runs green in the sink, soap turning an odd greenish-yellow, the color of life from the soil.

(photo courtesy of Bossy Acres)
Come in to my kitchen…
|


